| |||||


Rear clam removalLast year I made some changes to the car to ease the removal of the rear clam:
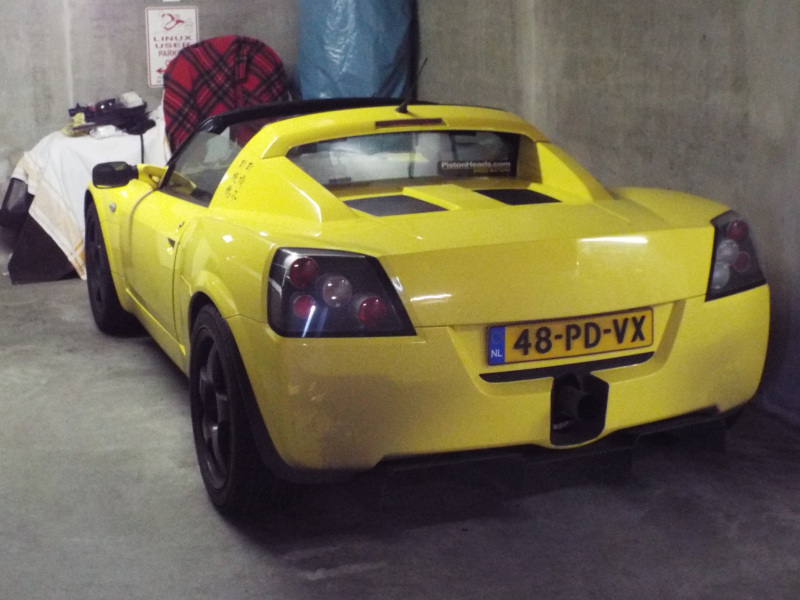
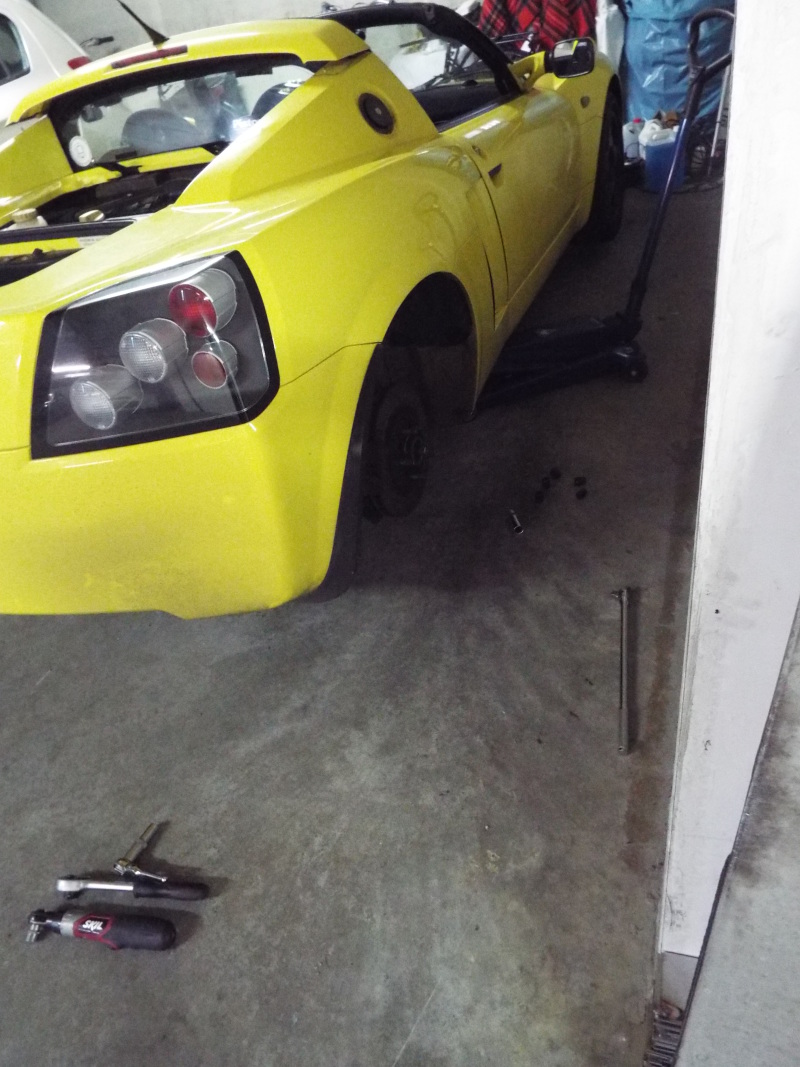
To give an idea of what the rear clam removal is like now since the changes I made last year, I thought it might be useful to make a short photo report on it. So, we start with a fitted rear clam :)
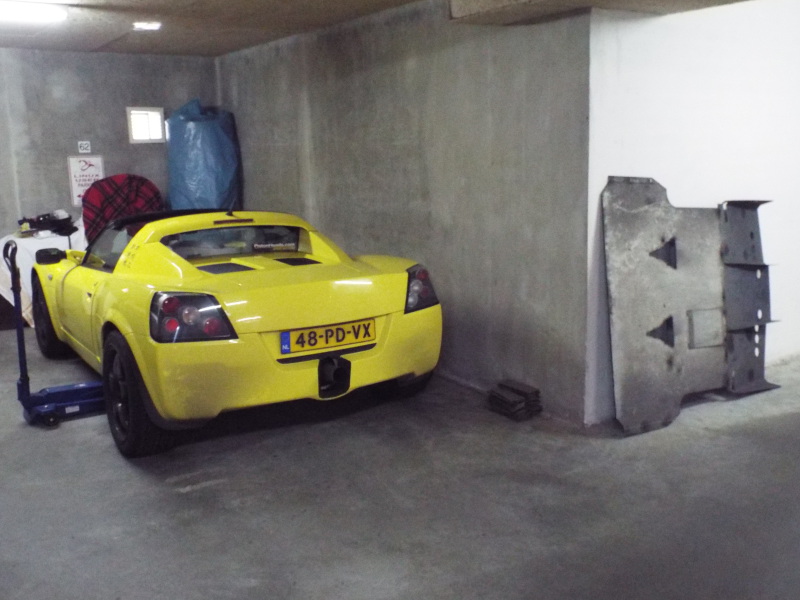
Jack up the car, remove all bolts holding the undertray and diffuser (except the ones holding the diffuser and undertray together) and remove it.
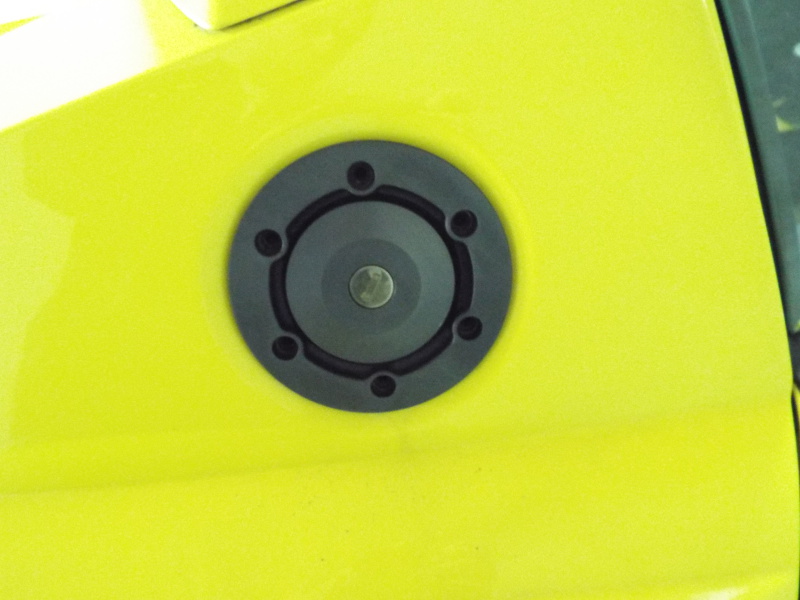
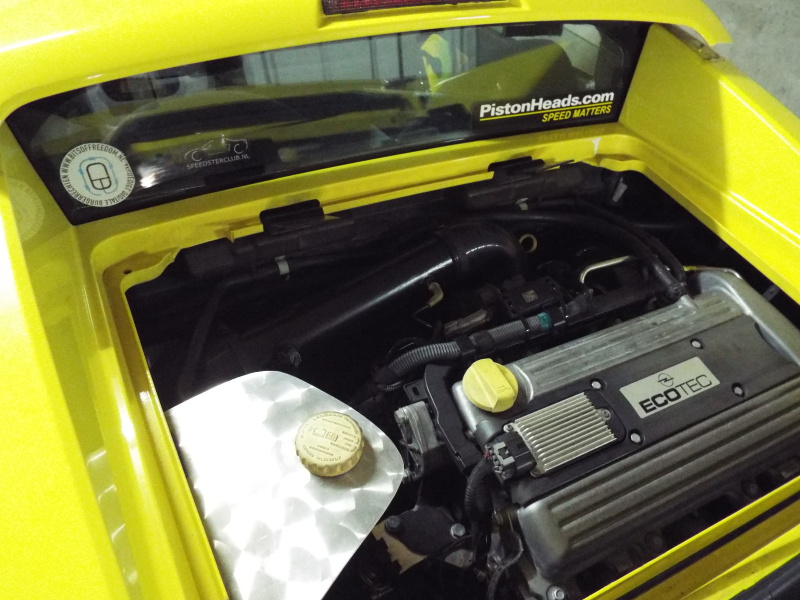
Remove the bolts from the fuelcap surround.
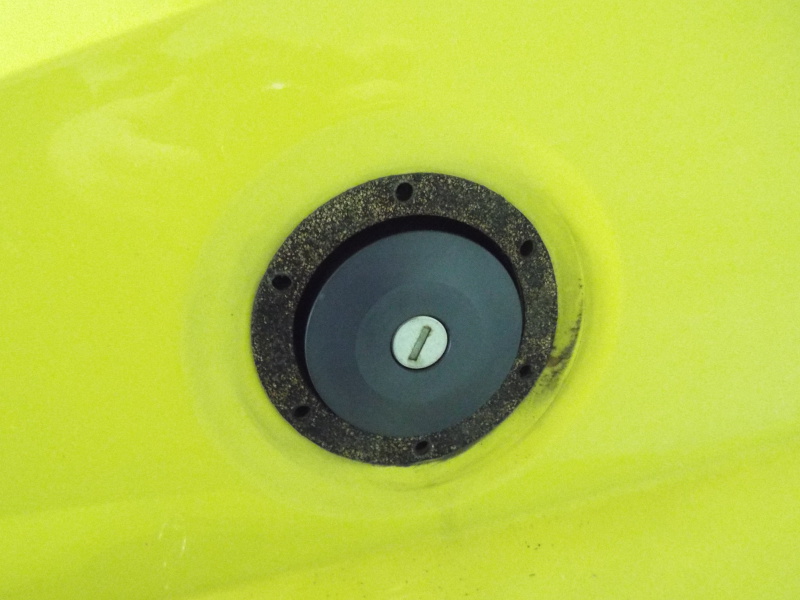
And remove the surround.
Put the enigine cover up and with one hand holding the cover carfully remove all six holts holding the cover to the hinges.
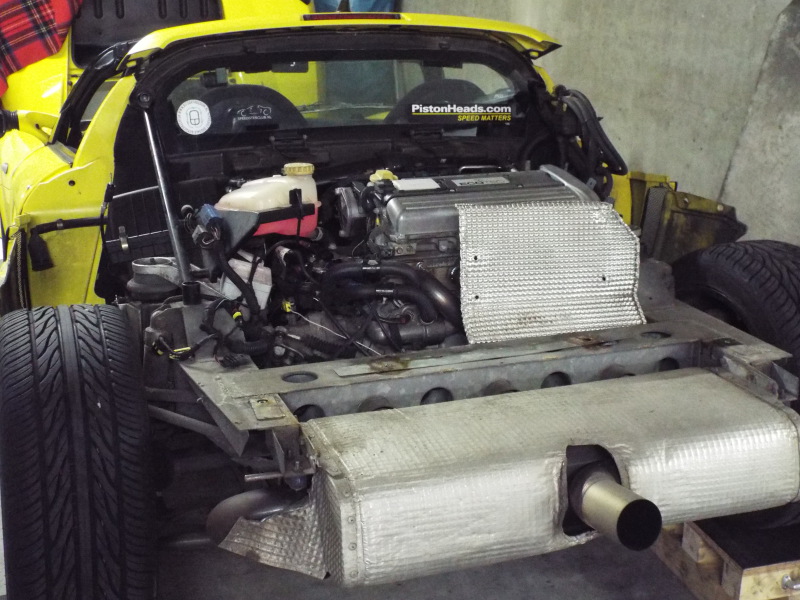
Engine bay should now be free.
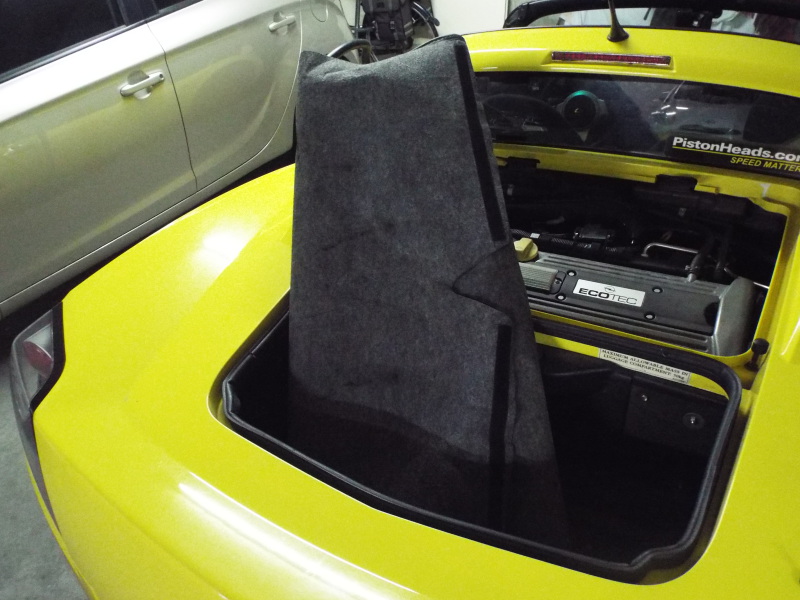
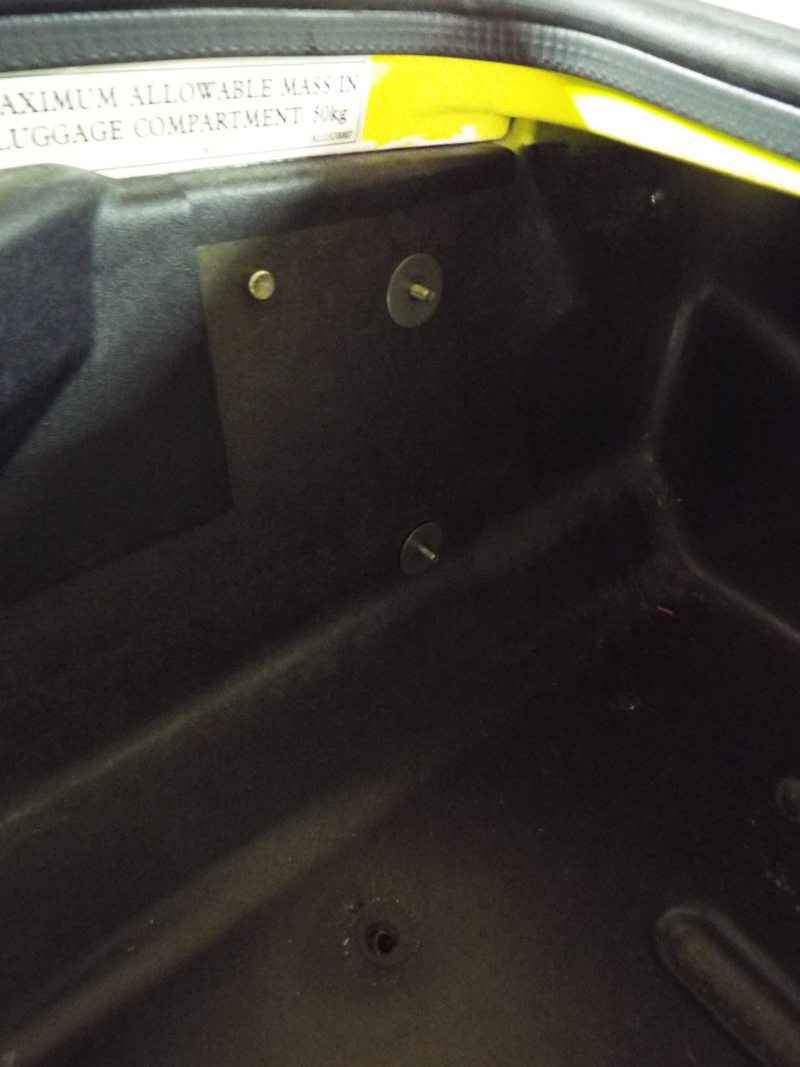
Remove all the garbage from the trunk and the trunk liner.
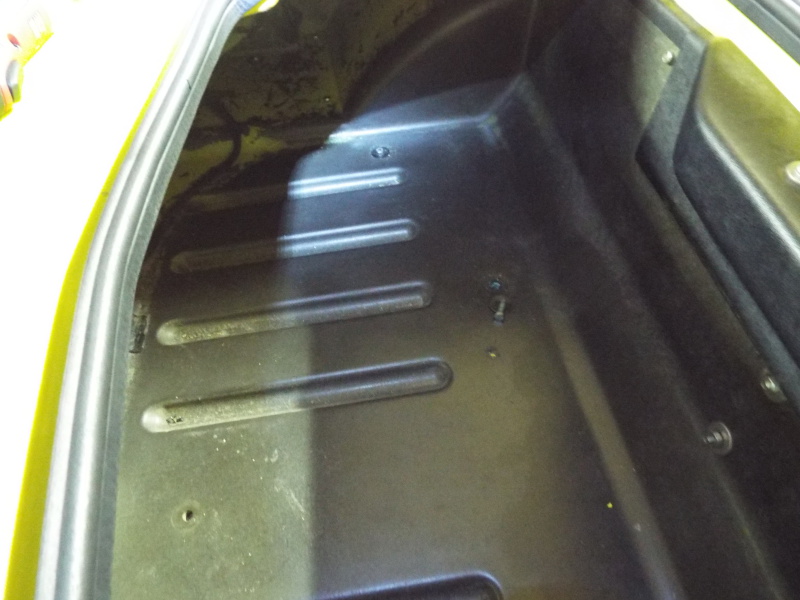
Remove the 4 bolts from the bottom of the trunk.
And (in my case) remove the four bolts holding the exhaust manifold headshield to the trunk.
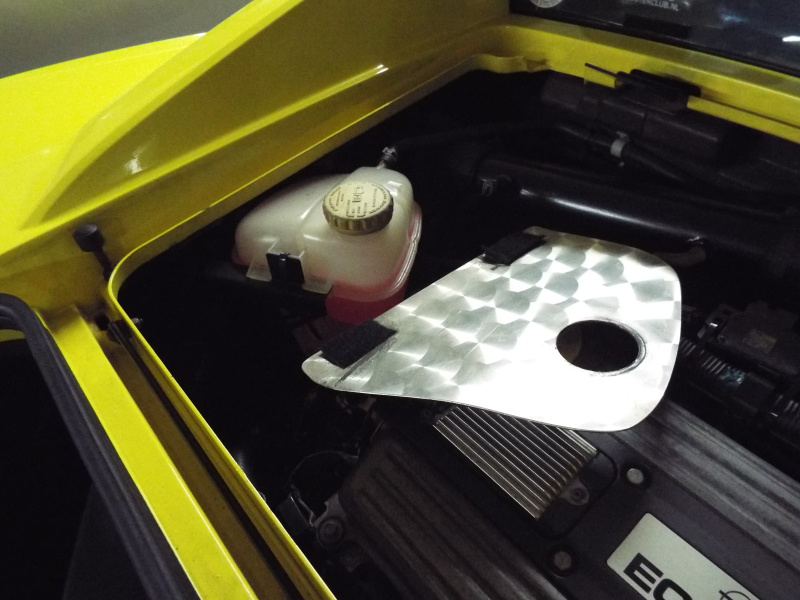
Remove the shielding for the watertank (if you have such a shield).
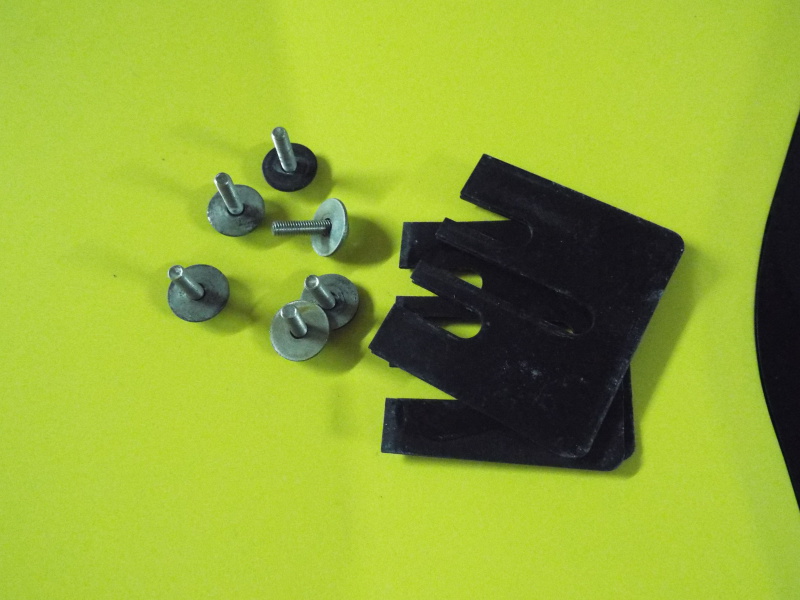
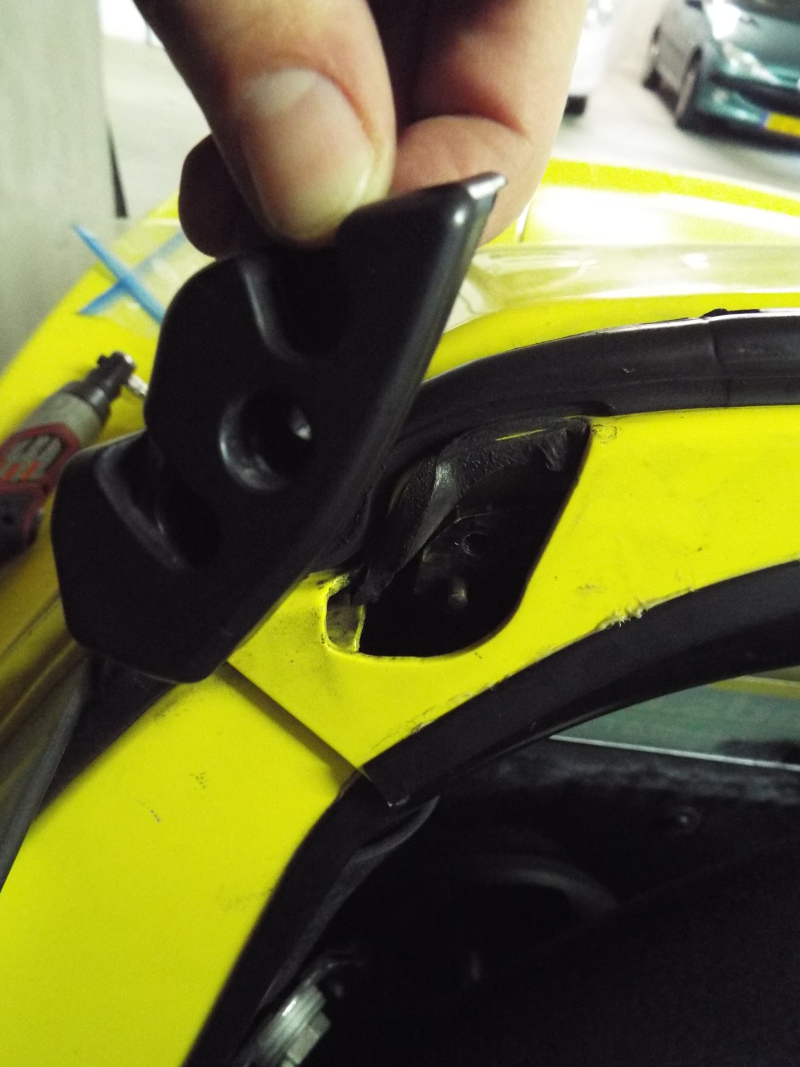
Remove the four nuts holding the rollbar cover in place. The other bolts are no longer in use with my setup.
And remove the inserts from the rollbar cover for the roof.
Slide the driver seat fully forward.
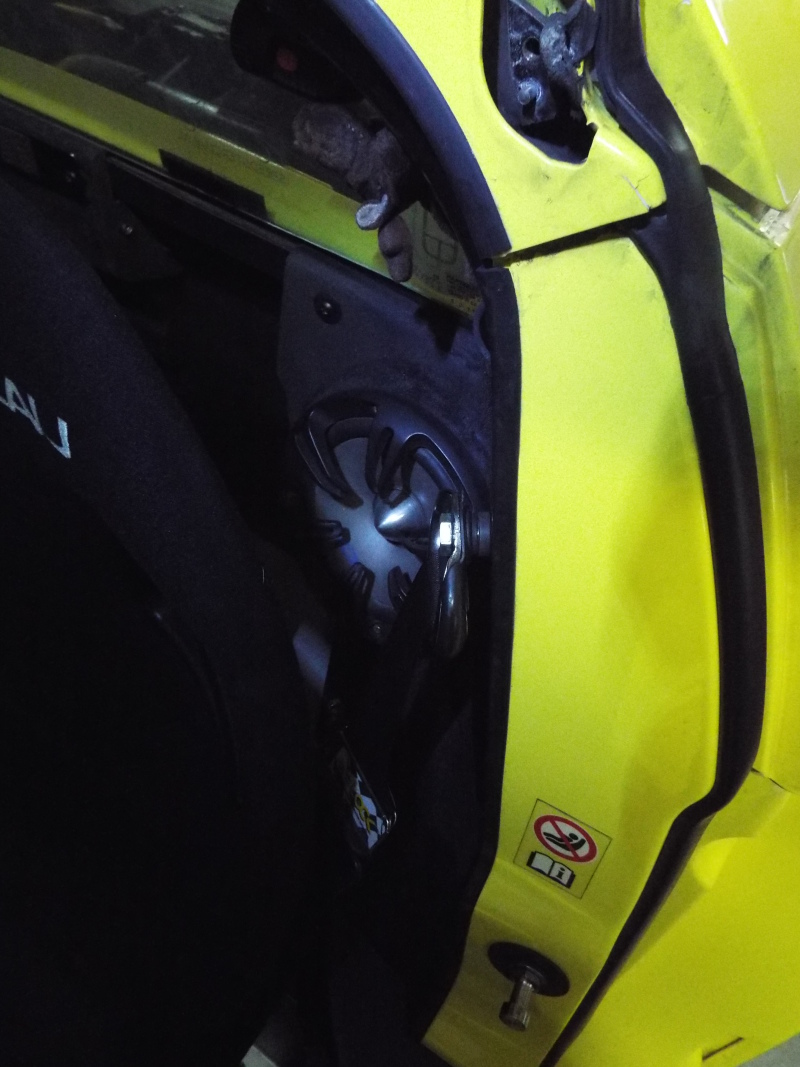
Remove the plastic screw and pry loose the velcro for the right speakerpod. Do the same for the left speakerpod.
Remove the two plastic screws and pry loose the velcro for the center cover.
Remove the left and right most nut holding the center of the rear clam down.
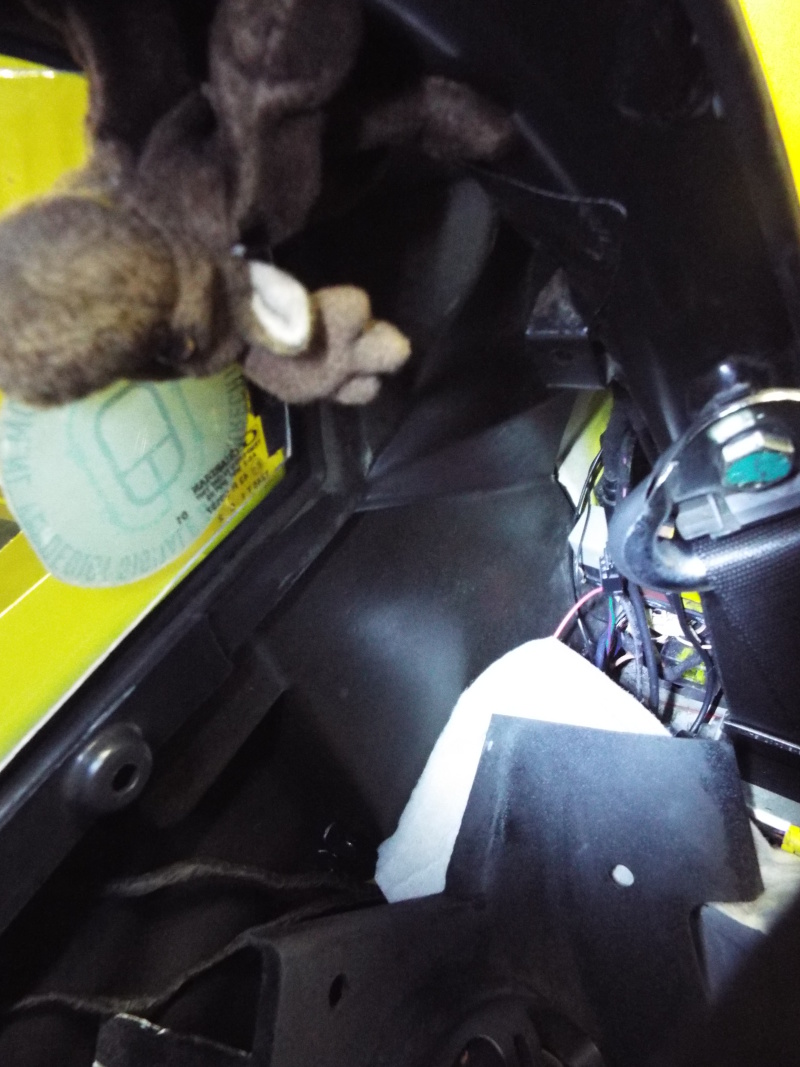
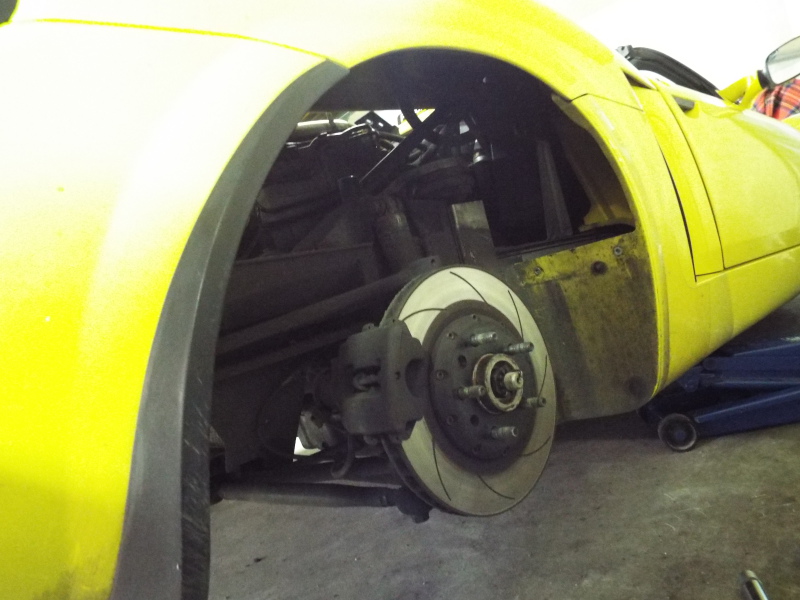
Also remove the far right and left bolts connecting to the clam. Jack up the right side of the car and remove the rear wheel.
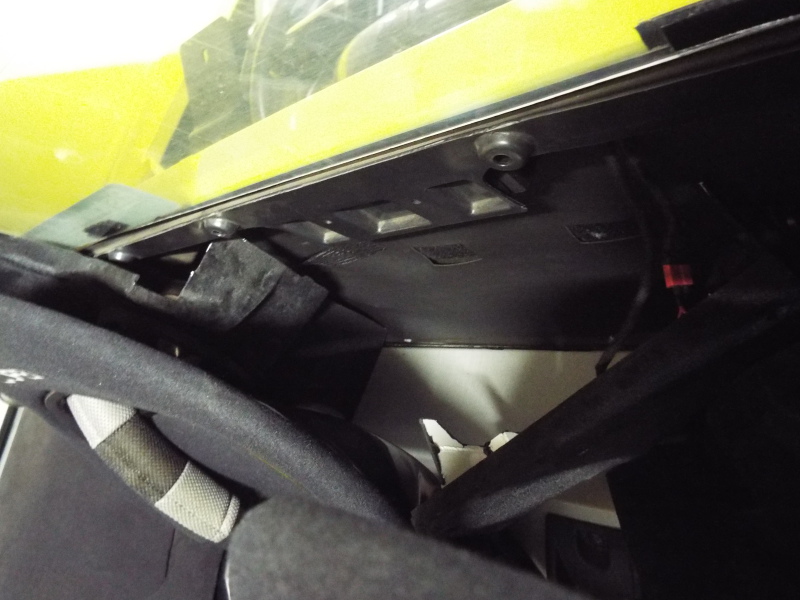
Remove the four aluminium bolts holding the wheelarch in and remove the wheelarch.
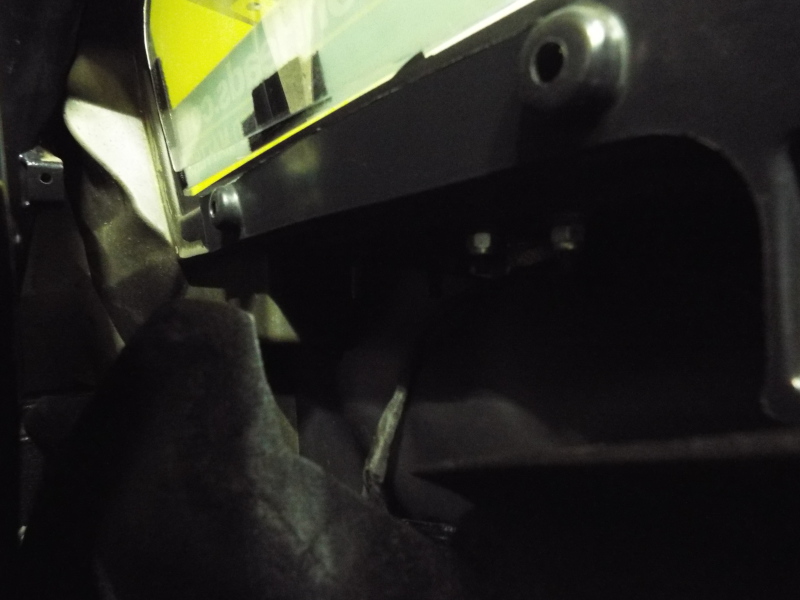
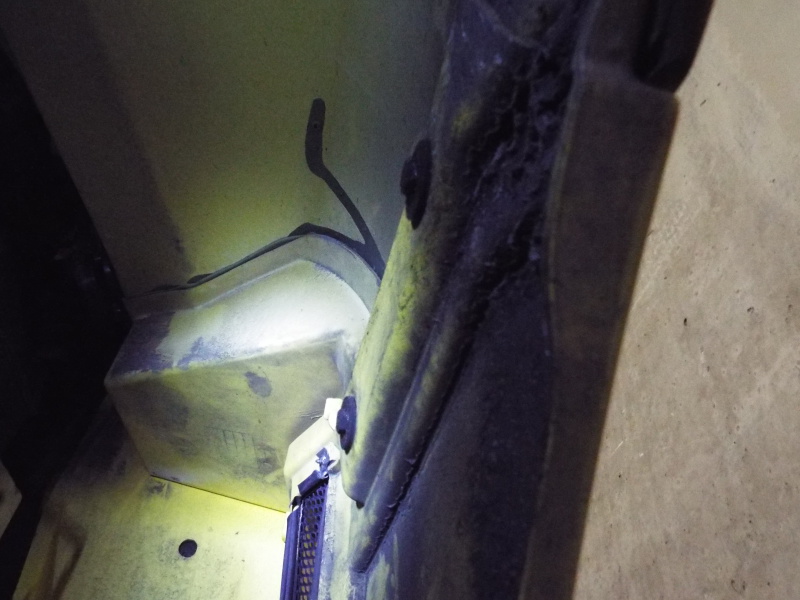
On the inside, towards the grill, remove the two bolts.
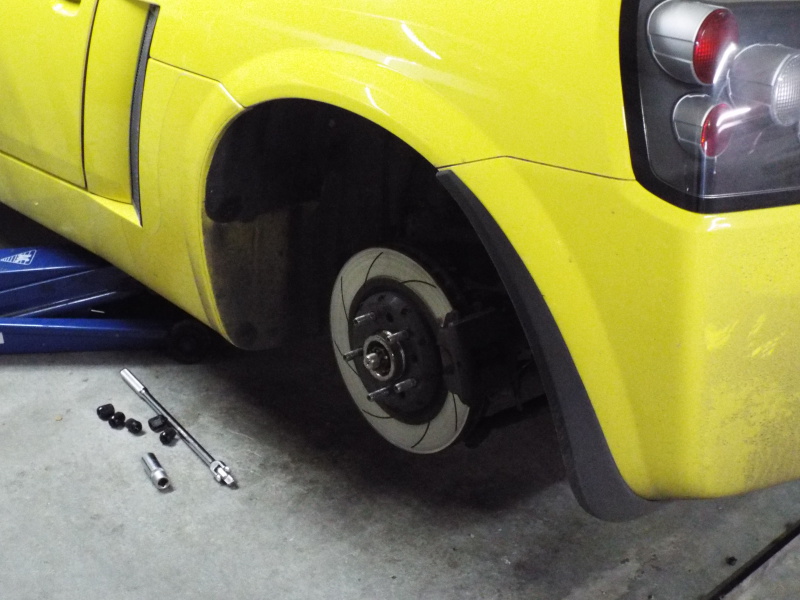
Put the rear wheel back on and lower the car.
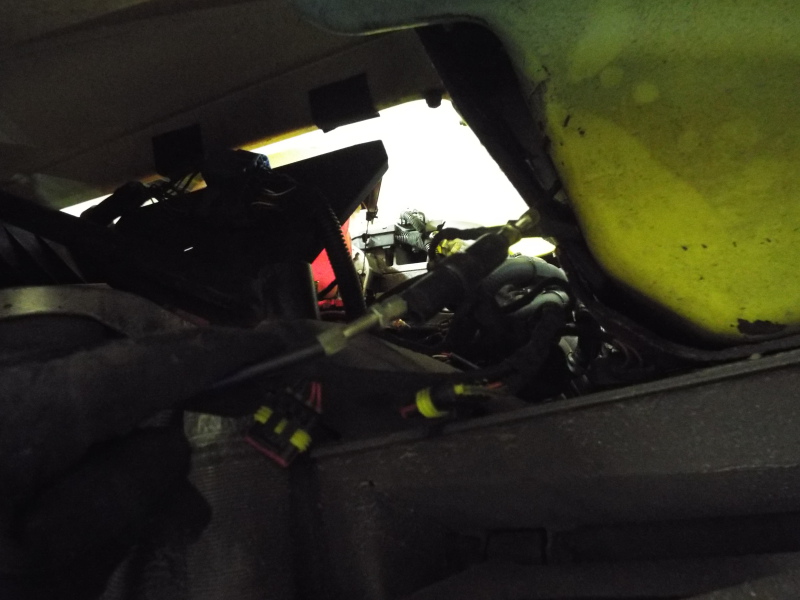
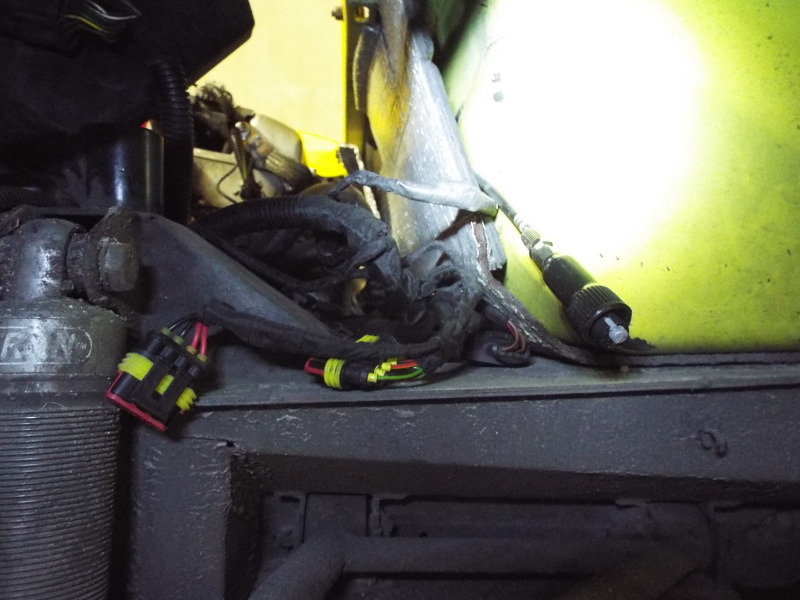
Do the same as on the right side, remove the four bolts holding the archliner in and remove the two inside bolts towards the grill. There are three connectors connecting the rear alarm switch and light cluster to the front of the car. Disconnect them.
Next, pull down the joiner for the enginecover release.
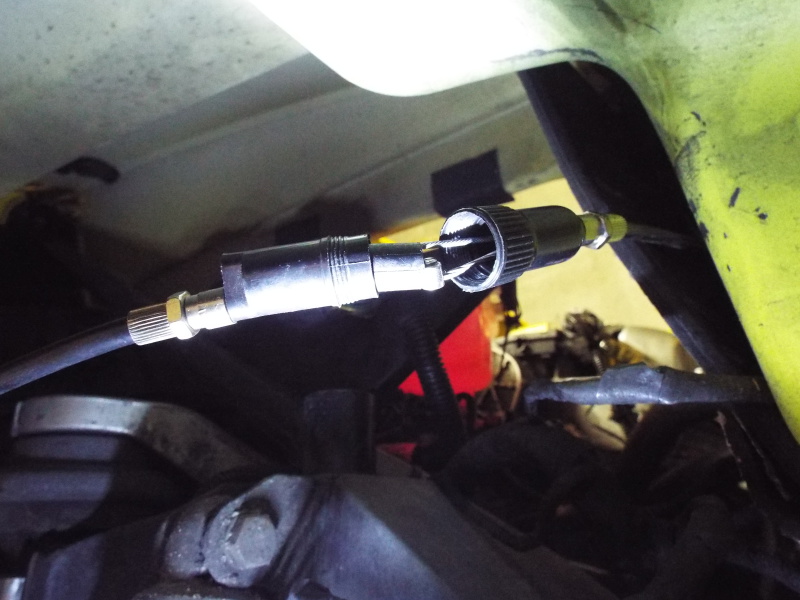
Loosen the nuts on both sides.
Openup the housing.
Unhook one side of the cable.
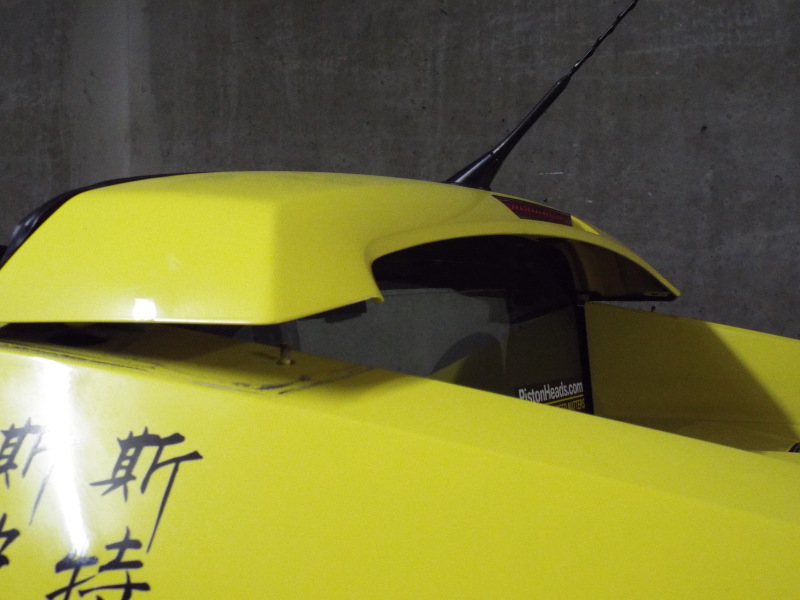
Lift up the rollbar cover a bit (watch the rubbers on the inside).
Now I normally get some help, can't lift the rear off by myself :)
And it's done. The procedure is still quite a lot of steps and can probably be improved on some more, but this already saves a lot of time. |