| |||||


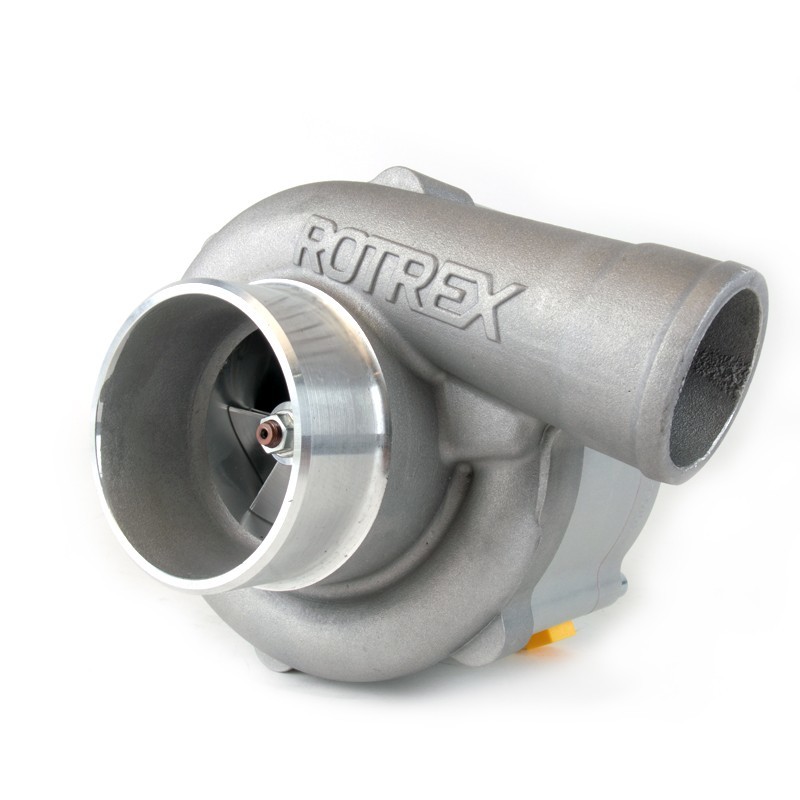
Rotrex superchargerWhile developing ObdTuner Peter has supercharged his Speedster with a Rotrex supercharger. This type of supercharger is like a mechanically driven turbo. The effect is that the supercharger builds less pressure at lower RPM's than a roots type supercharger, but it will make nice pressure at higher RPM's.
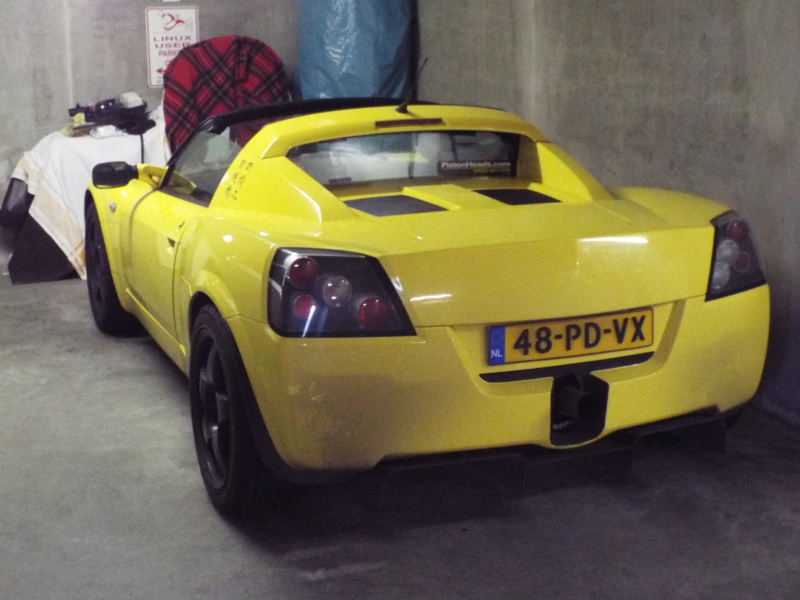
The effect of this kind of supercharger is more like driving NA. You still have to rev the engine to get the most power. This is something I really like in a sportcar. You have to work at it to keep in maximum performance. It also (for me) has the additional benefit of limiting torque, by just keeping the engine revs low. Especially in slippery conditions this is a benefit for someone who doesn't have Tiff Needell like car control :) As Peter is moving on to higher power setups and testing different configurations on his car to further develop ObdTuner, I purchased his bespoke Rotrex setup.
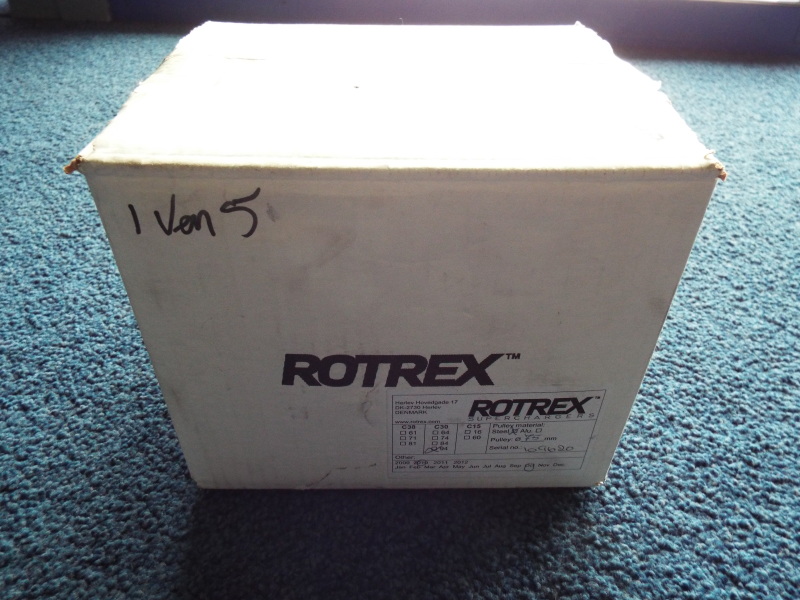
For Rotrex selection, Peter has opted for the C30-94, which should be appropriate
for this size of engine. For choosing the pulley, the rev limit of the engine would
be about 7000rpm. While discussing the pulley size for the Rotrex with the supplier,
they advised to allow a bit of over speed of the Rotrex. This will compensate for
belt slip and a little over speed should not be a problem.
The setup ended up consisting of a large number of parts. Here is a bit of a list:
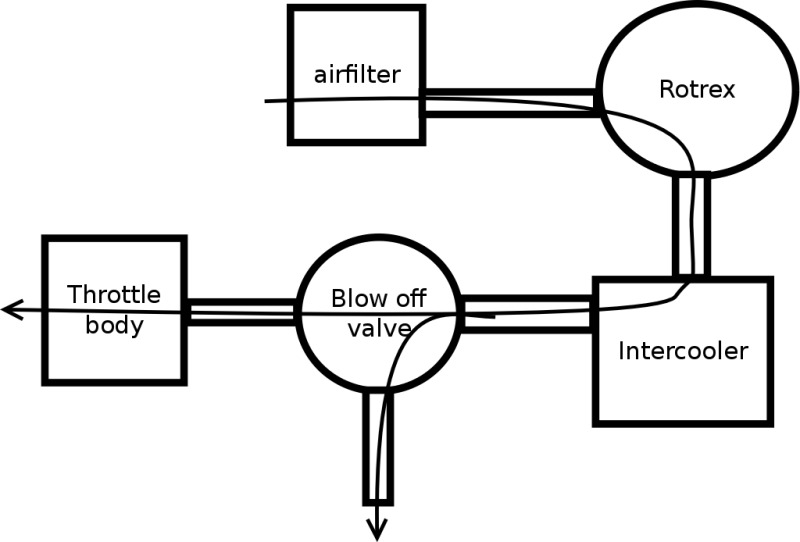
The configuration I'm using will start out as the same configuration that Peter used on his car. The airflow looks like this.
The image shows the two routes the airflow can take:
The advantages of this setup are:
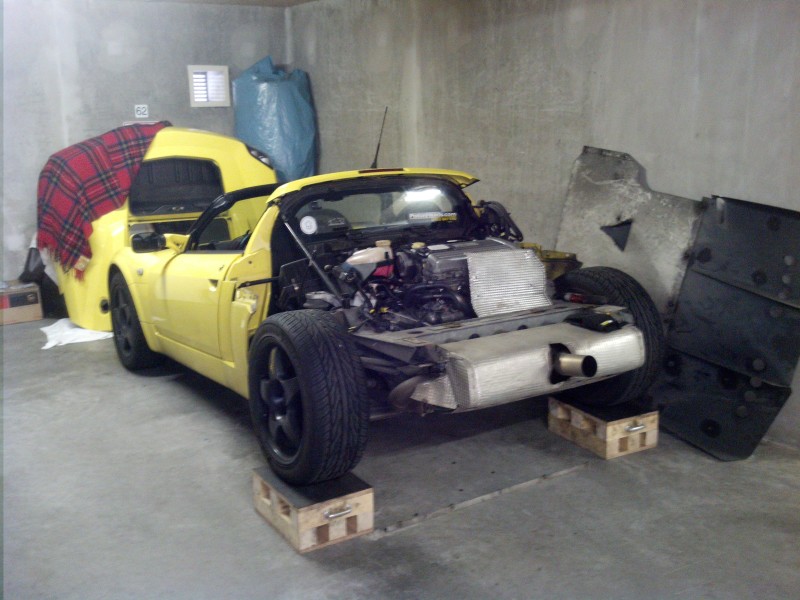
To start assembly it is best to remove the rear clam to get easier access.
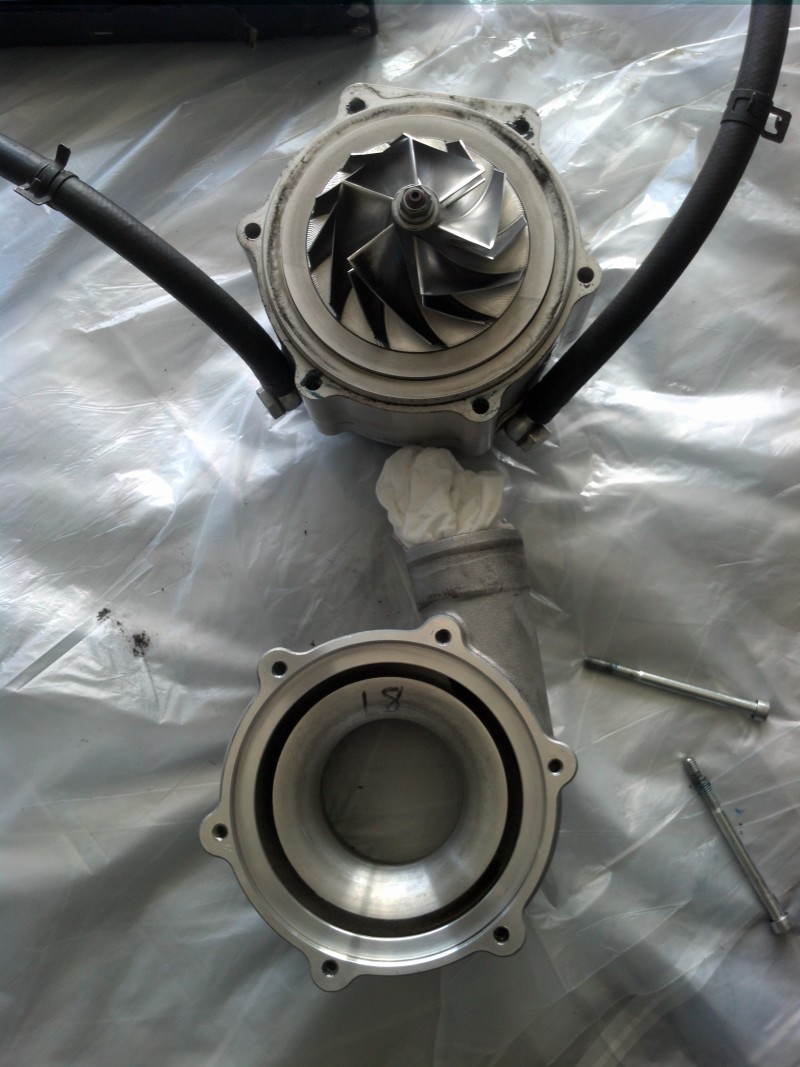
Rotrex mountingThe supercharger going on the car is the Rotrex C30-94. Below is a link with some information about the compressor.
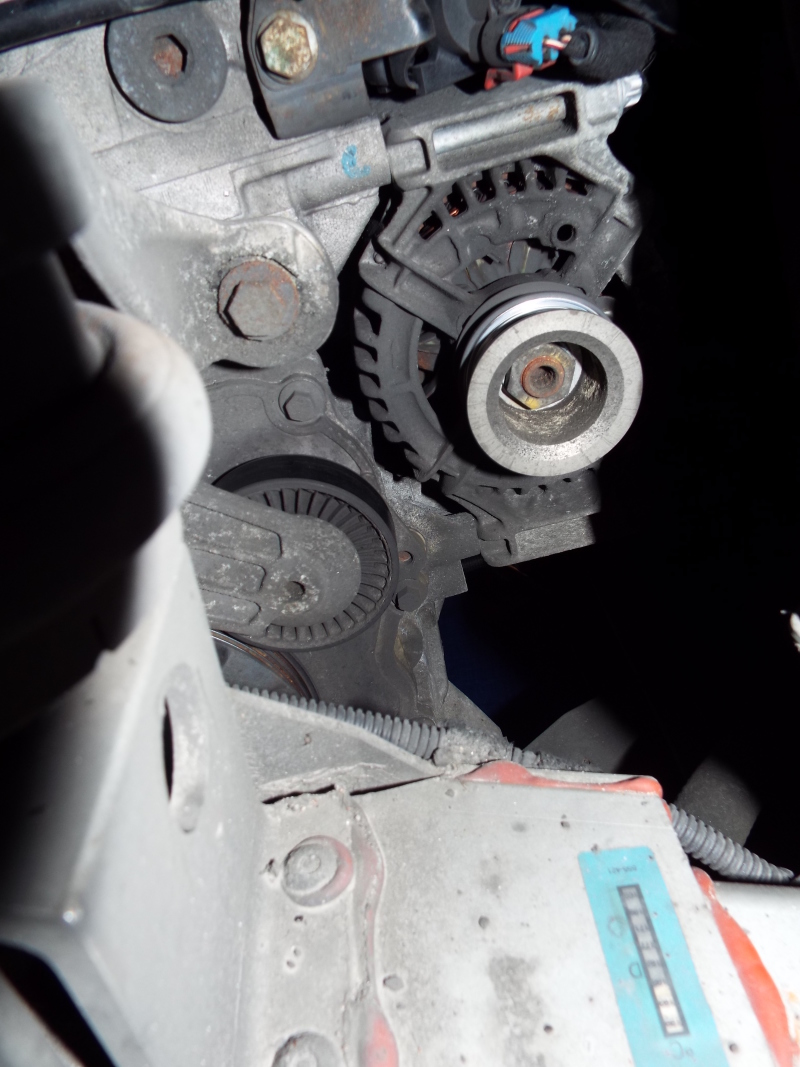
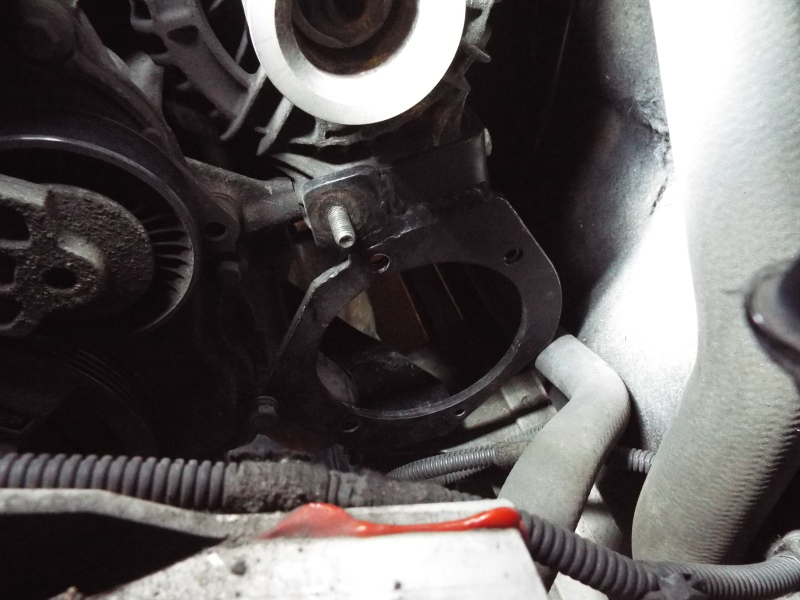
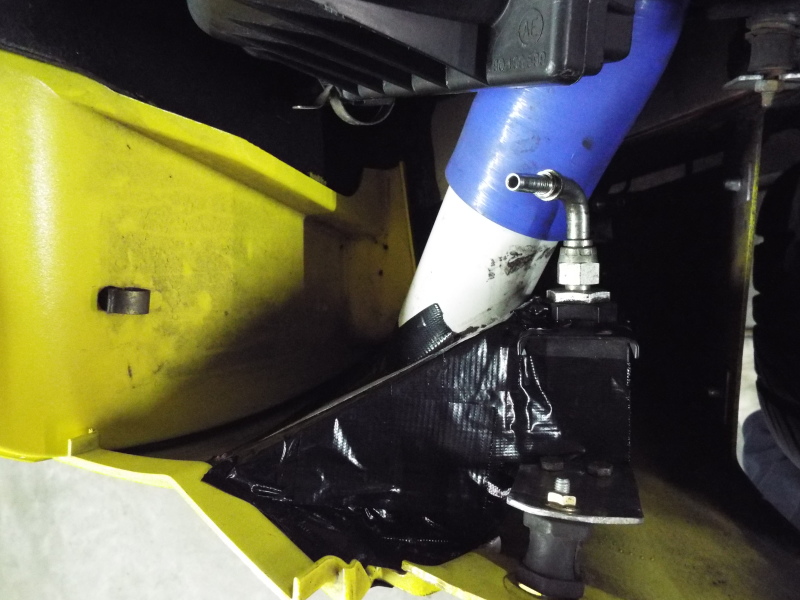
Then the first thing to start is to mount the Rotrex. It is going to be low down on the engine block, where the AC compressor is normally mounted. So first remove the belt.
You can see where the Rotrex needs to go.
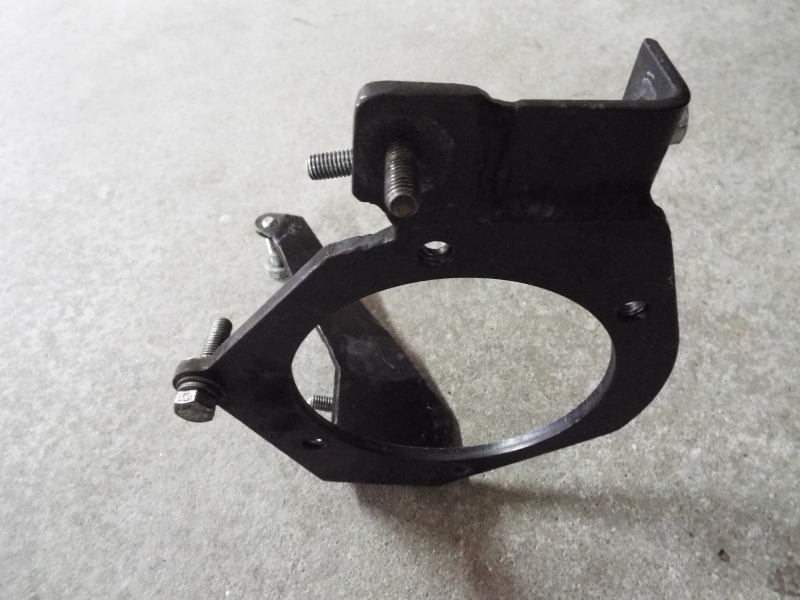
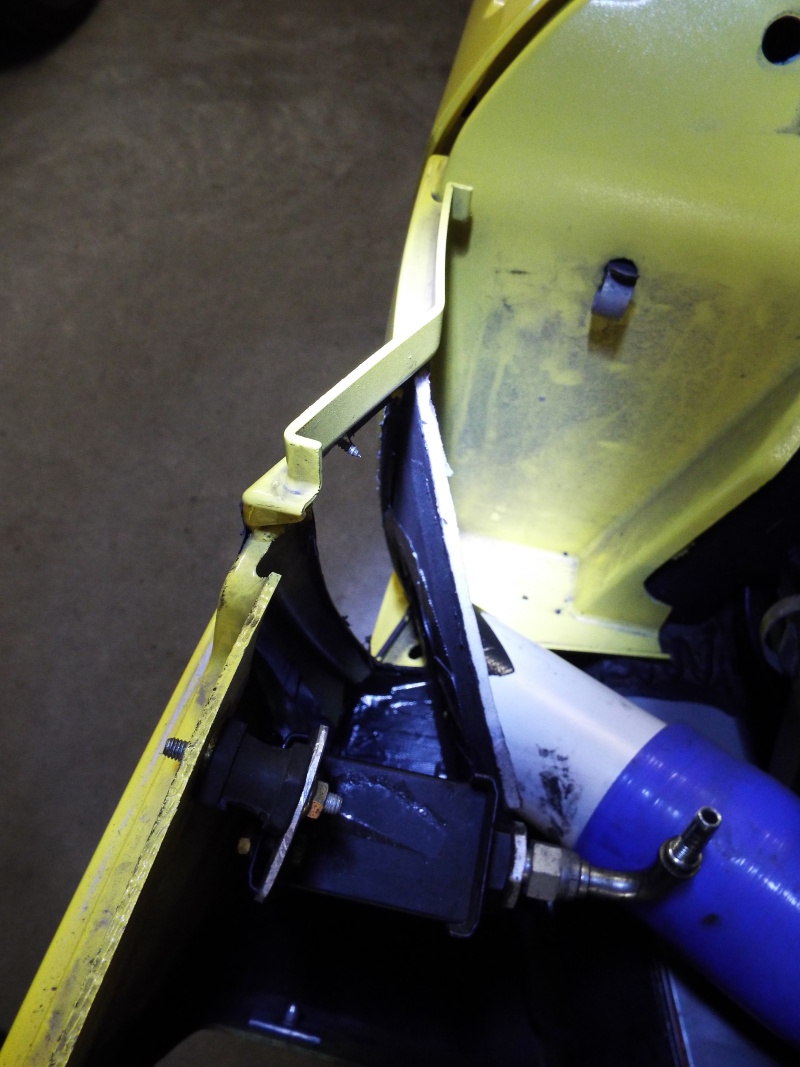
To mount the Rotrex there, the kit includes a custom bracket that needs to be bolted in place.
And this is the bracket in place.
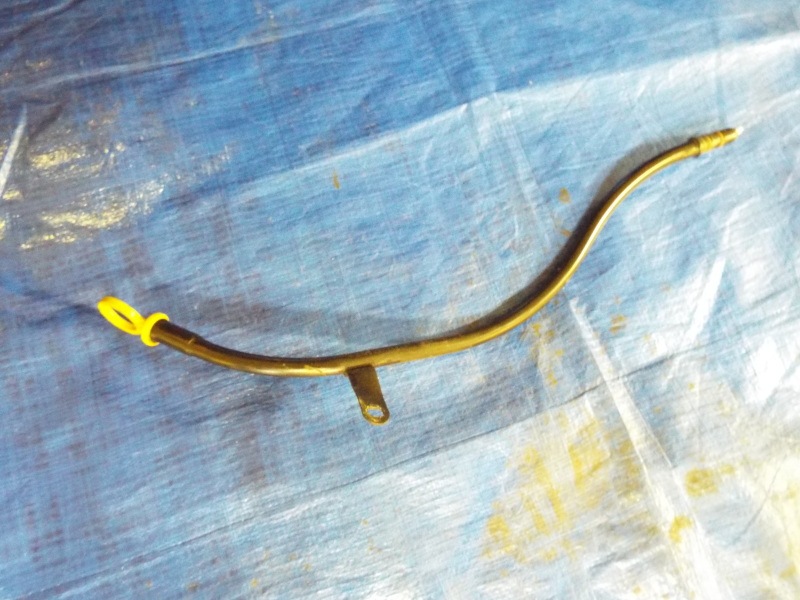
Before putting in the Rotrex, the oil dipstick has to be removed. It needs to be modified later on.
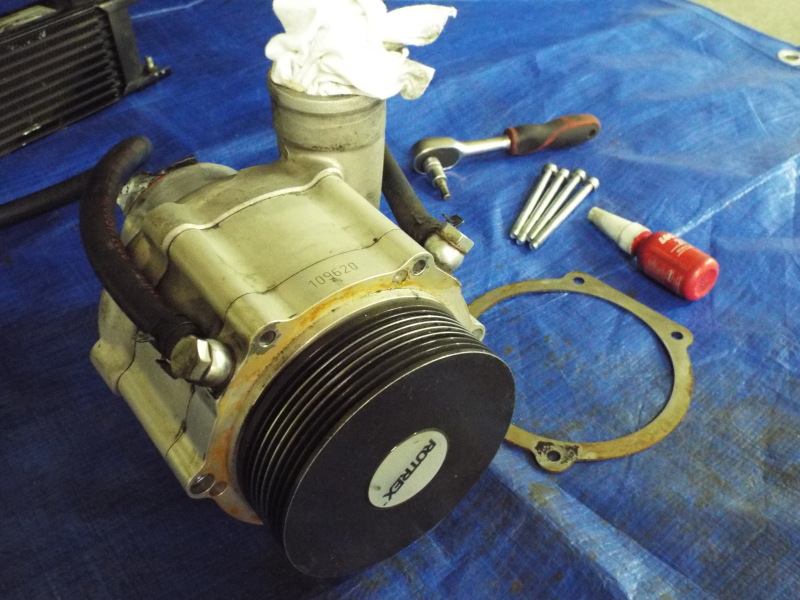
I prepared the Rotrex by plugging all lines and air inake and exhaust to prevent stuff dropping into it.
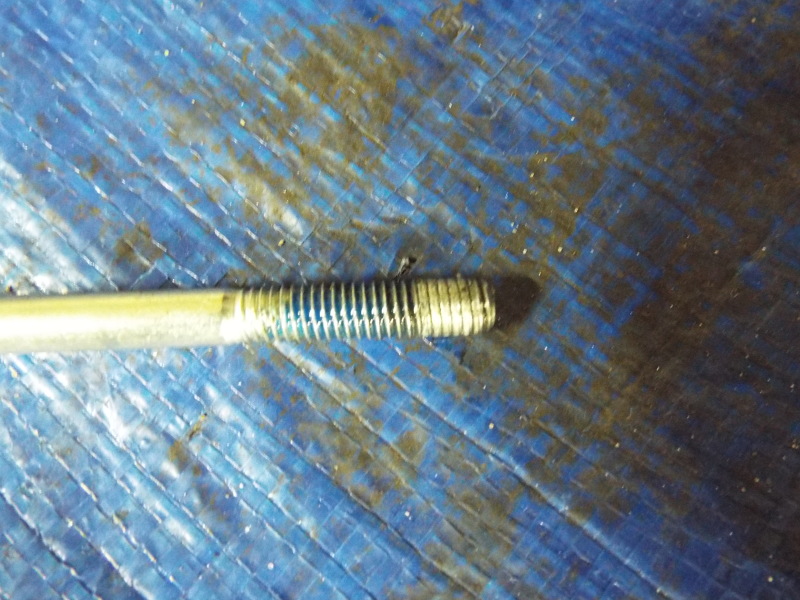
During the development process on Peter's car, he had to take the Rotrex on and off the car loads of time. The bolts used to mount the Rotrex go into the aluminium of the body of the Rotrex. It seems this weakend over time and I ended up stripping the threads on one of the mounting points.
So back off with the Rotrex, and split it up to see where the thread was stripped.
We put in some some helicoil, and all was good again to bolt the Rotrex back in place.
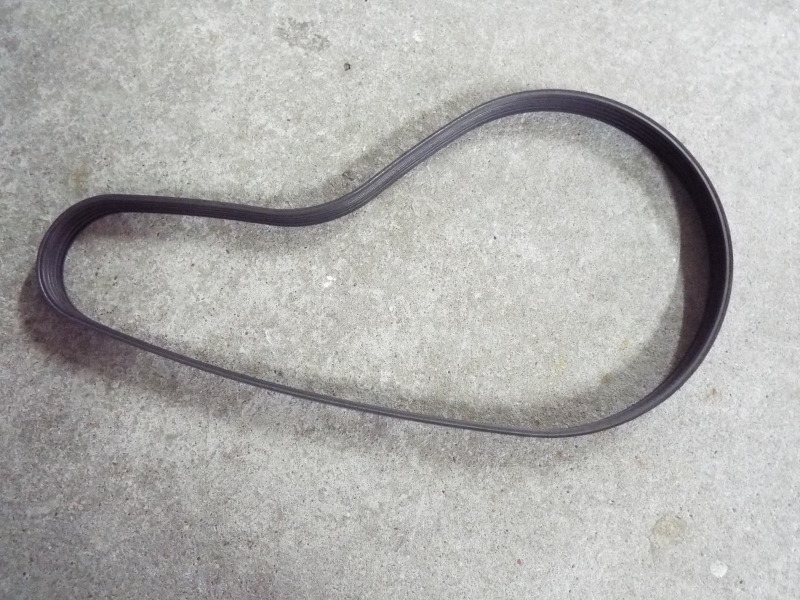
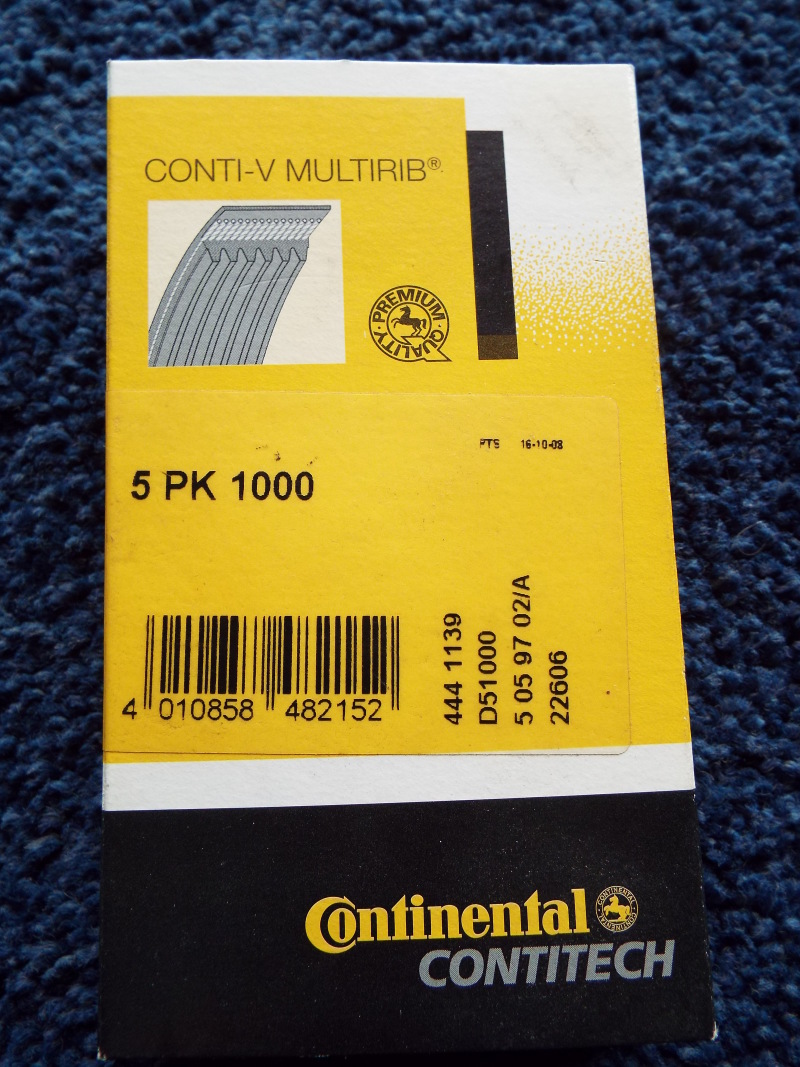
Last, a new belt needs to be placed to drive the Rotrex.
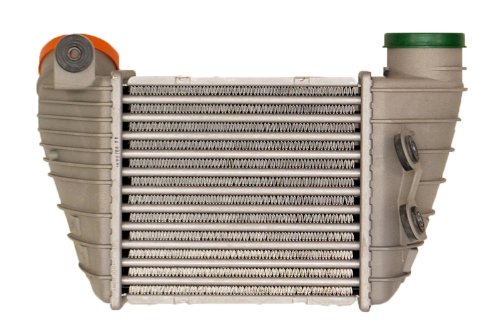
IntercoolerNext up is the start of mounting the intercooler. This is an Valeo 817487 intercooler as used on (for example) the Audi TT. It is going to be mounted in the passenged side side-pot, just like in the turbo cars.
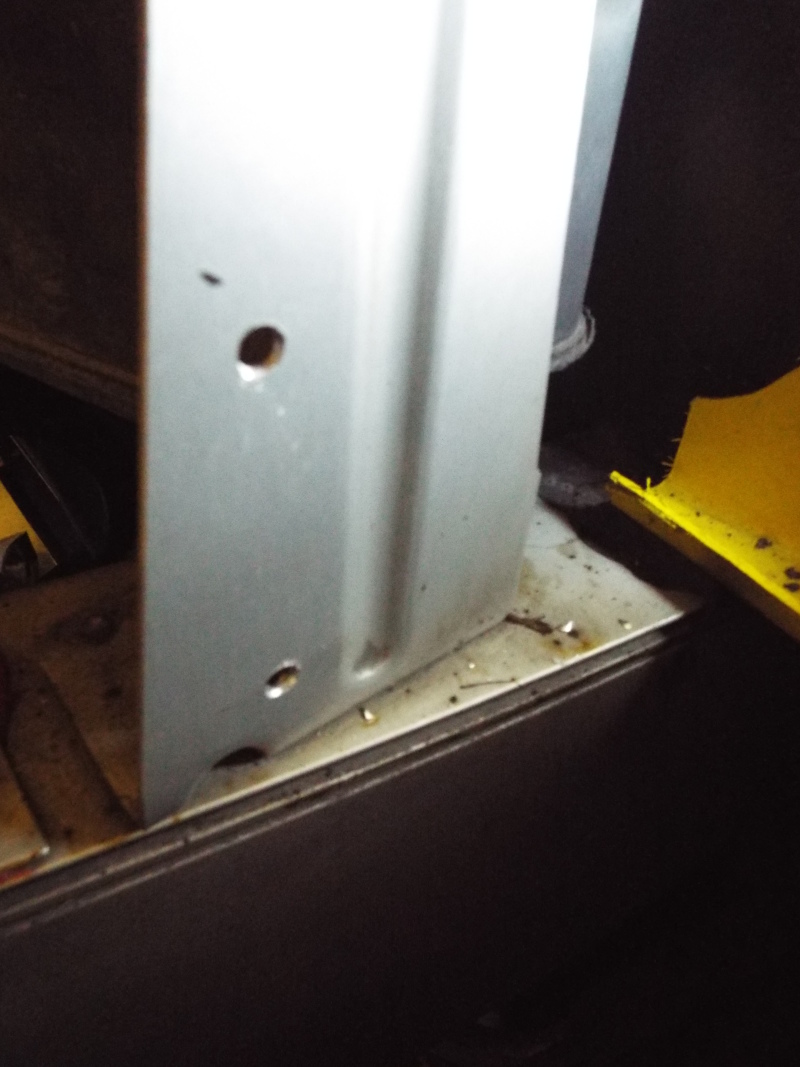
First we need to put a bracket in place. Drill two holes in the alumiunium fo that.
Next, bolt the bracket in place.
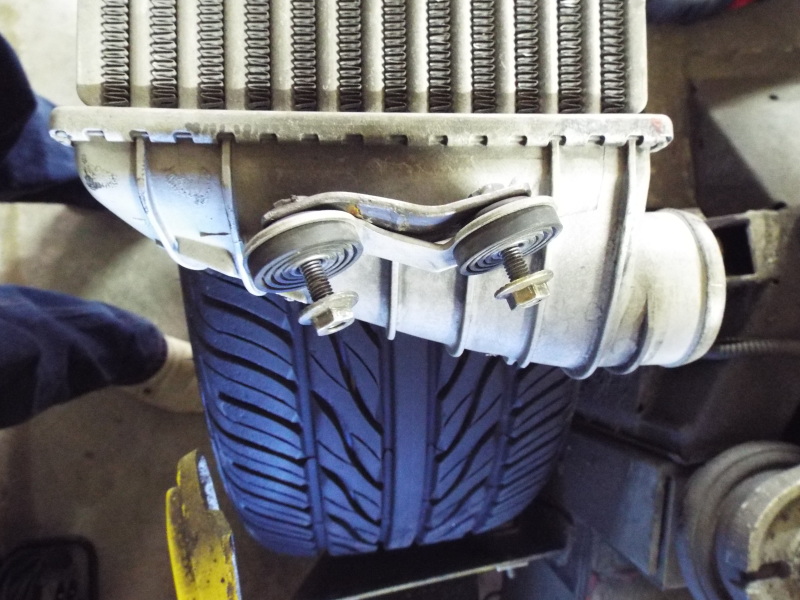
The bottom of the intercooler will bolt to the bracket.
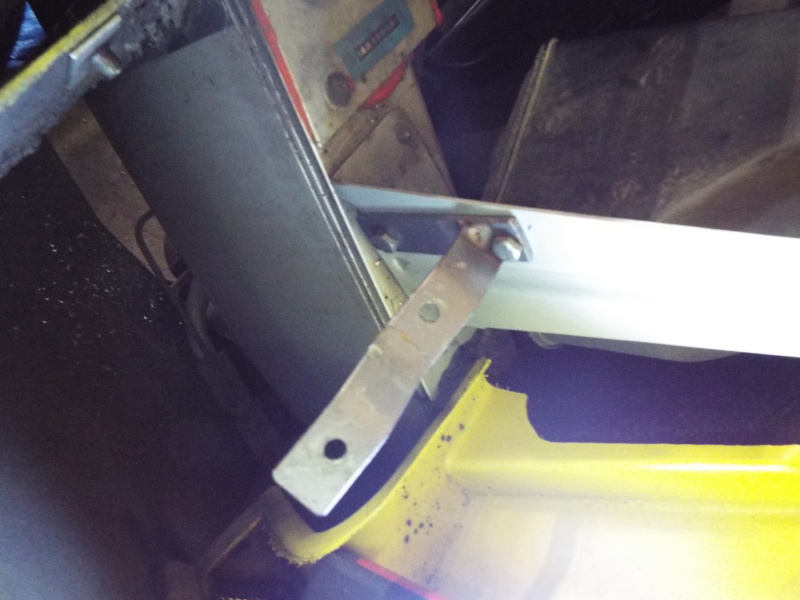
For the upper support we bolt a bracket to the rolloverbar support.
It is pretty tight with alle the hoses running over there for the tank ventilation.
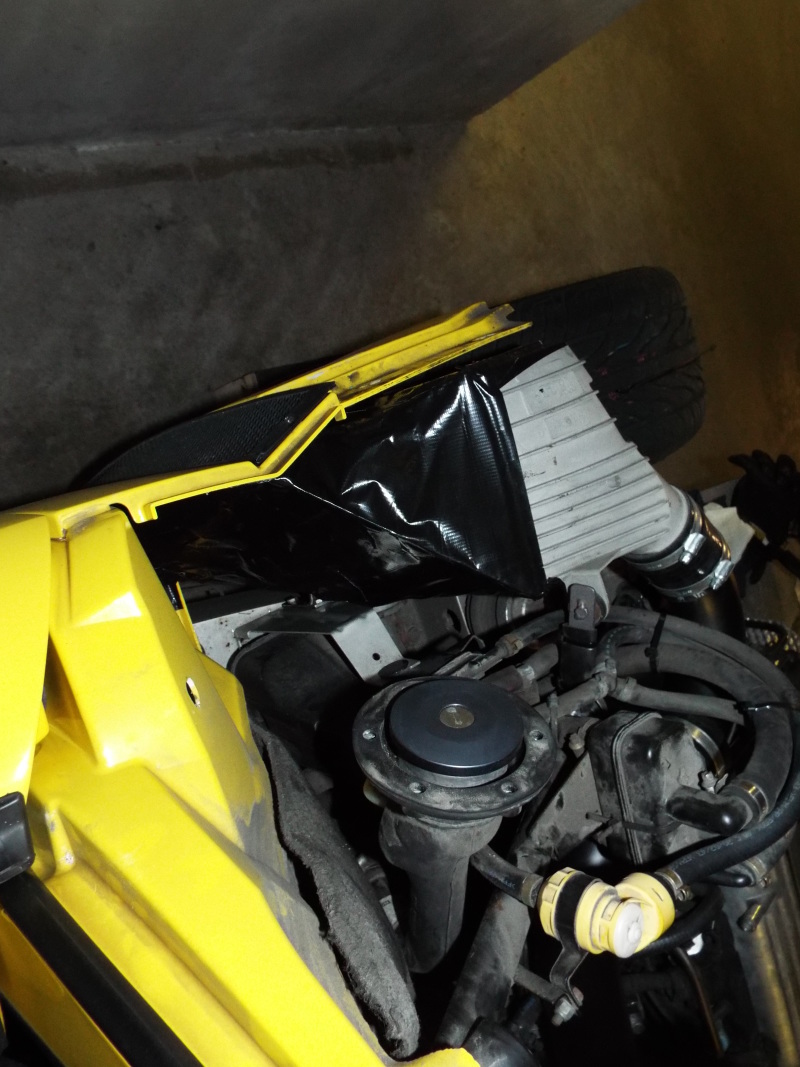
In the end it looks like this bolted in place.
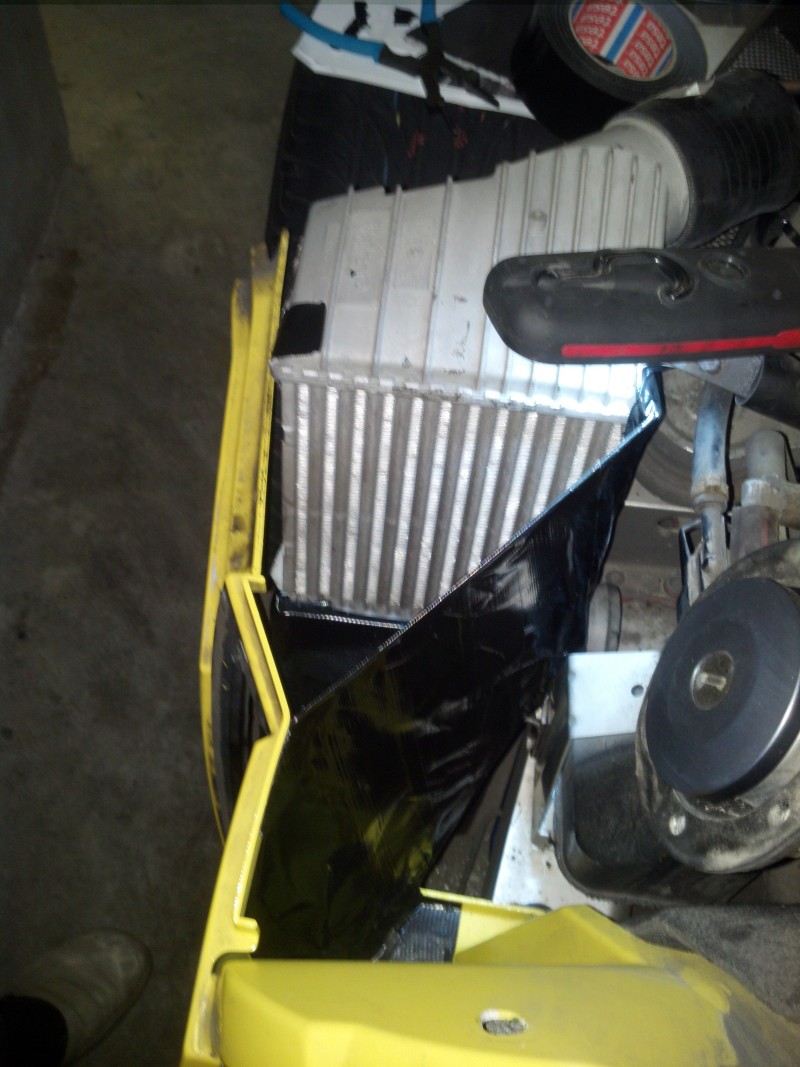
The intercooler needs as much air as it can get through the mesh on the side. To help this, I used a tape construction to guide the air. First is an air guide for the bottom part.
Next is the side piece, preventing the air from spilling to the engine compartment.
And the last bit is the top.
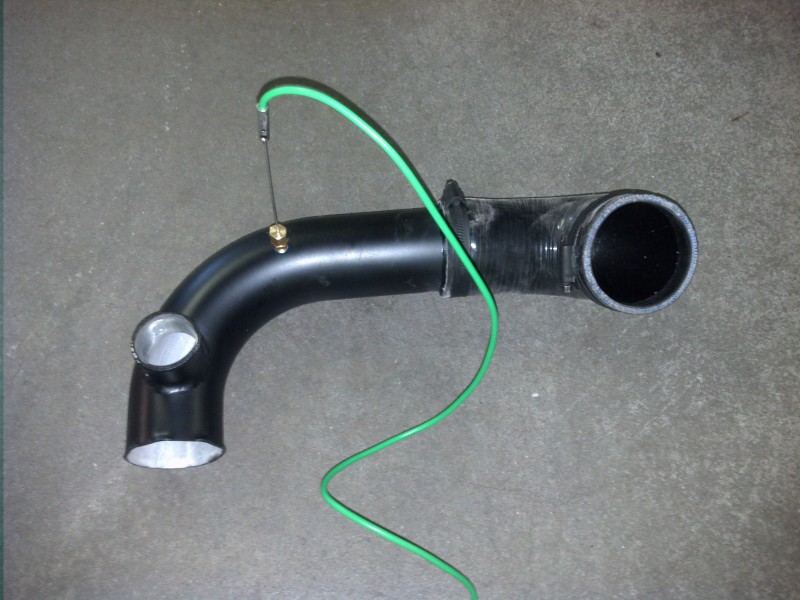
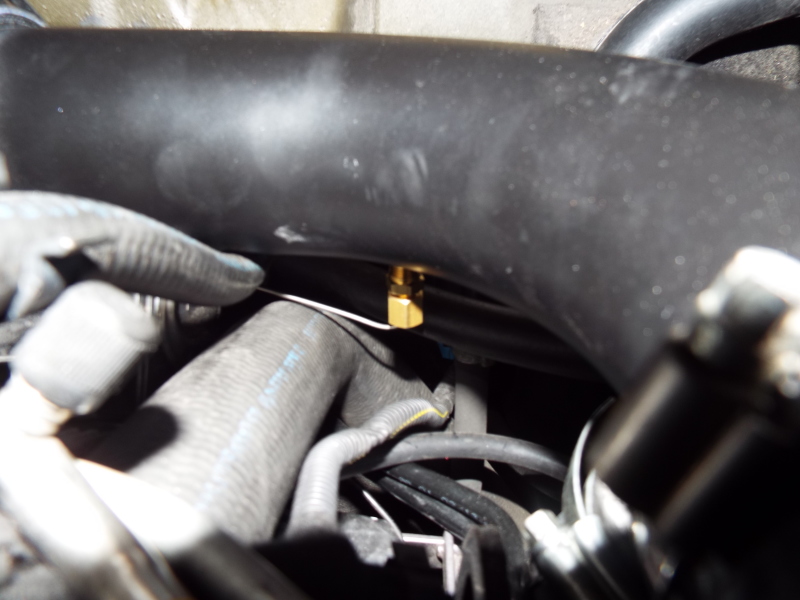
Intercooler pipingOne of the pipes going from the intercooler to the throttlebody has a connection for a thermocouple. This is useful to measure post intercooler temperatures. Combined with a pre intercooler sensor, effeciency of the intercooler can be determined. In the image you can also see the extra outlet where the blow off valve will be connected to.
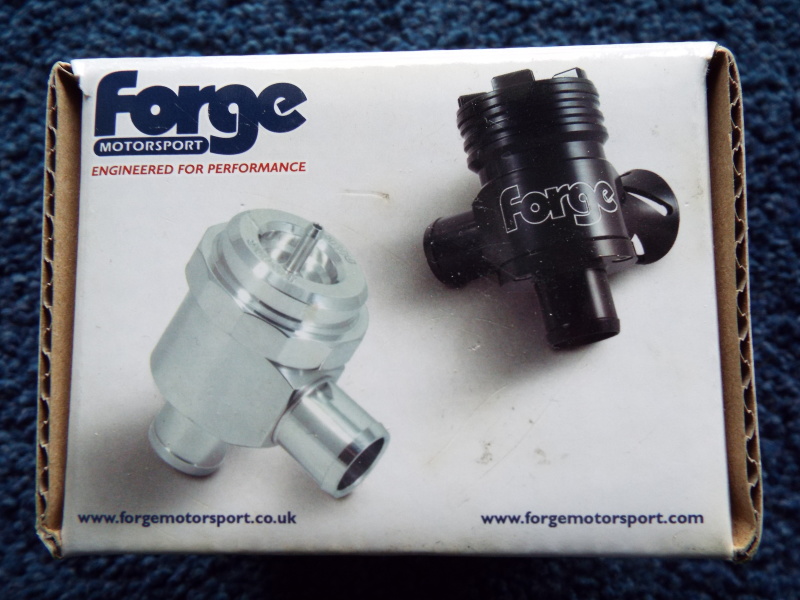
The blow off valve being used is a Forge fmcl007p. This is one of the largest blow off valves available. As most of the air the Rotrex is pumping is going throught this valve, diamaeer is important.
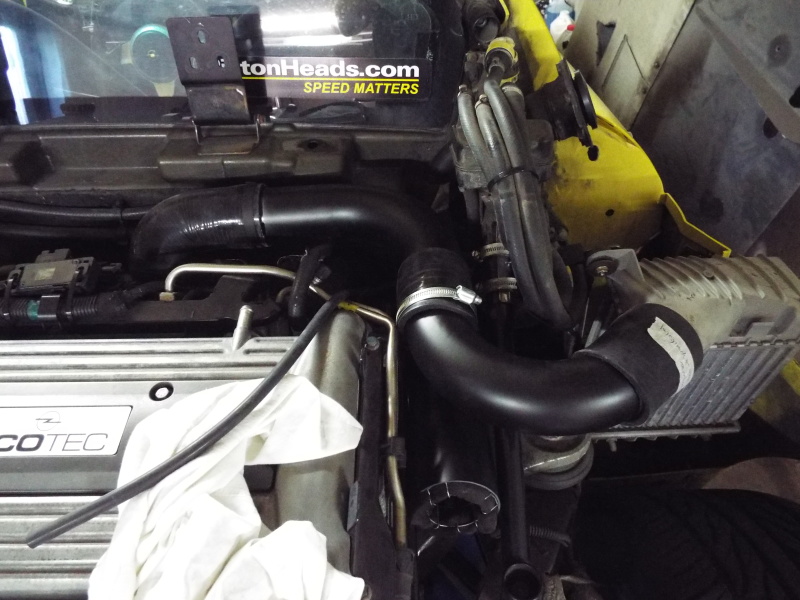
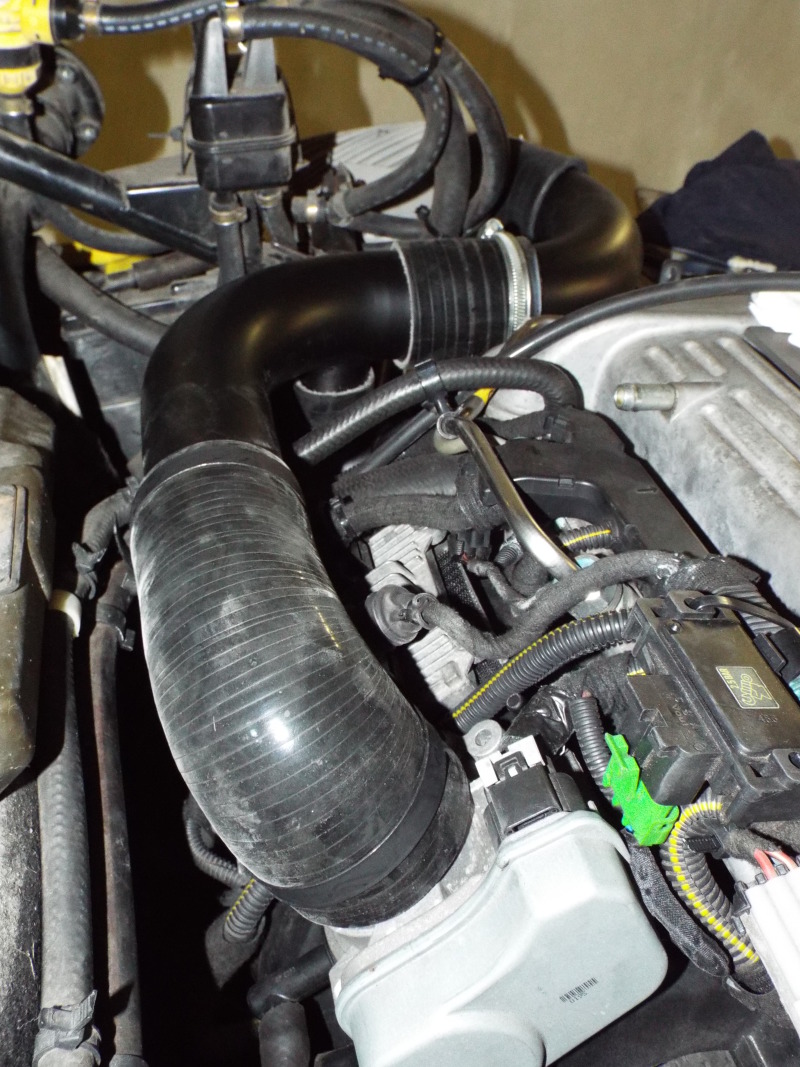
To get an idea if all the parts fit, I mounted the outlet of the intercooler to the intake of the throttle body. Below you can see the outlet of the silencer for the blow off valve.
In the 90 degree bend you can see a T going down. This connects to the blow off valve. The valve is operated by the vacuum of the intake manifold. So as soon as there is vacuum, the air going through the Rotrex is being dumped out the silender by the blow off valve.
And here you can see the thermocouple in place. A tight fit.
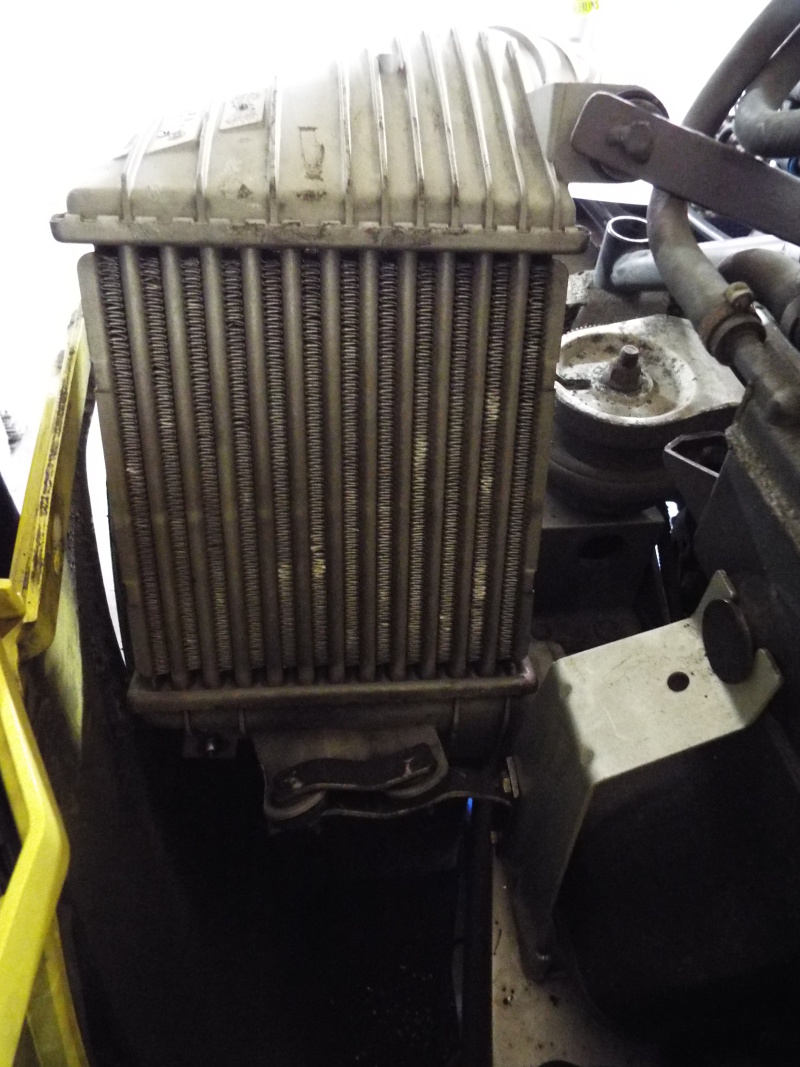
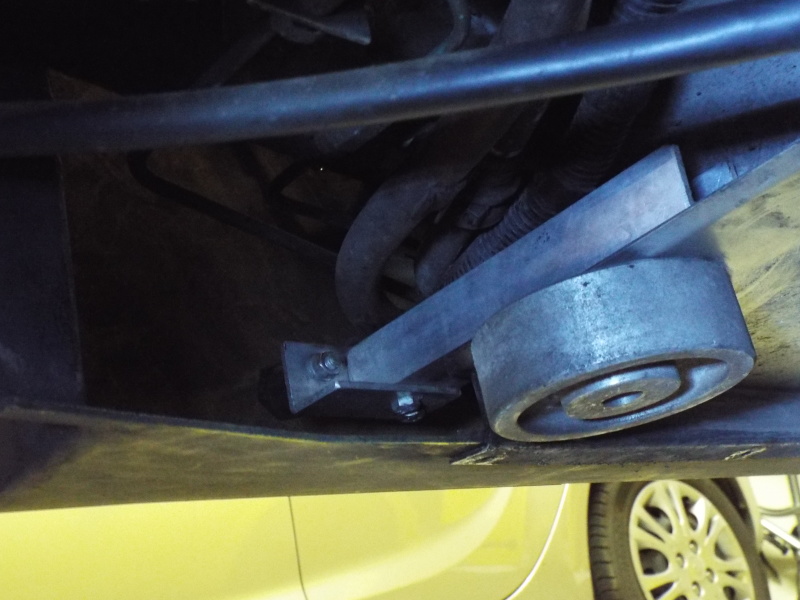
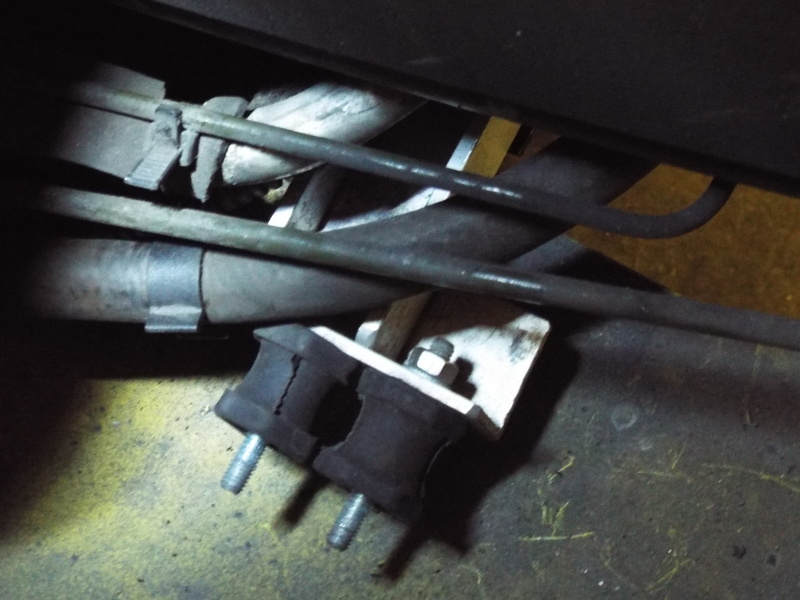
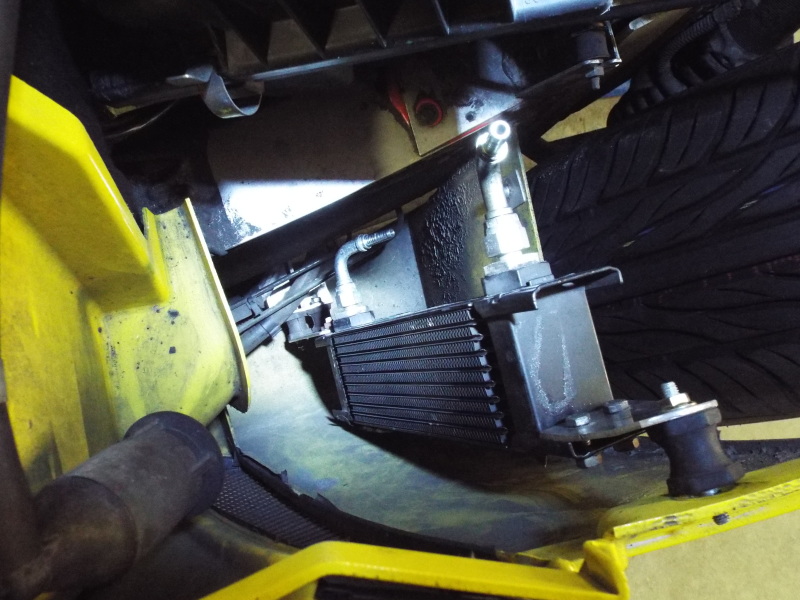
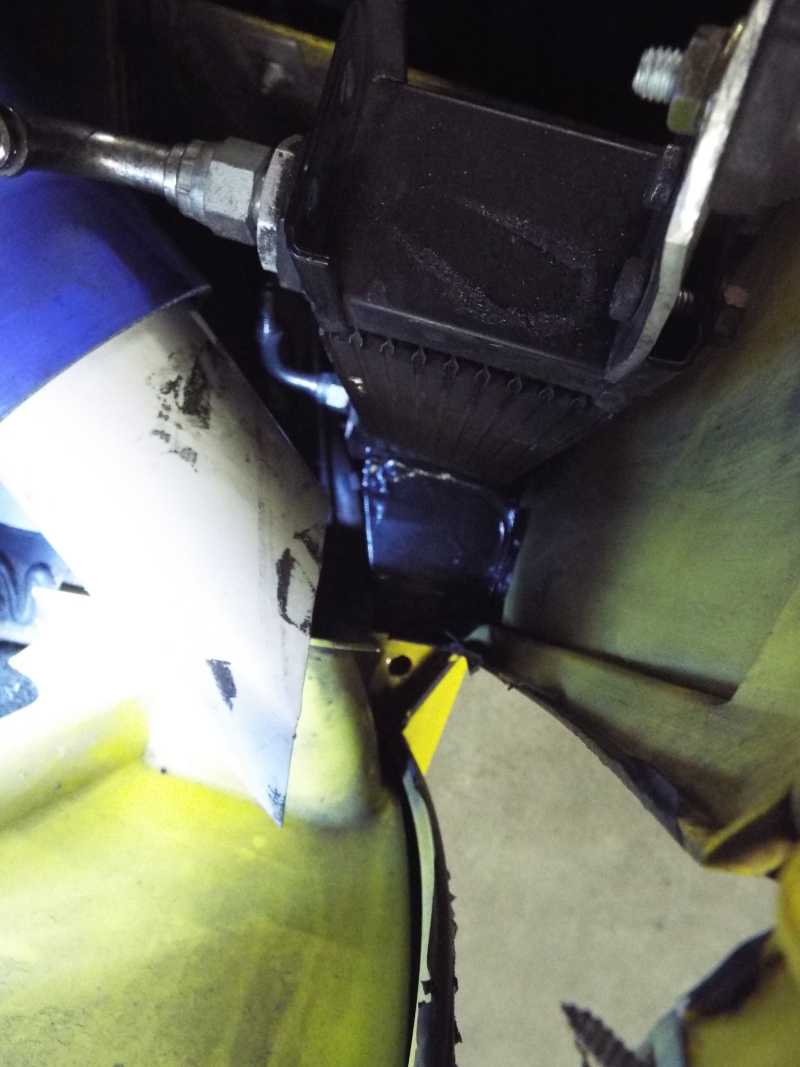
Rotrex oil coolerNext is the oil cooler for the Rotrex. It is going to be mounted in the driver side side-pod. To start we bolt a bracket in place down low, near the jack point.
From the top you can see the mount points for the oil cooler.
The radiator attaches to the lower mounting point and to one of the clam mounts on the top.
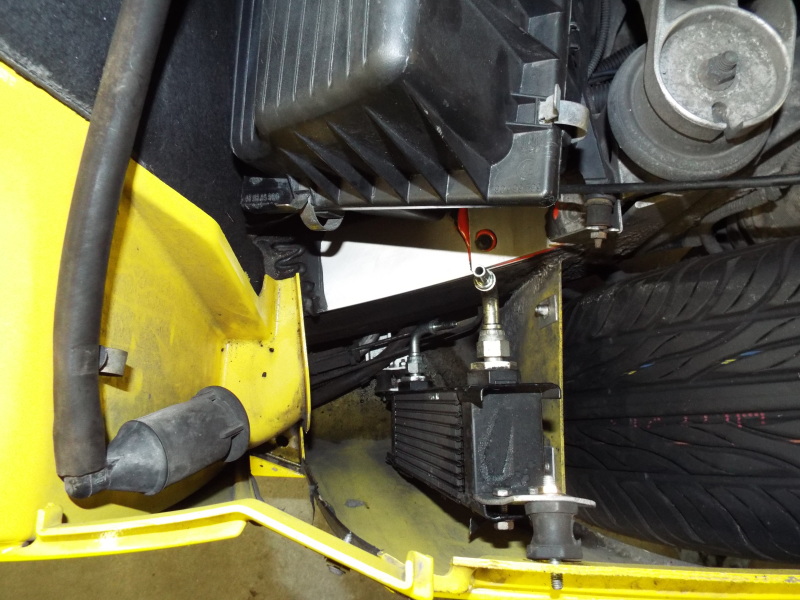
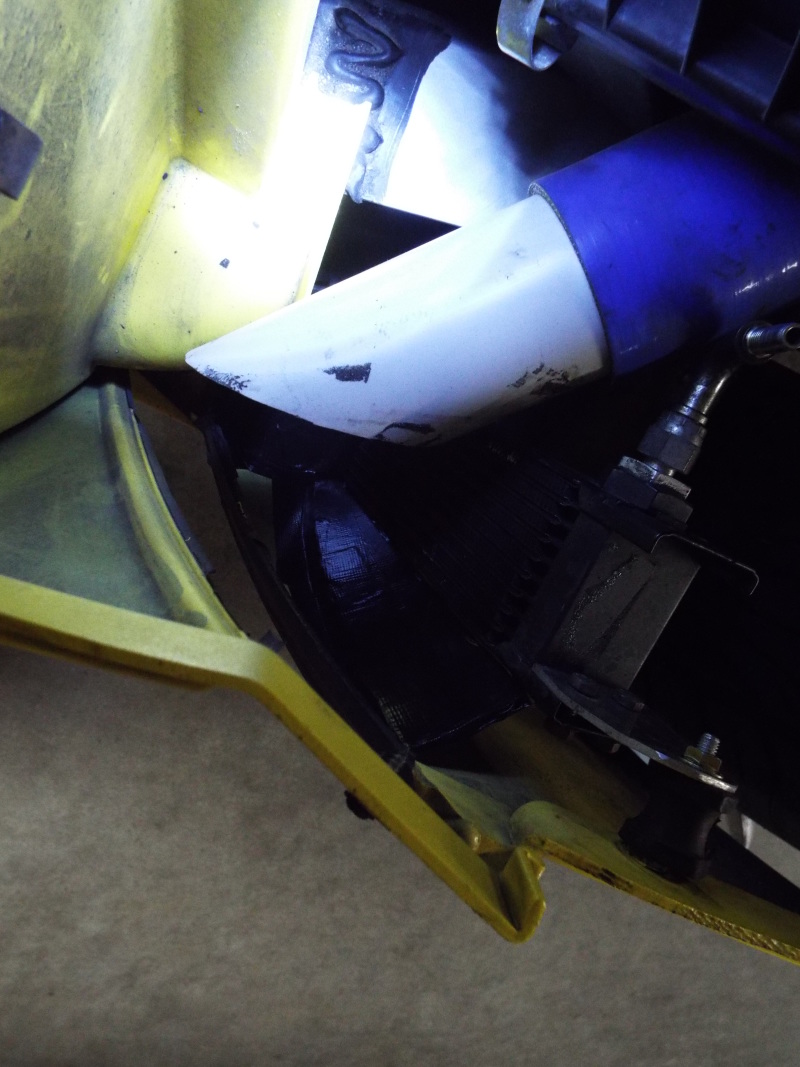
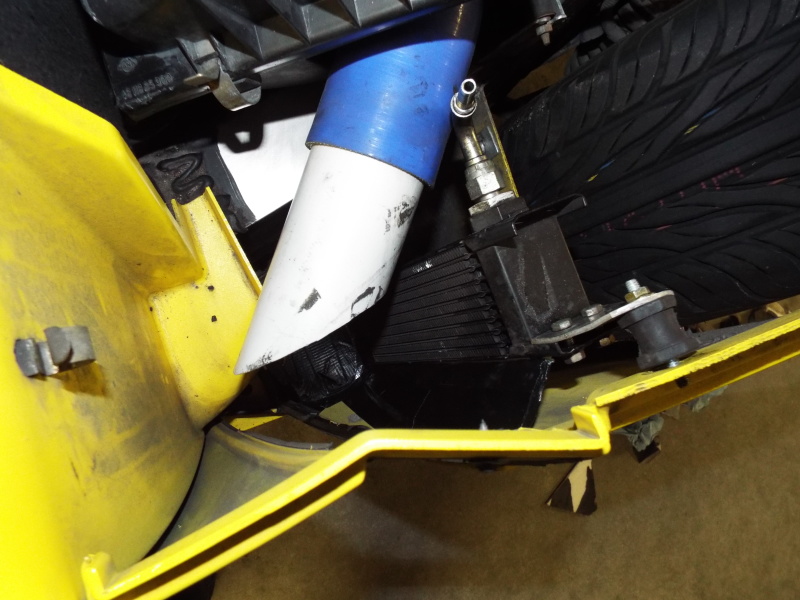
Airbox intakeThe airbox intake is located in the same area as the Rotrex oil cooler.
The intake pipe to the airbox extends towards the side of the car.
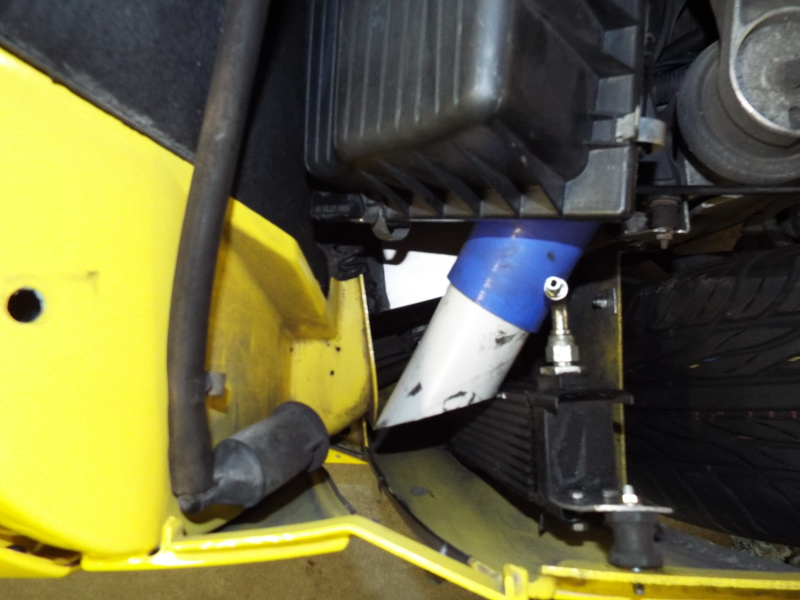
To get good seperation from the rest of the engine bay, the same kind of seperation is going to be placed as with the intercooler. First close off the bottom part.
Next the curvy part going up to the side pod.
Then close off the parts next to the oil cooler.
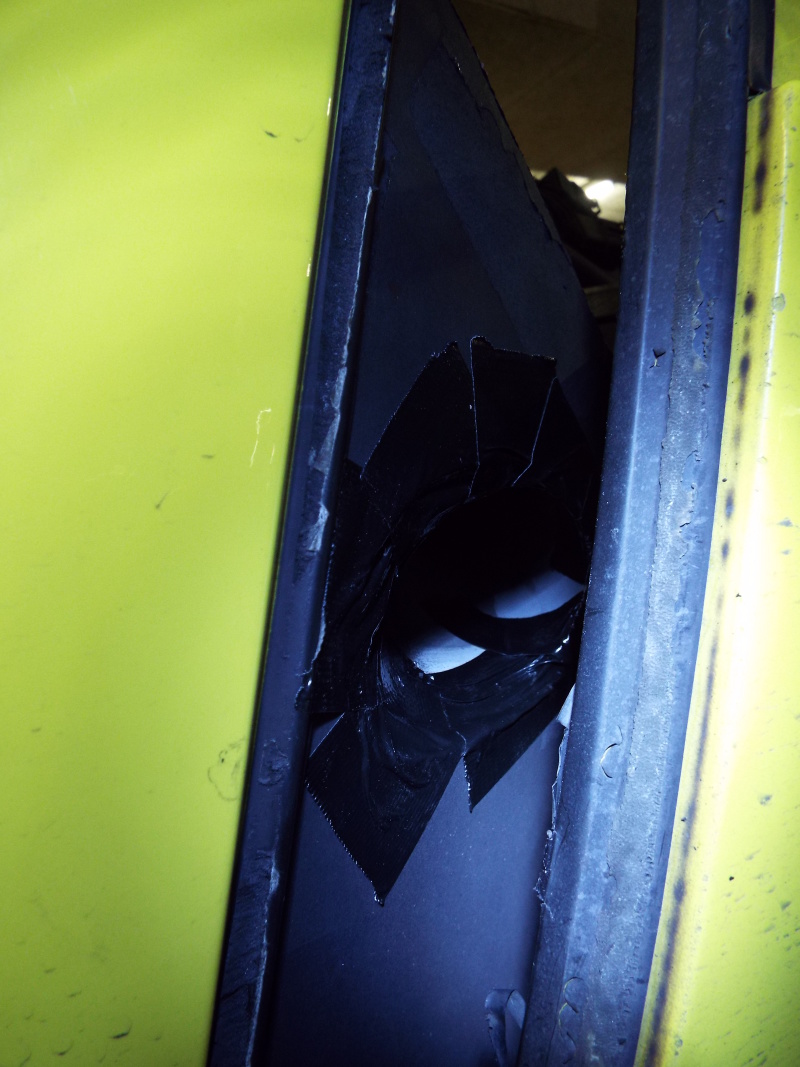
Then a large plate is put in place, which has a central hole were the airbox intake pipe fits in.
From the top you can see it is now almost fully enclosed.
The last part is closing off the top.
Oil dipstickThe normal location of the oil dipstick (to the right of the throttlebody) is getting very crowded with all the intake piping.
It needs to be moved to the left of the throttlebody. Using a little persuasion, you can bend the oil dipstick so it will end up on the left side.
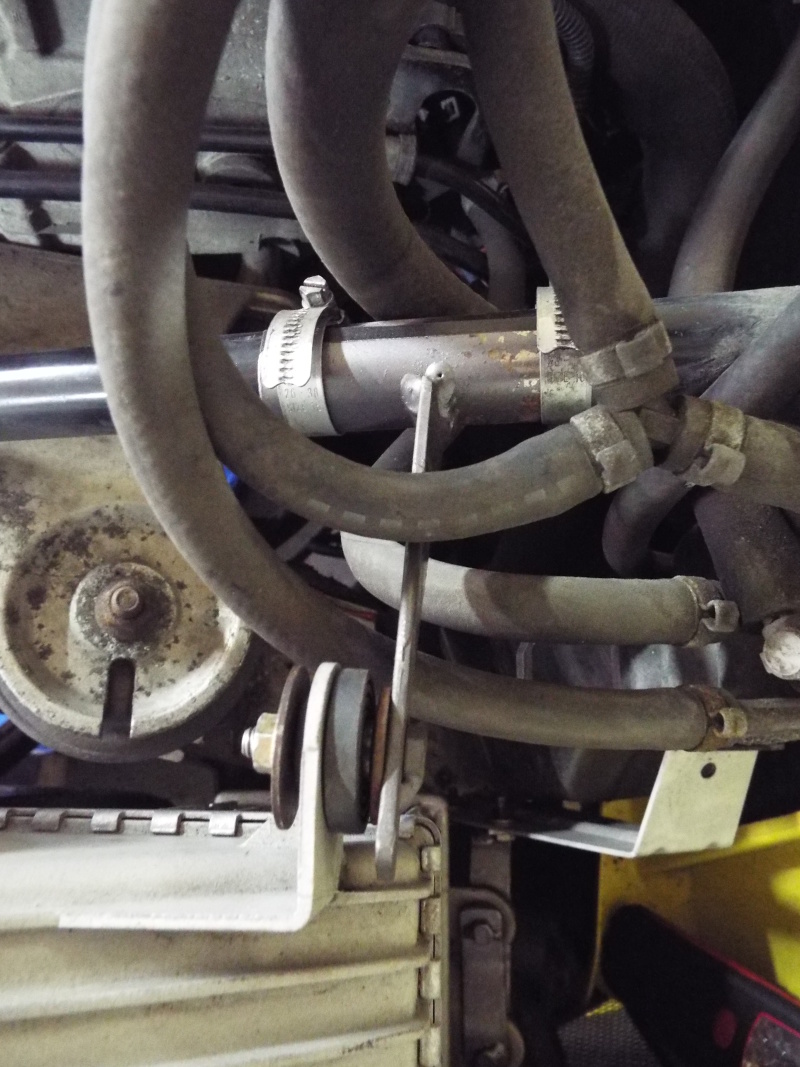
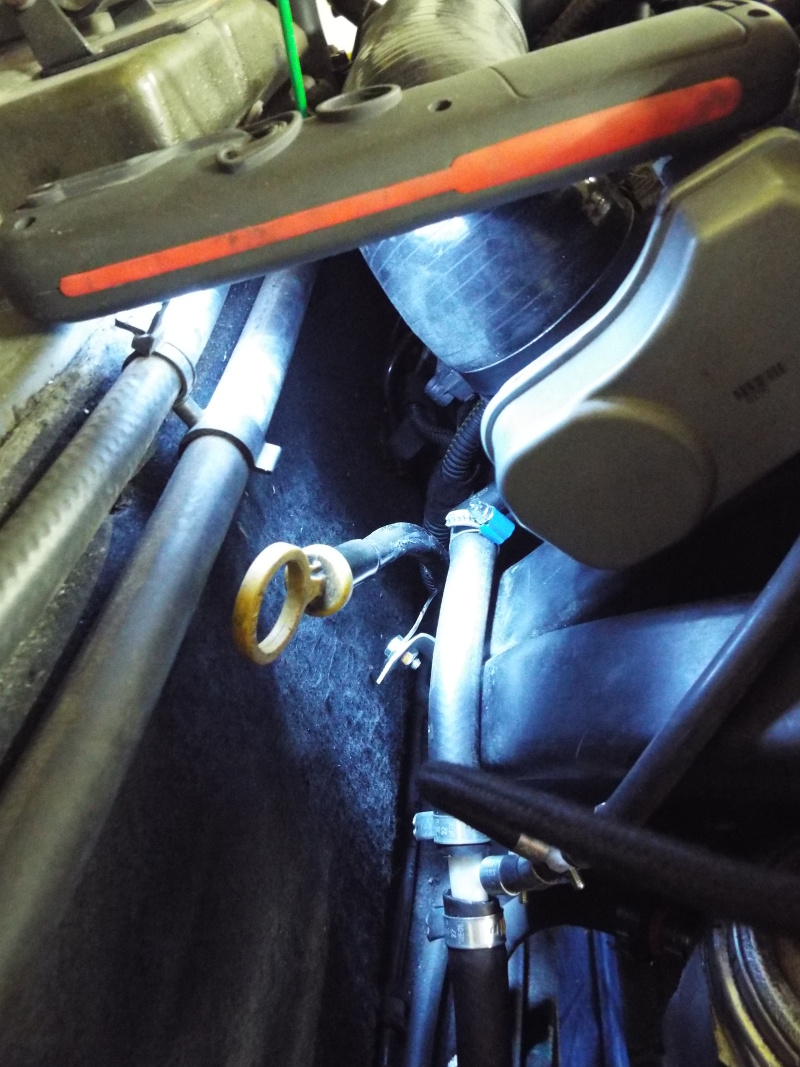
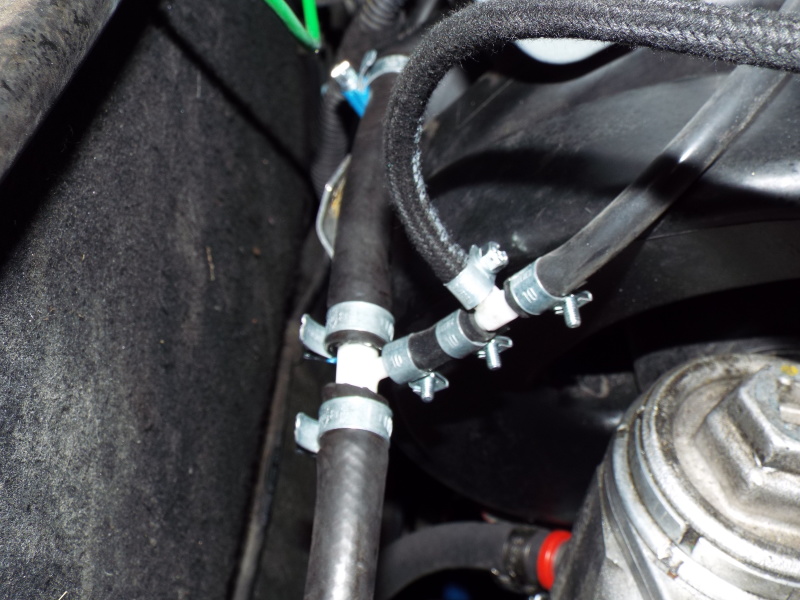
Extra vacuumThere are two parts that need extra vacuum connection:
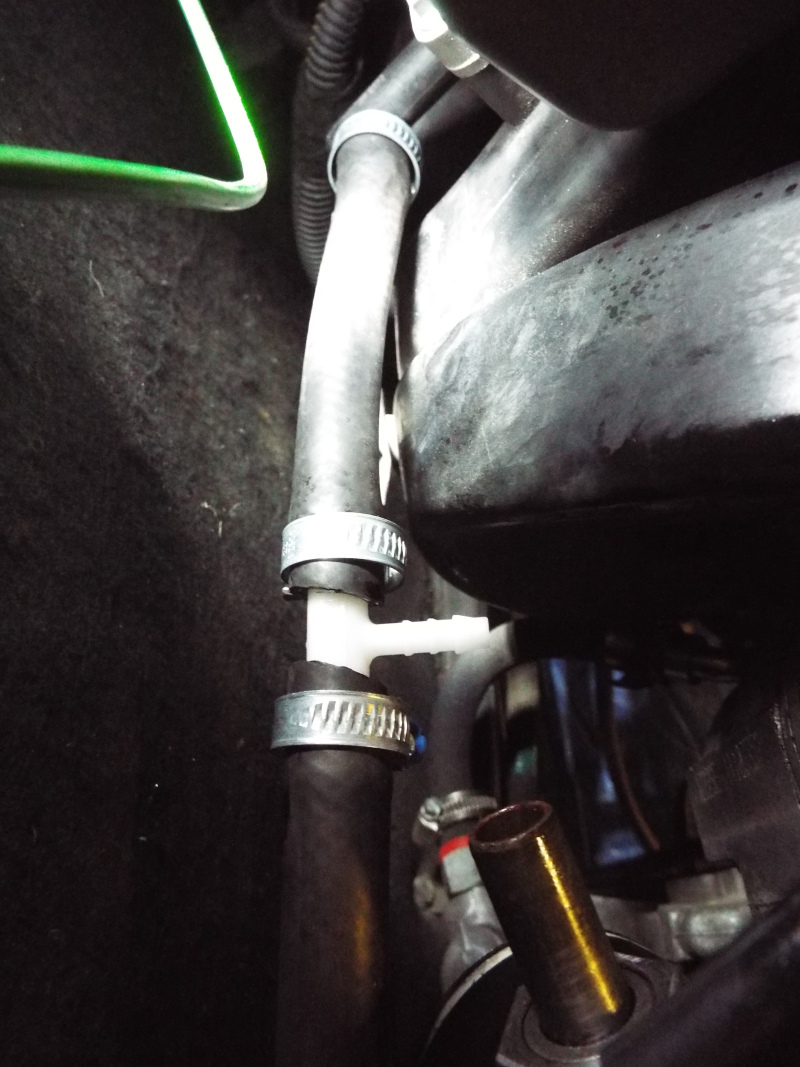
From that T connection, I put in a second T.
Next I connected the straight outlet of the T to the blow off valve. The side exit of the second T is connected to the fuel pressure regulator. Everything is secured with hose clamps, as this is also going to see boost.
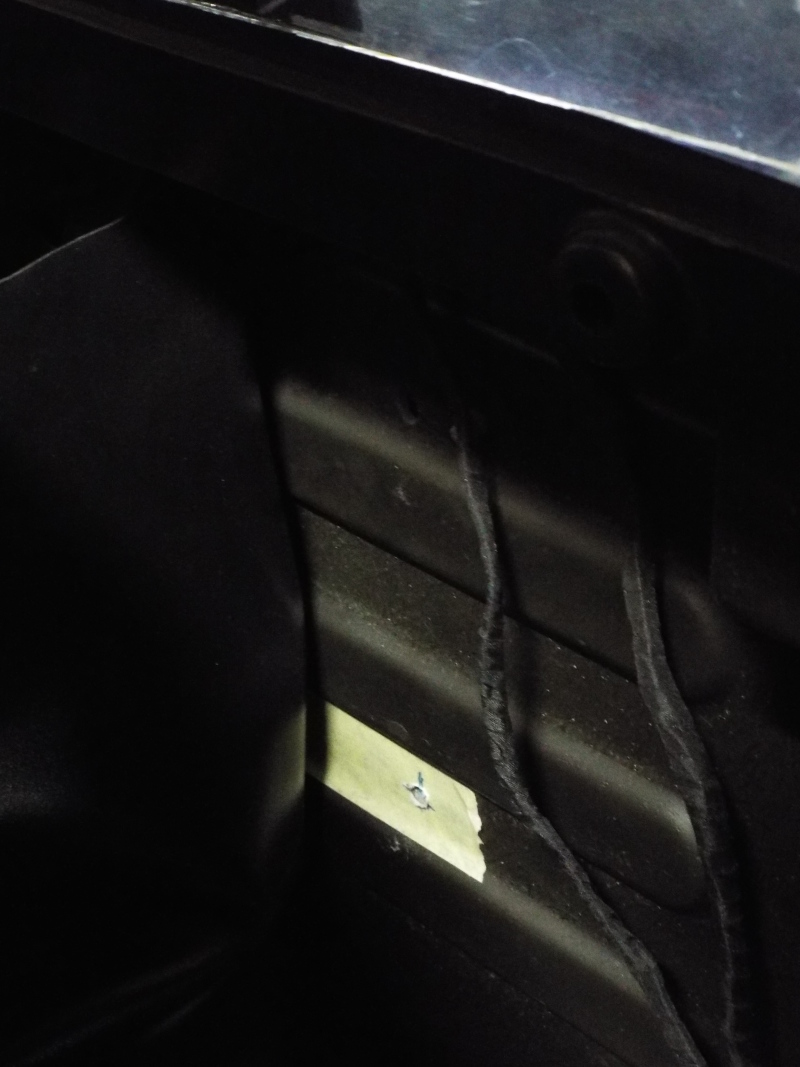
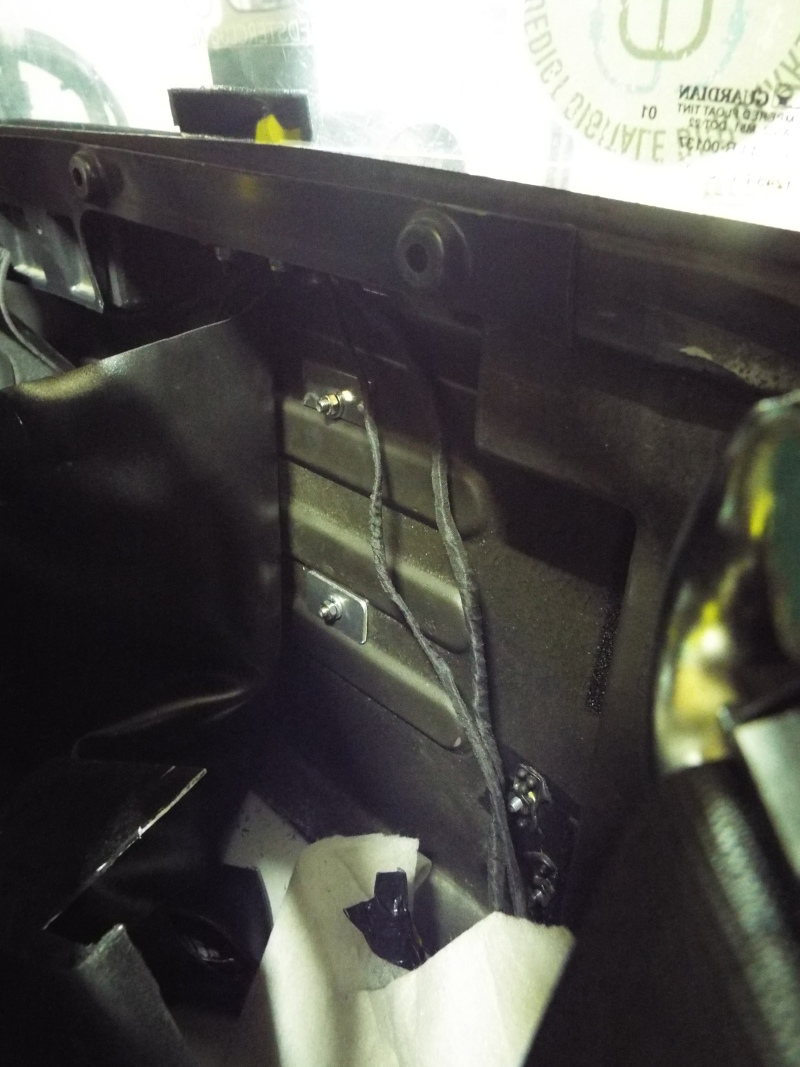
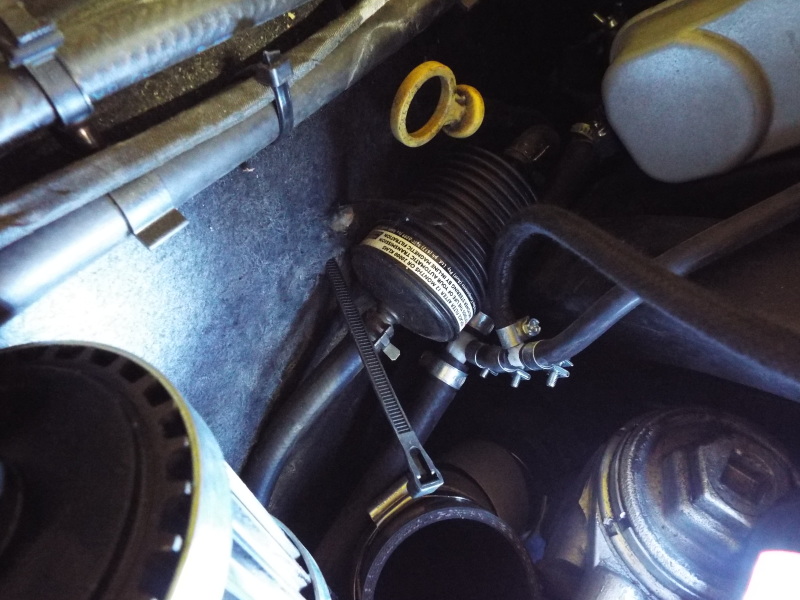
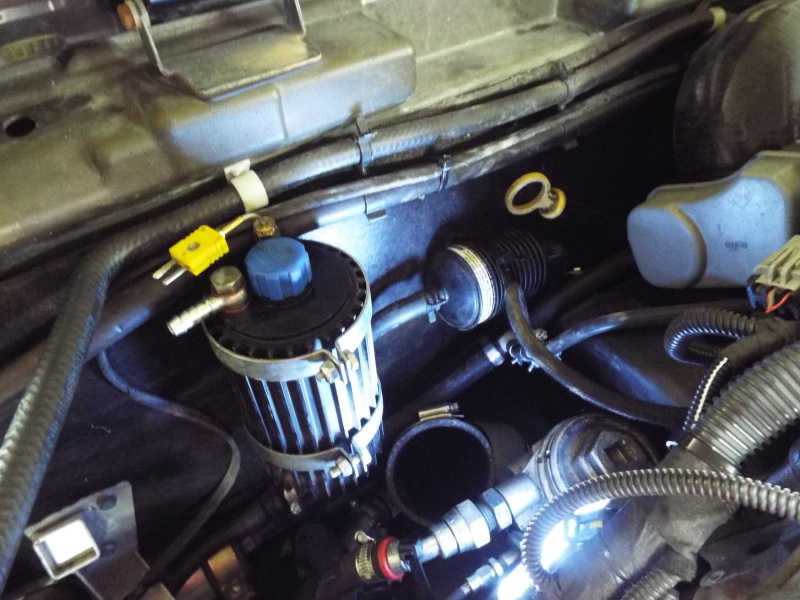
Oil filter and reservoirThe Rotrex oil circuit has a filter and a reservoir. They are going to be mounted to the firewall. For the reservoir two holes need to be drilled through the firewall.
Two plates are put in place to spread the load.
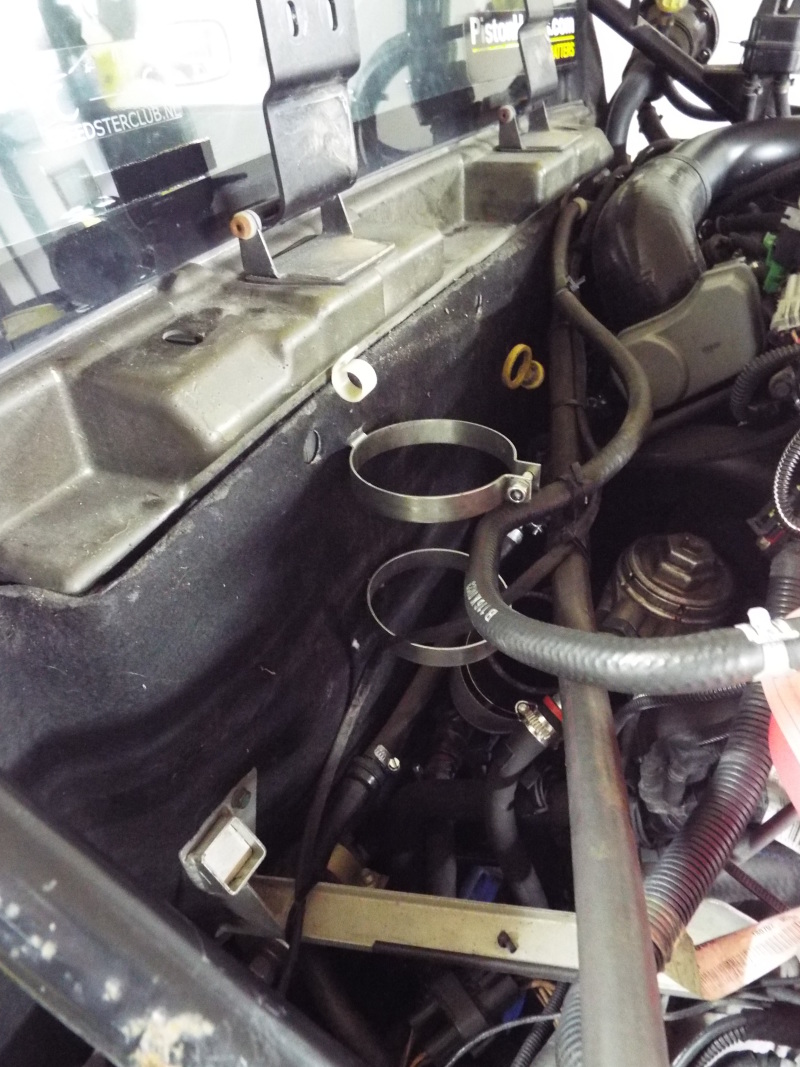
In the engine bay the two clamps are now neatly mounted through the fabric.
The oil filter is placed next to the reservoir and is tiewrapped in place.
With both mounted it now looks like this.
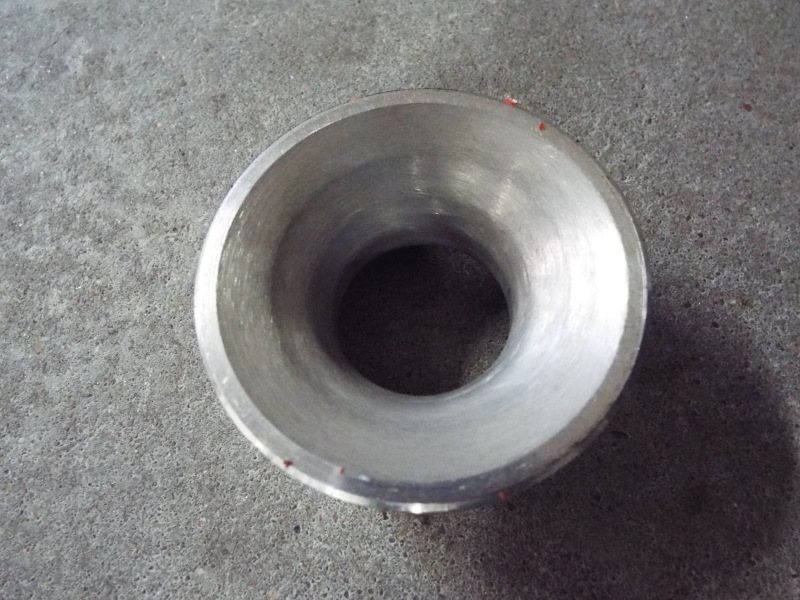
Rotrex intakeThe intake of the Rotrex is initially going to be restricted. This is done by placing a restrictor in the intake side of the Rotrex, limiting the diameter of the intake to 32mm. This will restrict airflow and thereby limiting the power the engine can make with this setup. This is a good idea to see how everything works and if there are any issue's.
It slides into the intake port of the Rotrex.
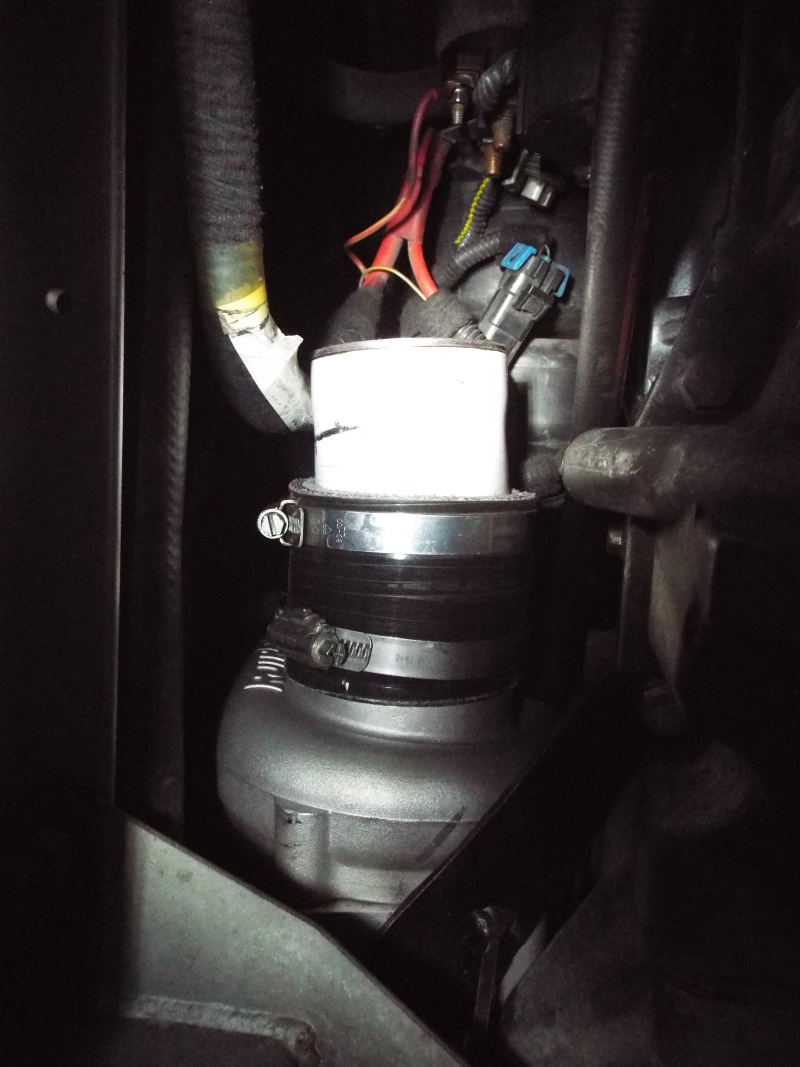
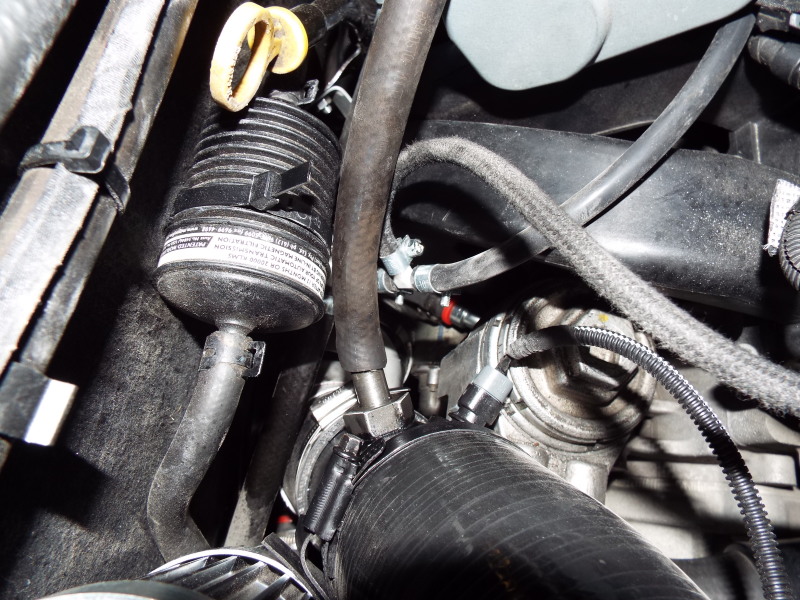
Next we bolt on the first silicone hose and PVC pipe to make a slight curve.
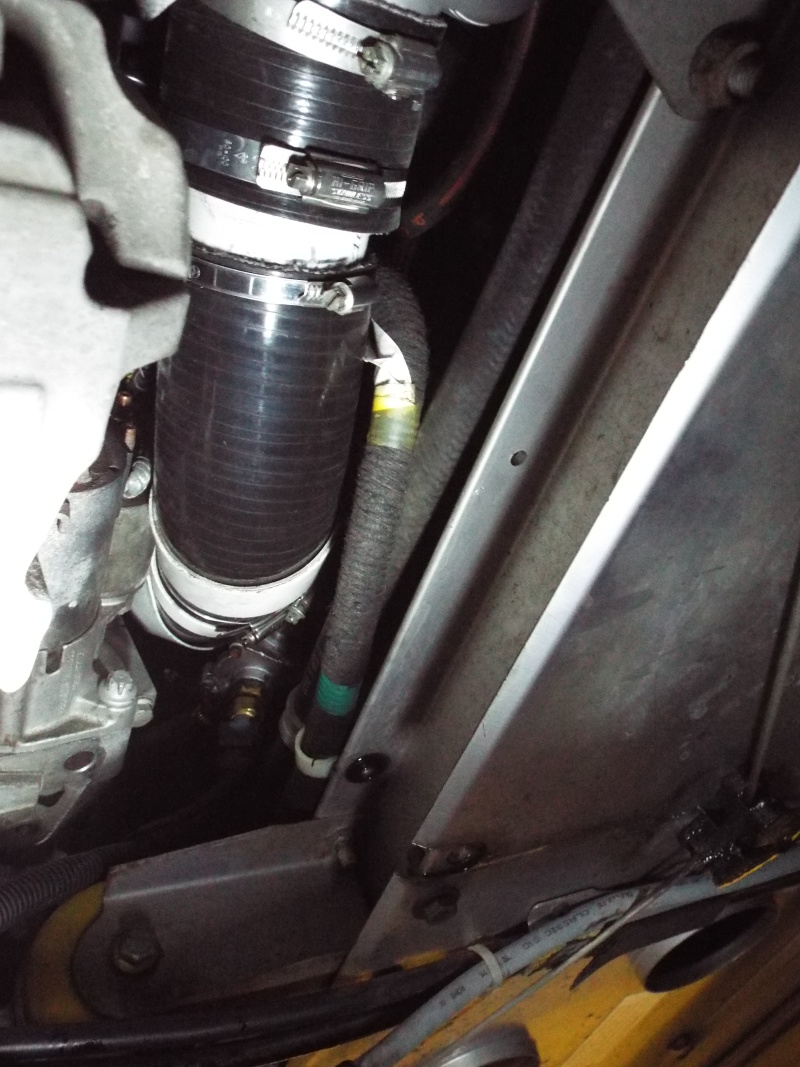
Next, a longer section is inserted, which brings the intake pipe up next to the engine oil filter.
The next section contains a takeoff for the carter ventialtion tube.
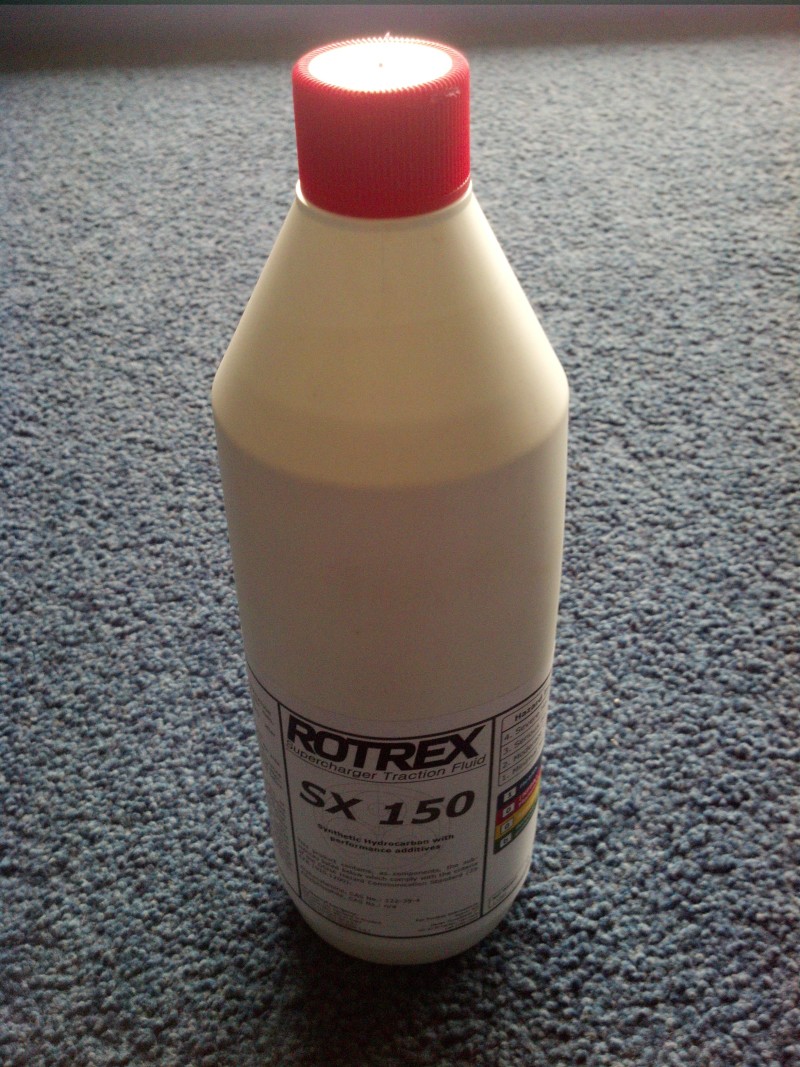
The last part connects to the airbox, completing the system. Finishing upThere are load of small jobs that have been done, placing a one way valve between the tank ventilation and the manifold to prevent presurising the tank, wiring all the thermocouples, blacking out coloured connectors etc. etc.Of course the system needs oil. As this is specific for the Rotrex application, it needs special oil (which is quite pricey).
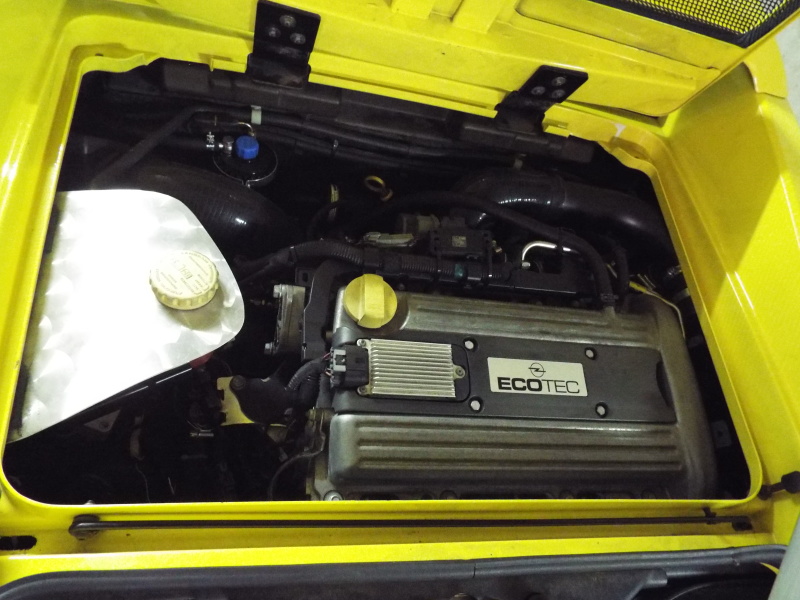
In the end the engine bay (with the clam back on) looks pretty nice. It doesn't look like there are a load of non factory components in there :)
|