| |||||


LSJ InjectorsAs preparation for fitting new camshafts, I also need to select a new set of injectors. The engine in current trim is pushing the standard injectors pretty far. Last year we measured a dutycycle of 93% (Speedster injector test).
The most obvious choice are the injectors used in the LSJ engine. They flow quite a bit more
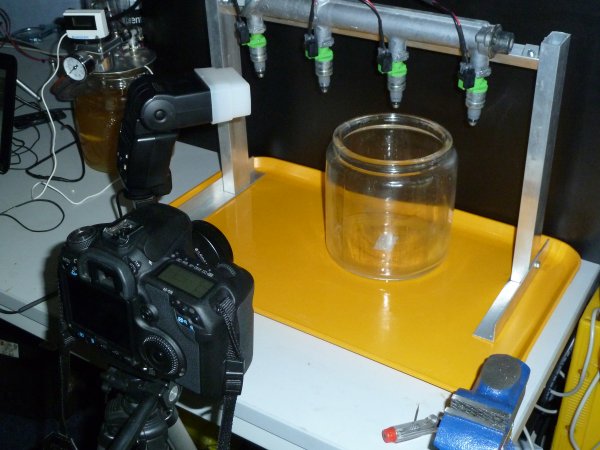
and should be sufficient for higher power levels. The testbench consists of:
The idea is to run 2 separate tests. The first one is to run a number of different RPM and duty cycle tests and see how much the injectors deliver. The second test is to take photo's of the injectors opening and closing, looking at the spray pattern. For the first test a number of different test programs were created, ranging from low RPM and low duty cycle to full open. Below is a short movie of the start of the 800RPM, 2% duty cycle test.
And the test at 6400RPM with 72% duty cycle.
The results for the selected set of injectors were:
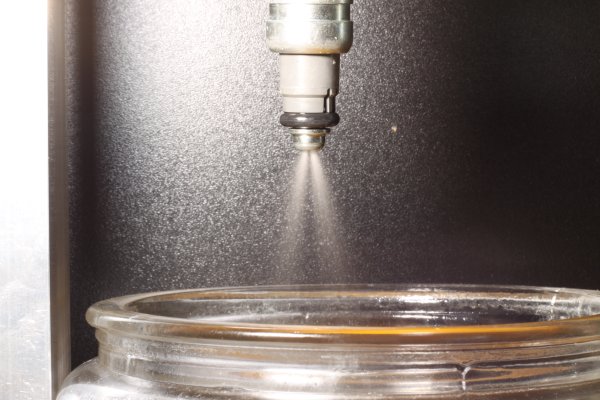
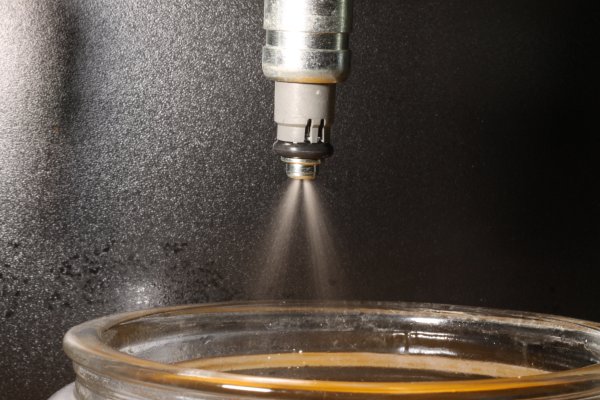
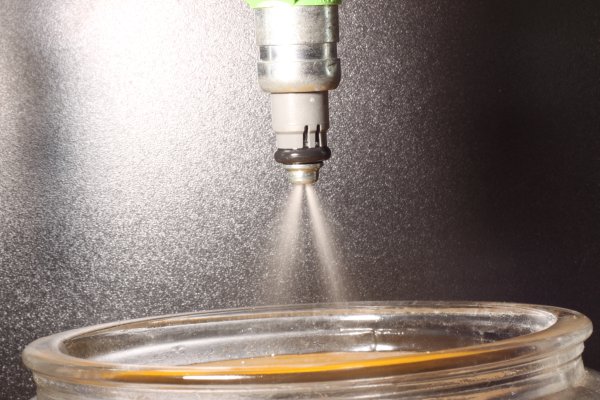
As you can see in the table, the values are pretty close together. The next test is the spray pattern. To capture images, I made two separate connections. One goes from the electronics box to my Canon 50D camera and one to the Canon Speedlite 430EX flash. The software then controls the triggering. First the shutter of the camera is opened and the the flash and injector are triggered with different intervals.
Below is a short (and a bit dark) movie of the whole event.
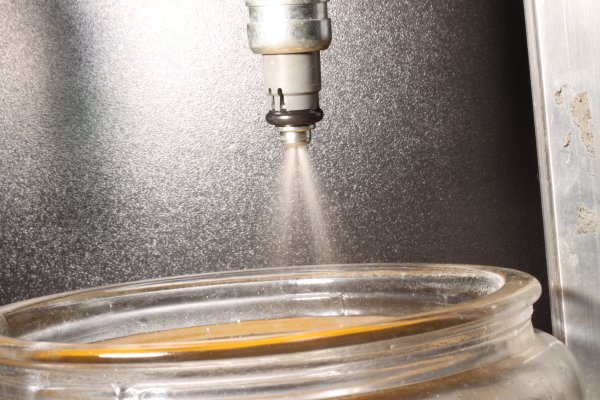
Using this setup, some interesting pictures can be taken. Below are all 4 injectors starting to open.
You can see the 2 nozzles in the injector, each aimed at a valve. You can also see the spray patterns are the same over the 4 injectors. There are no big deviations like with other injectors I had on the test bench.
So, this is the injector set that is going on the engine.
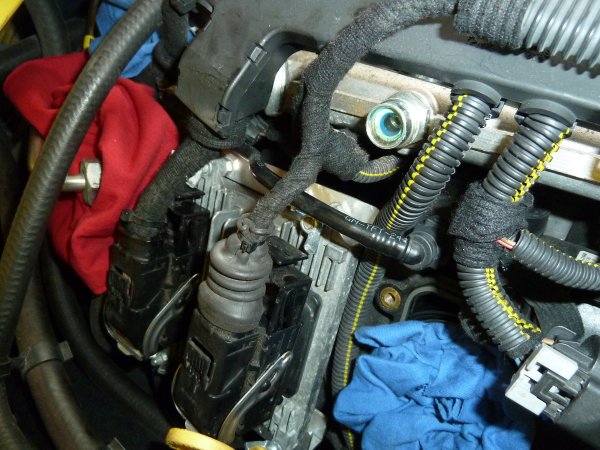
Bleed off the pressure on the fuel rail.
Loosen the fuel lines that go to the fuel rail.
And remove the fuel lines.
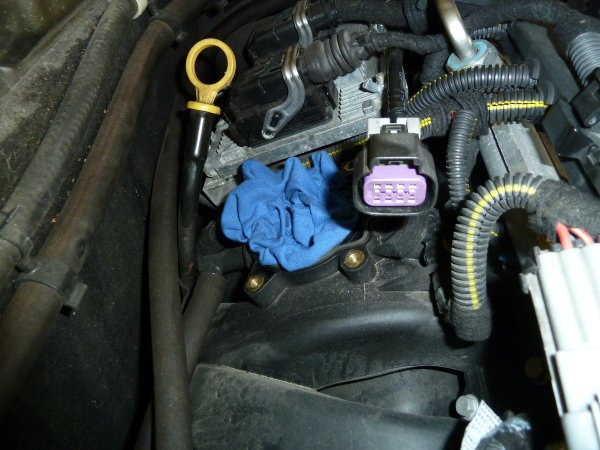
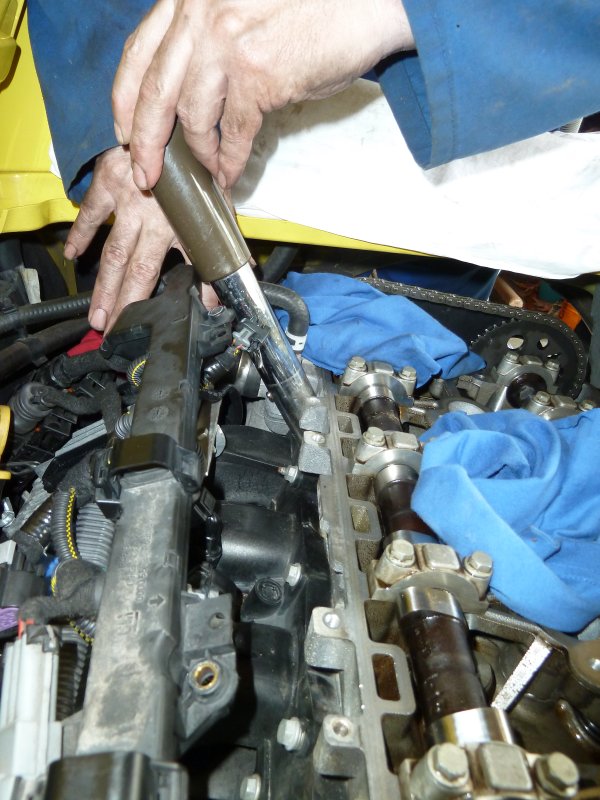
Remove the screws holding the injector rail to the head. If required remove the
ECU plugs to create more space. Then try to remove the injector plugs and pull
the injector rail with the injectors from the head.
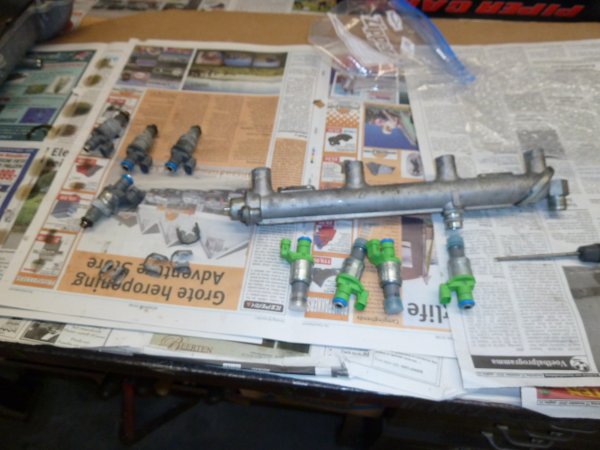
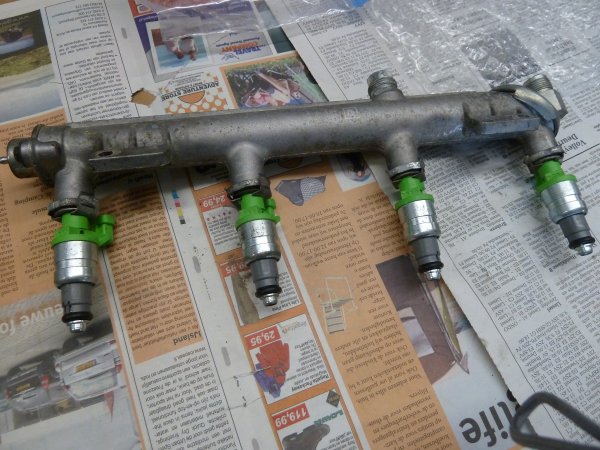
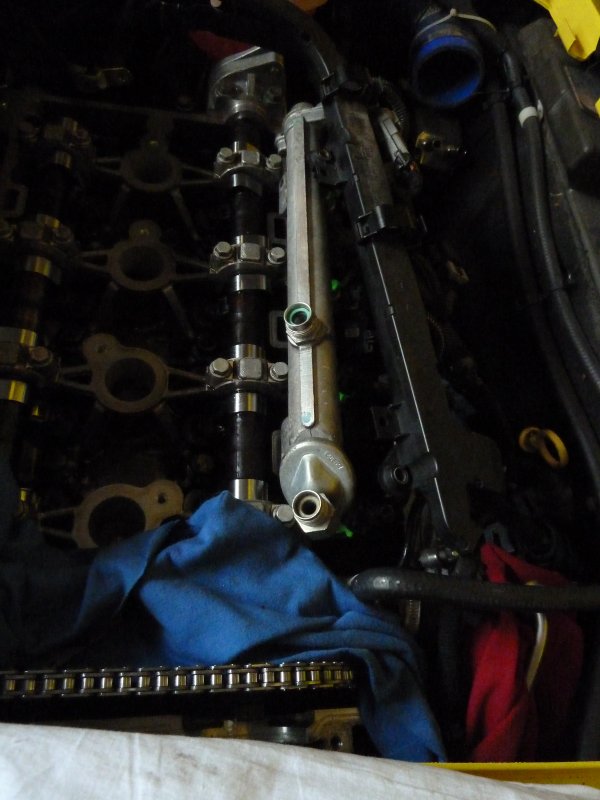
Remove the old injectors, put the new ones in place and don't forget to place the clips.
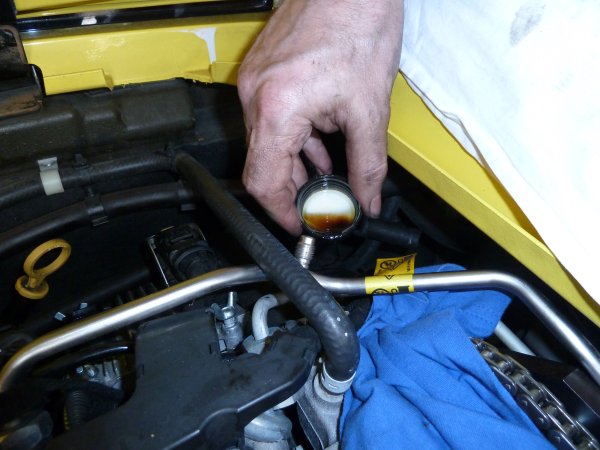
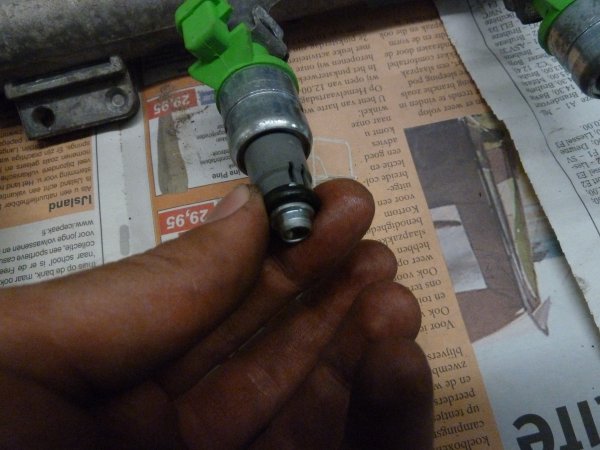
Put a small amount of oil on the rubber rings of the injectors. That will ease installation.
As the original injectors have been on the car for a while (7 years, over 120.000km), we cleaned the ports as much as possible, even using a vacuum cleaner.
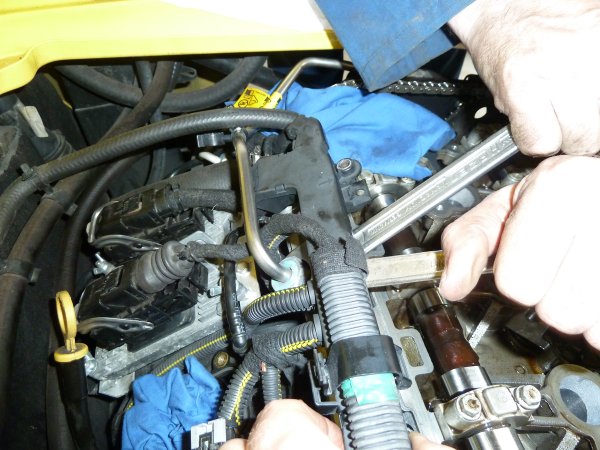
Now the fuel rail can be put back in place.
And finish everything up in reverse order. After a disappointing first engine start attempt, we remembered that we needed to adjust the ECU to take the new higher capacity injectors. So just connect OBDTuner to the car, select the LSJ injectors, write everything to the ECU and start again. It started without a problem this time. |