| |||||


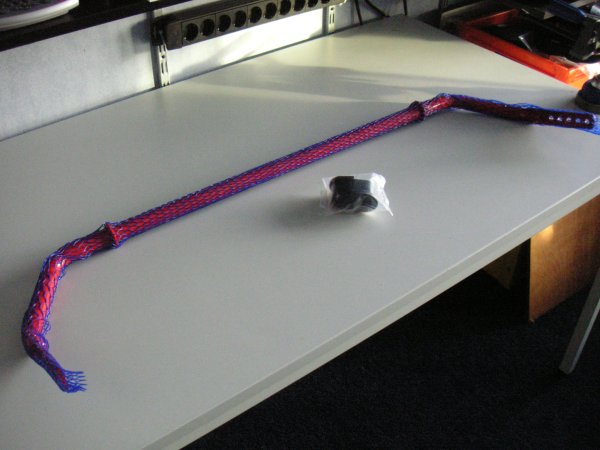
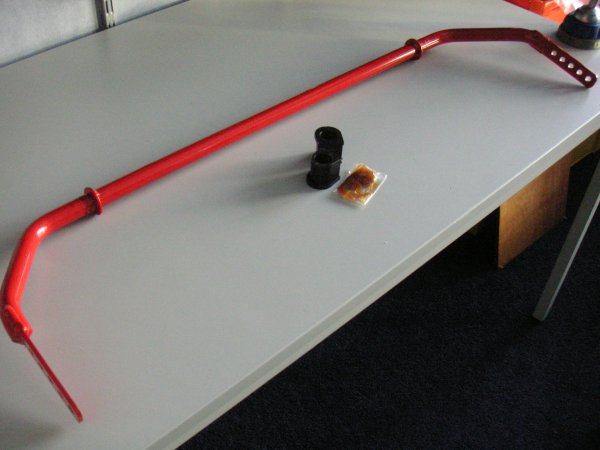
Uprated Anti Roll BarAfter Arno's good experiences with a stronger ARB (and my test-drive in his Elise ;) ), I decided to go for an uprated ARB too. This is the one from EliseParts:
Comes complete with new Nylatron bushes and grease for fitting.
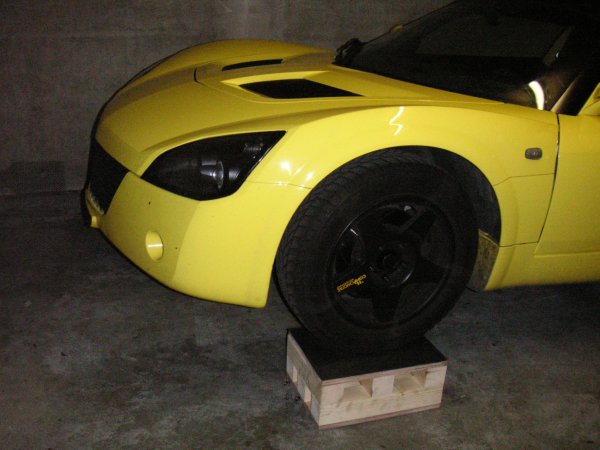
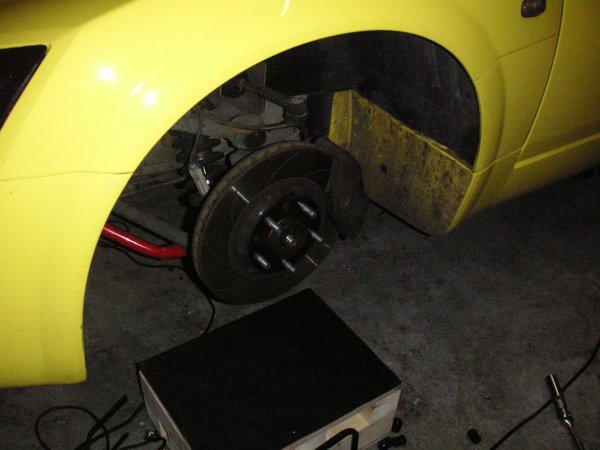
For fitting, I jacked up the car first and put it on my supports.
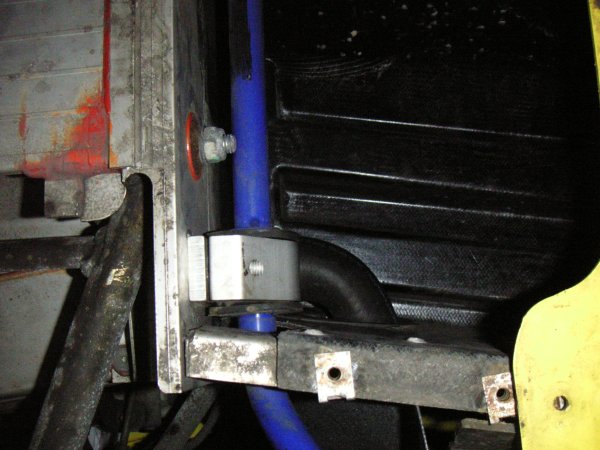
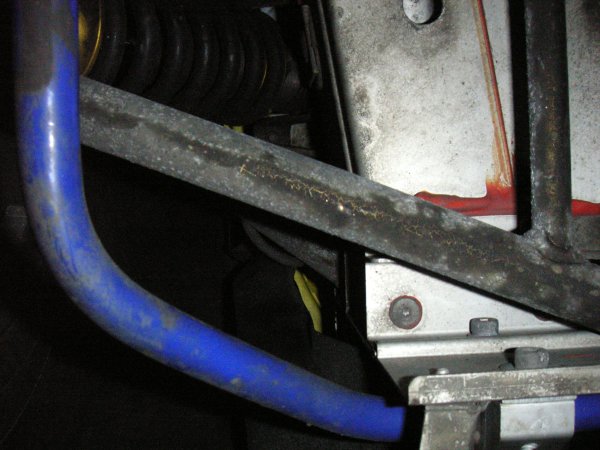
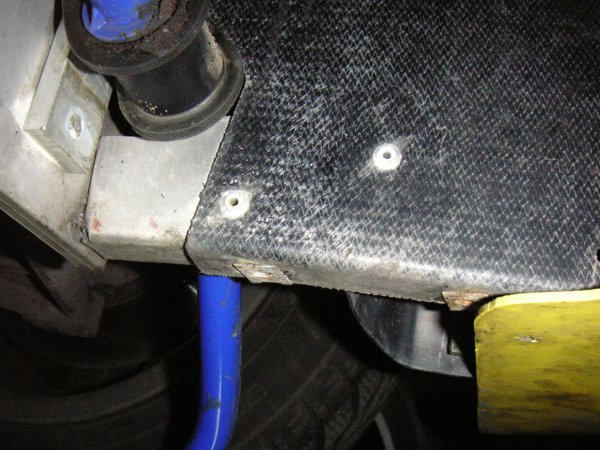
Remove the plate covering up the ARB. You can see the ARB is held in place by 2 aluminium brackets.
The brackets need to be removed. They are held in place by 2 bolts.
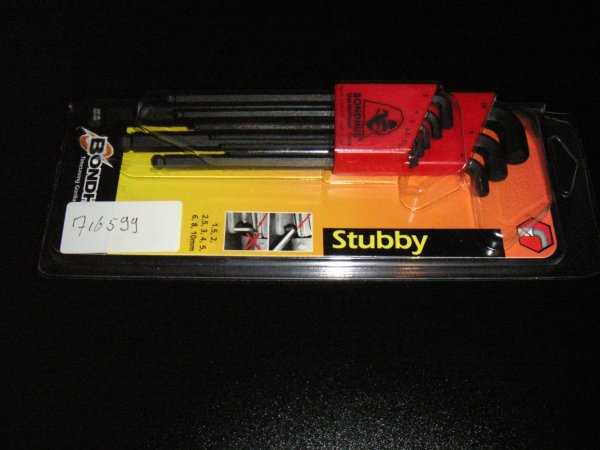
These are quite difficult to remove. For starters I bought a good set of stubby Allen keys:
These are pretty short and enable you to reach the bolts. You need the 6mm one. But the bolts wouldn't budge, even after penetrating oil and rustshock. So I put a long Allen key in the bolt, and hit it hard with a hammer. That loosened it up enough. Finally got the brackets off.
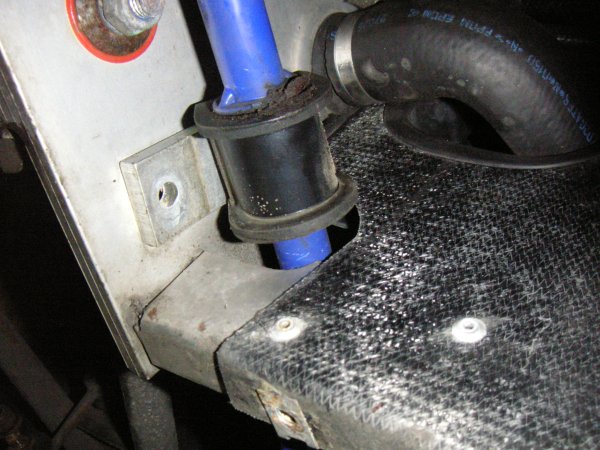
With the bracket out of the way you can also see an aluminium plate and the bushing.
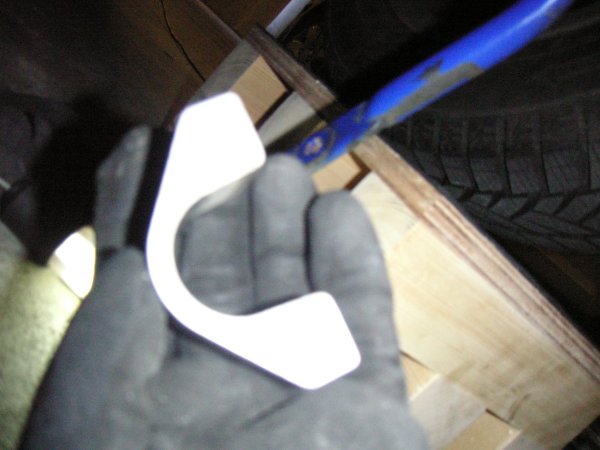
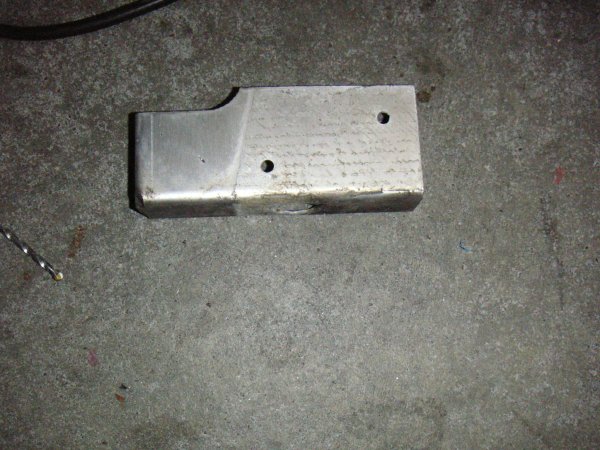
But the ARB can't be removed yet, there is an aluminium plate riveted to the crashbox in the way.
Drill the rivets out and remove the panel.
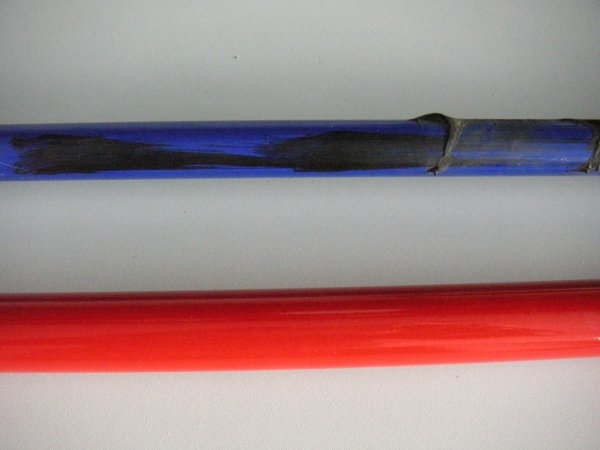
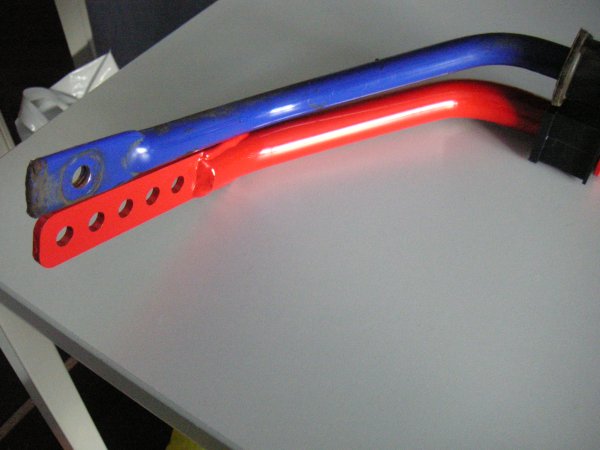
As the panel isn't really needed, I won't be fitting it again. With the panels out of the way, undo the droplinks and remove the ARB. This was a good moment to compare the old and new version. The new one is quite a lot thicker.
And you can also see the relative position for the adjustment holes. It can be set quite a bit harder.
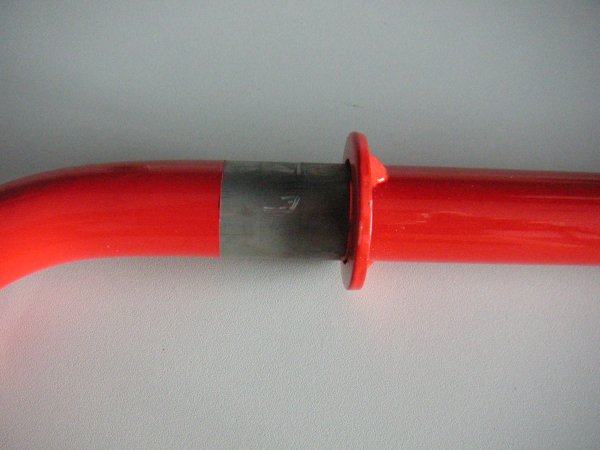
To prepare the new ARB, you need to remove the tape that is covered with paint.
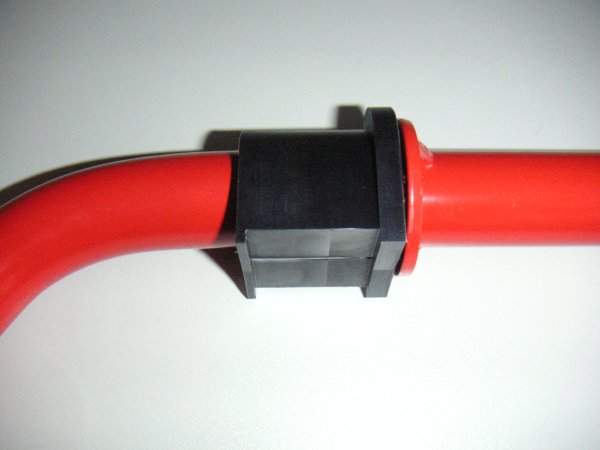
Before trying to fit it on the car, I did a testfit. The point was to make sure the ARB can rotate when put in place. Fittings can differ from car to car, so this is an important test. First put the new bushings on.
Put the bracket in place.
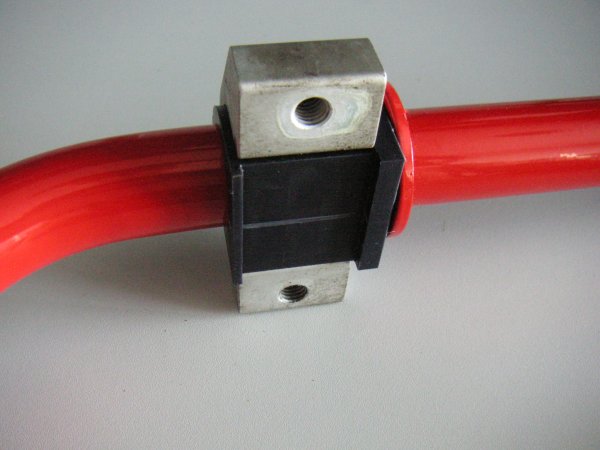
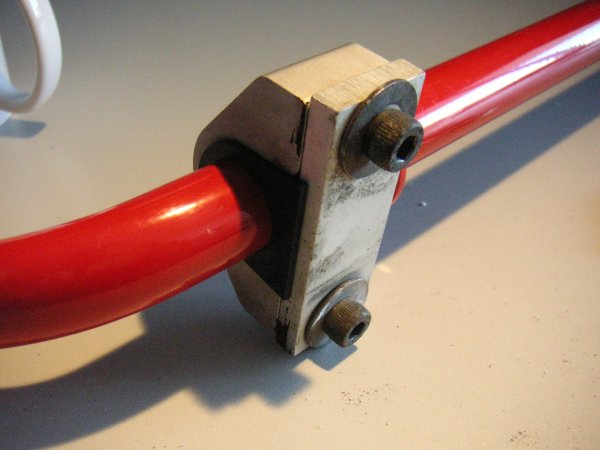
Then put the backing plate on and tighten the bolts.
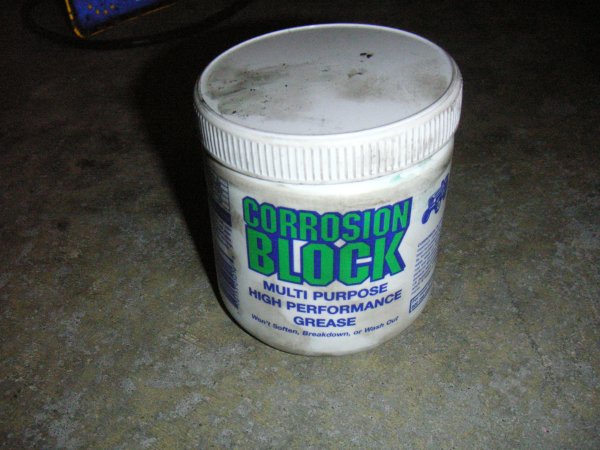
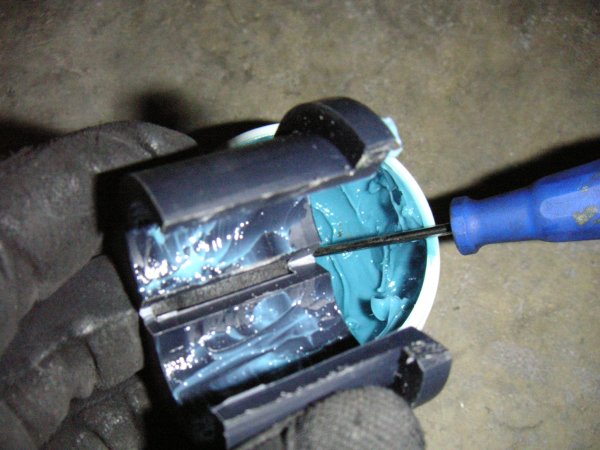
Mine fortunately didn't need adjusting, so I could start fitting it to the car. You need to put some grease in place before fitting. I used corrosion block.
I put it on the inside and outside of the bushings.
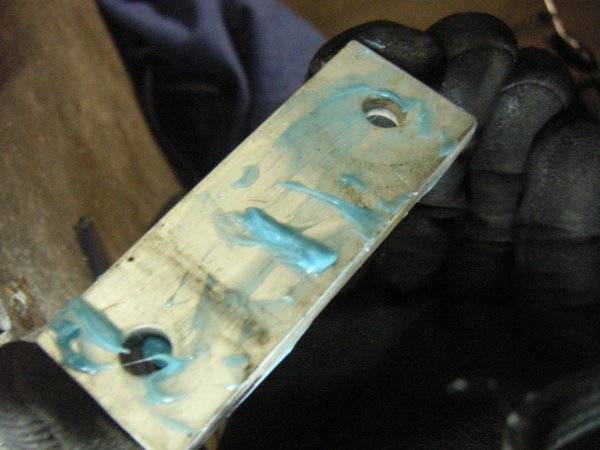
On the plates.
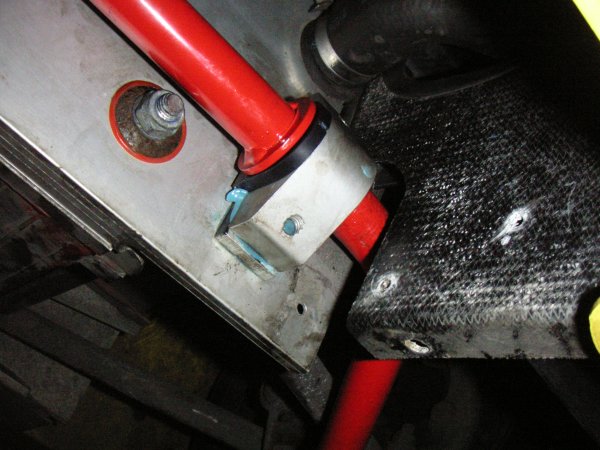
And also on the bolts. Putting it in place requires about 7 double jointed arms. But finally I succeeded ;)
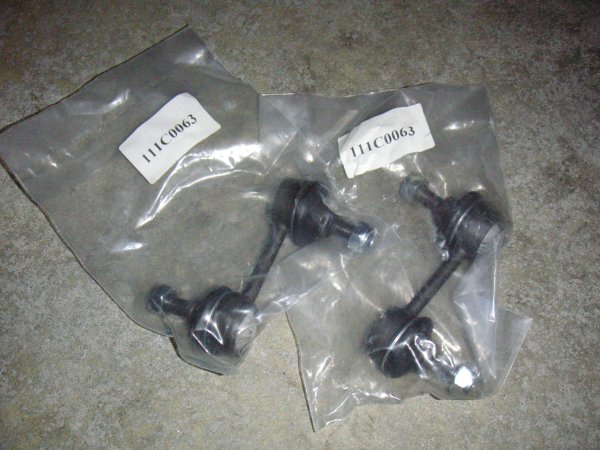
As my droplinks are quite old, I decided to fit a new pair of those too.
You need to remove the wheel to get to the nut.
Need to remove the nut connecting it to the wishbone.
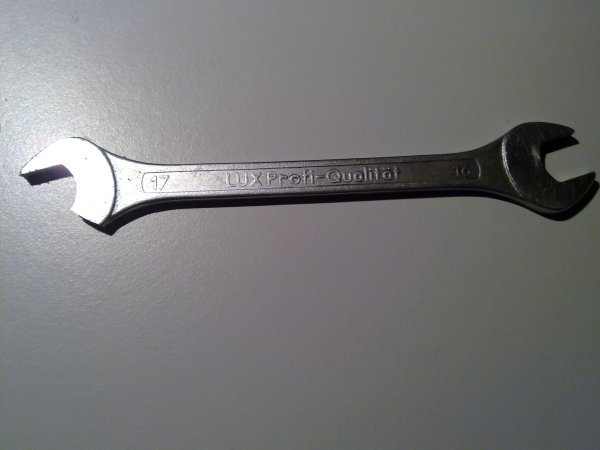
This one was was not letting go on my car (both sides). Ended up breaking my 17 wrench :(.
Putting the new ones in place is a lot easier :).
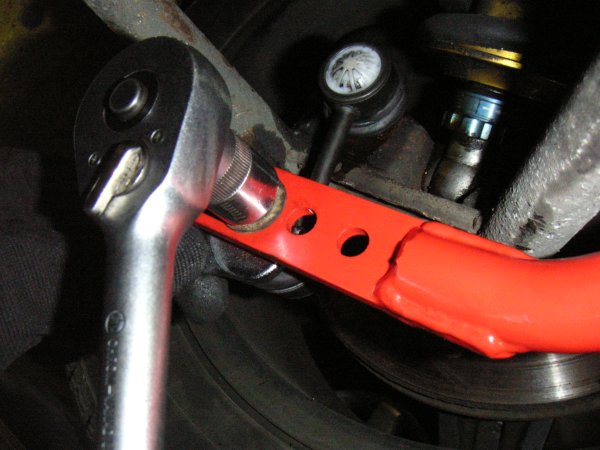
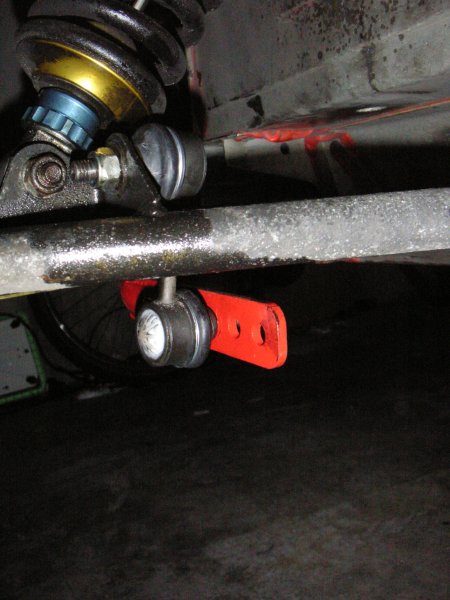
I put the droplink on the middle hole on the ARB. Pretty easy to adjust later on.
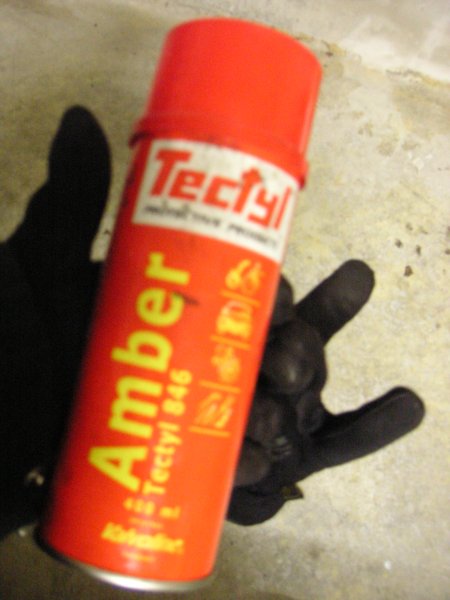
Before putting the bottom plate back, I put a generous helping of Tectyl on the ARB, brackets, exposed threads etc. Just to make sure the job is going to be a lot easier next time.
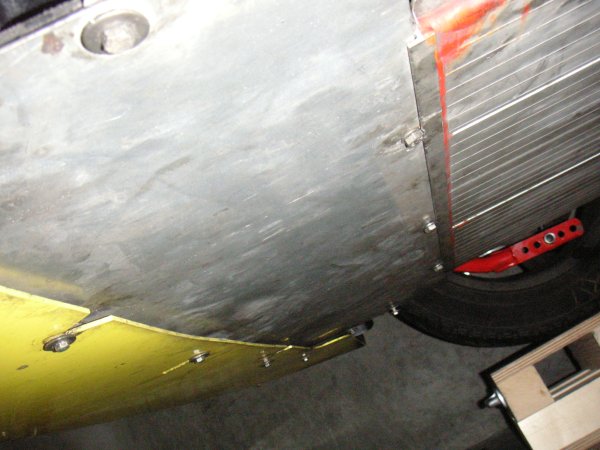
Finally put the floor back and tighten all bolts.
After driving a bit, I can say the differince is significant. The whole frontend feels a lot tighter. Steering response is improved a lot too. The roads aren't optimal at the moment, but when temperatures go up and the summer wheels are back up, I think this is going to be a very nice mod. |