| |||||


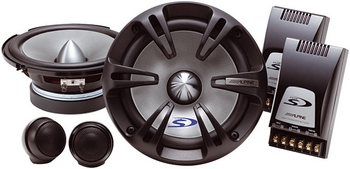
AudioIn the past I already replace the standard VDO headunit by a new model, including a 6 CD changer, mp3 capability, and a new set of speakers. I installed the Alpine SPS-171a.
The tweeters fit neatly next to the A-pilars. You can rotate them to point them at the passengers.
The low/mid range speakers are a direct fit in the panel behind the seats. Depth is not an issue.
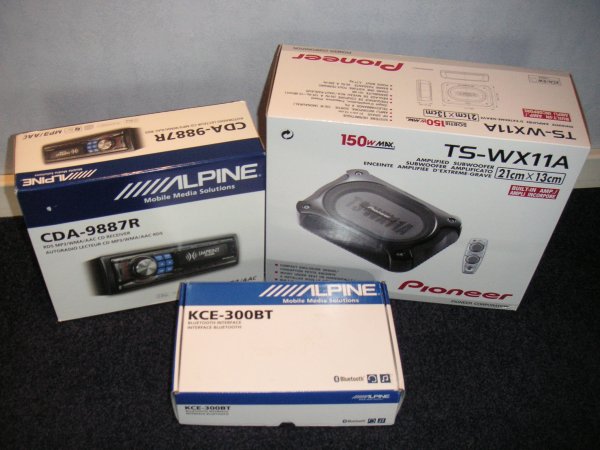
This was a big improvement over the standard headunit and speakers. However, the build quality of the VDO unit didn't seem to be enough. CD's kept skipping, head unit wouldn't eject CD's anymore etc, etc. Basically the car vibrated it to death. So, time for a new kit. This time as few moving parts as possible. So I bought this set.
This is a:
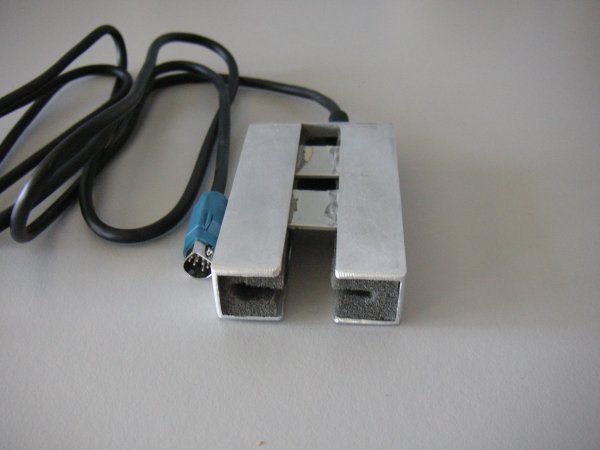
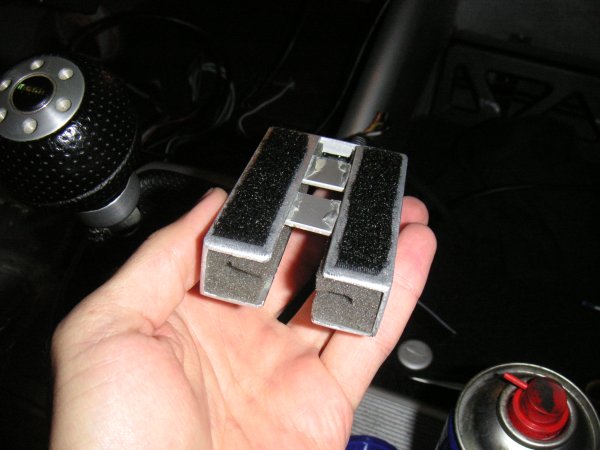
InstallationSo, quite some work to do here. Started out with making a dock for my iPod. Want to mount it under the dasboard, so it is easy to remove. So I got some alumiunium bits, bit of foam, chemical metal glue and some epoxy glue. I modified the alpine cable so you don't have to press the connector to get it loose from the iPod. I ended up with this piece of work.
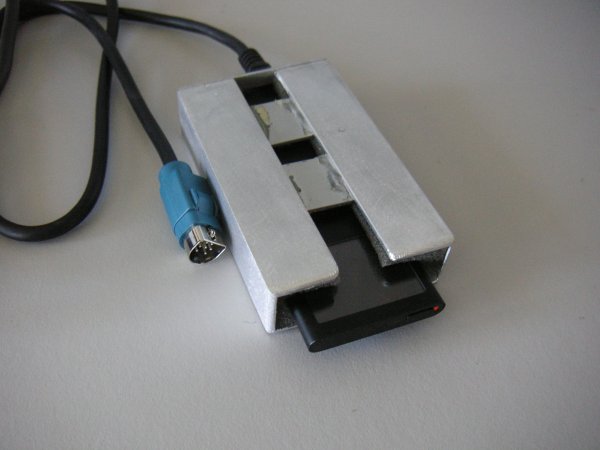
My iPod Nano just slides in and is quite secure.
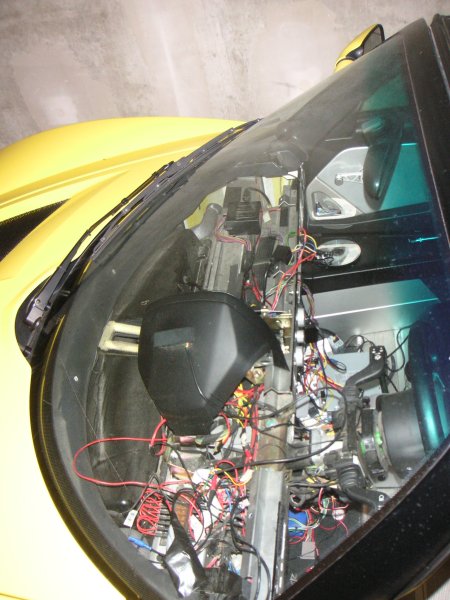
So, now to install it all in the car. First took of the dash so I can reach everything a lot easier.
First had to figure out how to get the cable for the iPod in the dash. Don't want to cut of the connector. So in the end I got a piece of rubber hose I had lying around (12mm) and inserted that between the alluminium and the big grommet under the dash. I could then feed the cable through.
I put some velcro on top of the cradle so I can attach it to the dash.
So now it fits nicely under the dash.
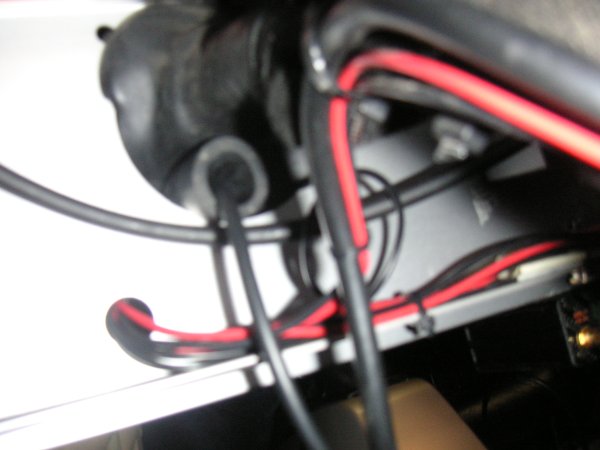
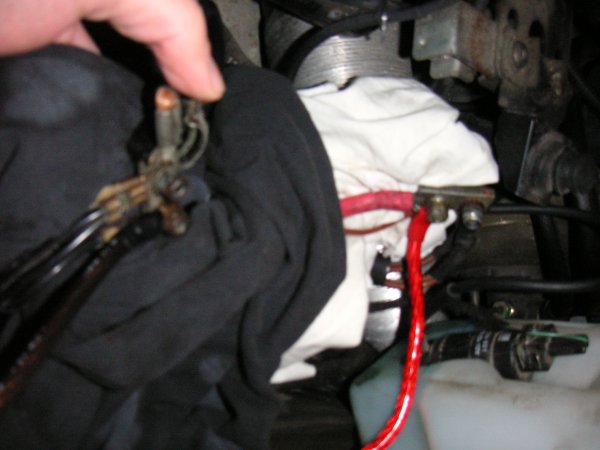
Next up was the power supply. With this headunit and a subwoofer, the normal power feed through the ISO connector under the dash isn't enough. So I decided to pull two extra cables directly from the battery to the dashboard. I used 10mm2 cable with a 50A fuse near to the battery. So removed the clamps from the battery and made some connectors to the cable and connected them to the clamps.
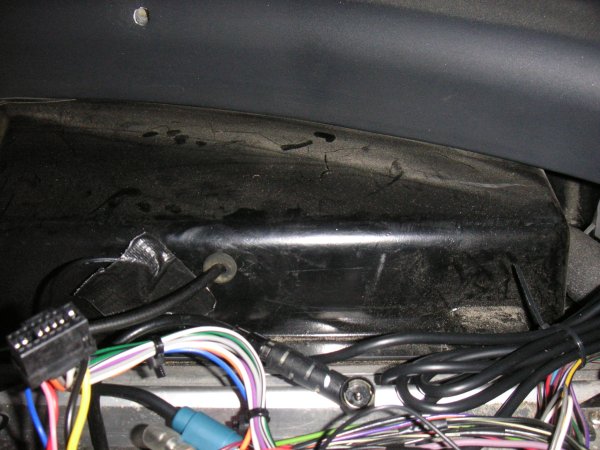
Had a look in the dash to see where it would be handy to get the cables in. Next to the ventilation control was some space left.
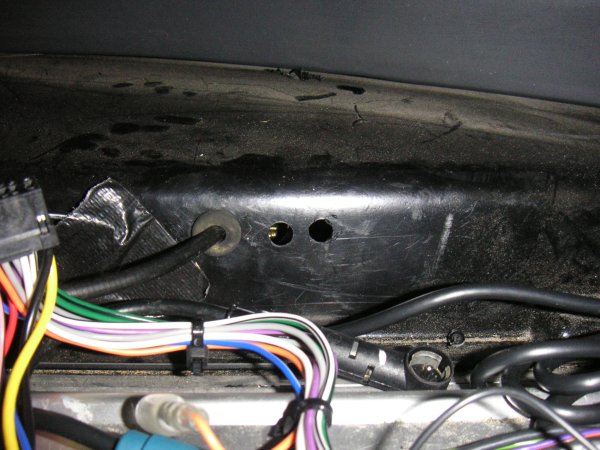
So I drilled to holes there.
Put some tubes in there to protect the wires and fed the wires through.
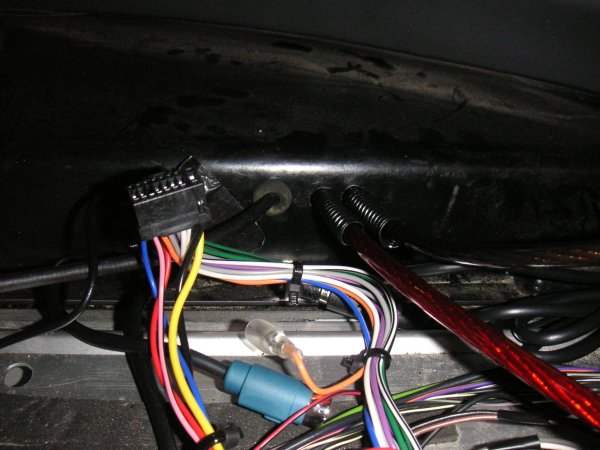
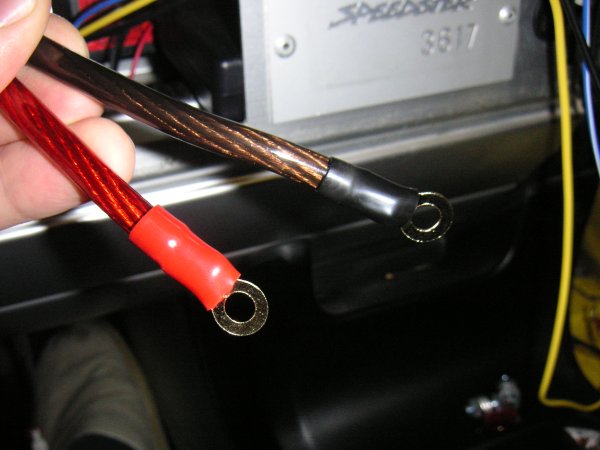
I cut the cables to length and put connectors on them.
Next up I pulled the 3 wires for the subwoofer from the passenger footwell in the dash. There was enough room left to pull them through.
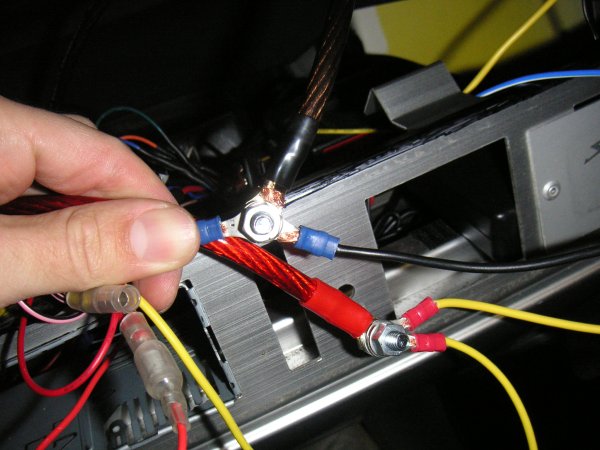
I modified the wiring from the headunit so the cables are no longer connected to the ISO connector. Both the headunit and subwoofer cables got connectors. Then I got an M6 bolt and some washers and connected everything up. This seems to be a handy way to connect everything securely and allow for enough current to pass through.
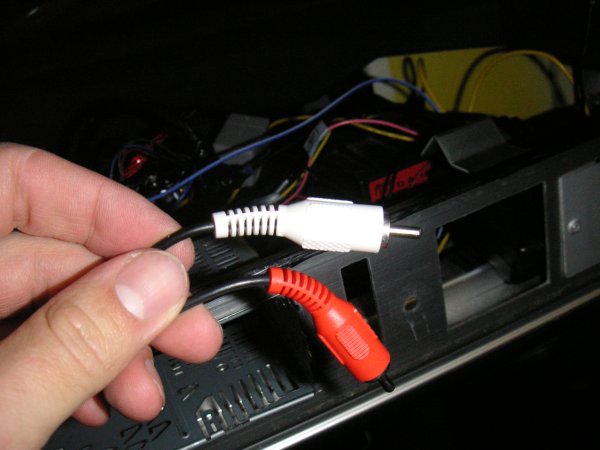
Ofcourse everything was taped up later to prevent a short circuit. Next I soldered two RCA plugs on the wire for the subwoofer.
The subwoofer will get a low voltage feed directly from the subwoofer out on the headunit. The other speakers are now also directly connected to the headunit. No more external crossover filters. This headunit has the abiltity to work in three-way mode. The front speaker output is for the middle speakers, and the rear speakers will get the amplified sound for the tweeters. The headunit does the crossover before the amplifier. Next up was fitting the subwoofer in place.
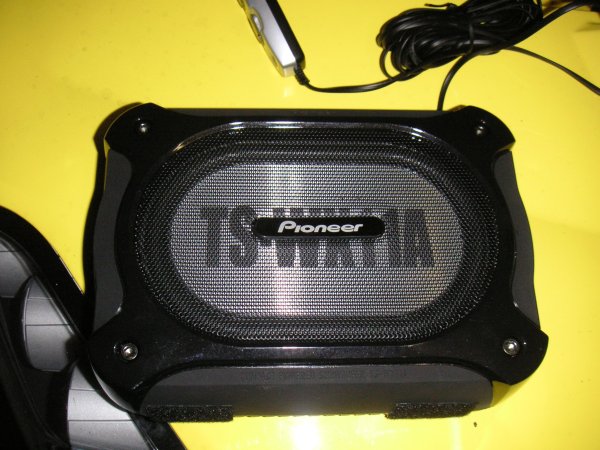
The standard brackets that come with it are too wide for the sub to fit in the passenger footwell. So I had to saw a bit off.
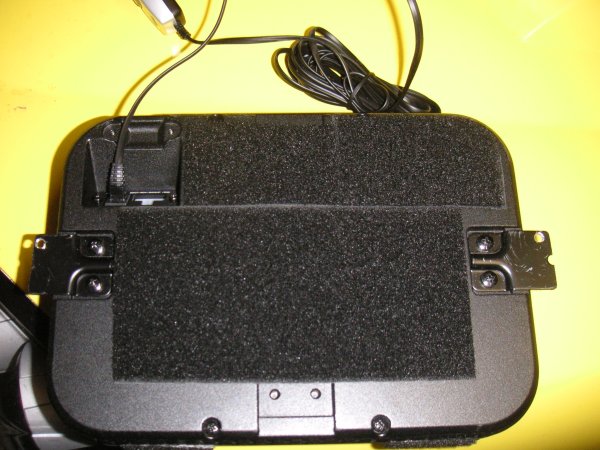
Next to the brackets I put a big piece of velcro on. Not only should it help to keep the sub in place, but also isolate from vibrations.
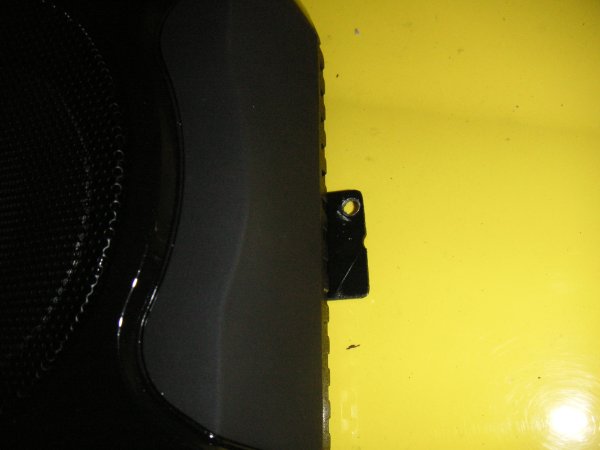
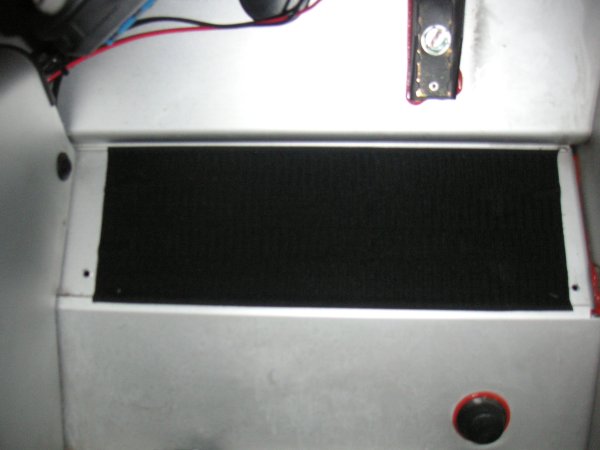
In the passenger footwell I drilled two holes for the bracks to be screwed too. I made the holes in the panel where the intake is for the recirculation for the airconditioning. There is empty space behind that panel. And ofcourse I also put velcro over there.
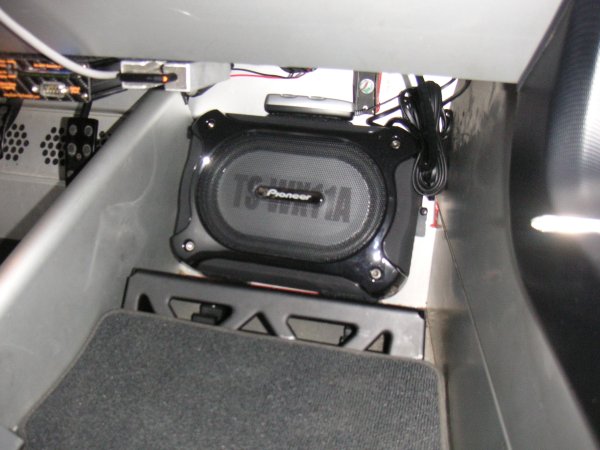
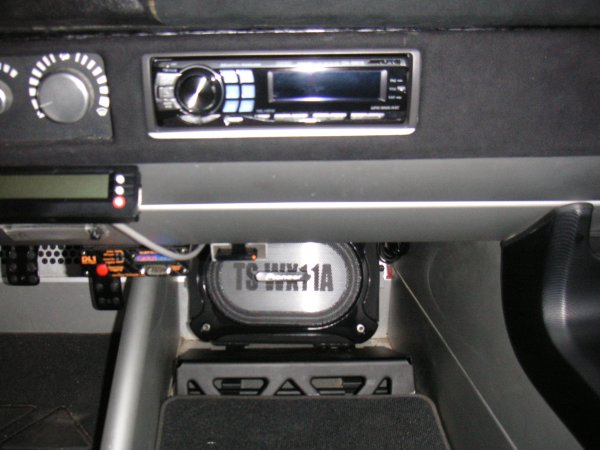
Now the sub fits in place. It is just free from the passenger footrest and is quite secure. The only sacrifice is that the passenger footrest can be put in to furthest setting.
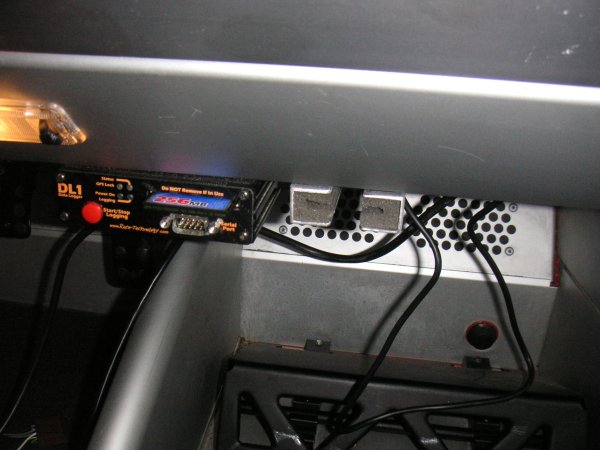
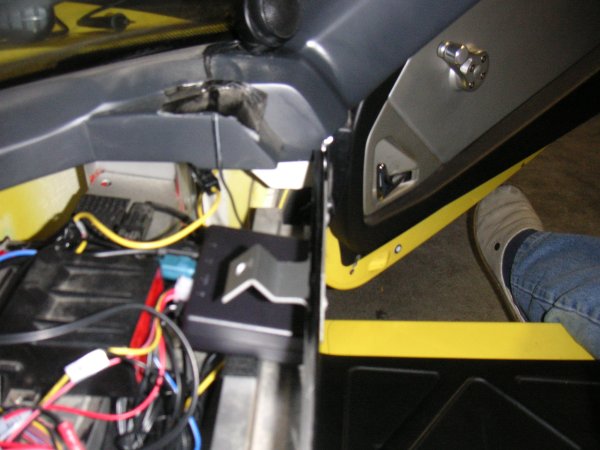
The last bit to fit now was the bluetooth unit. I put it on the right side of the headunit. It gets the connection from the iPod cradle and will connect to the headunit.
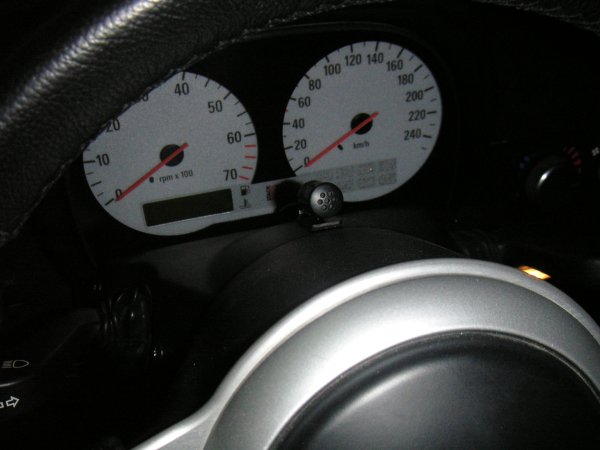
I place the microphone just behind the steering wheel.
So finally time to hook everything up and see if it works. And it did! :)
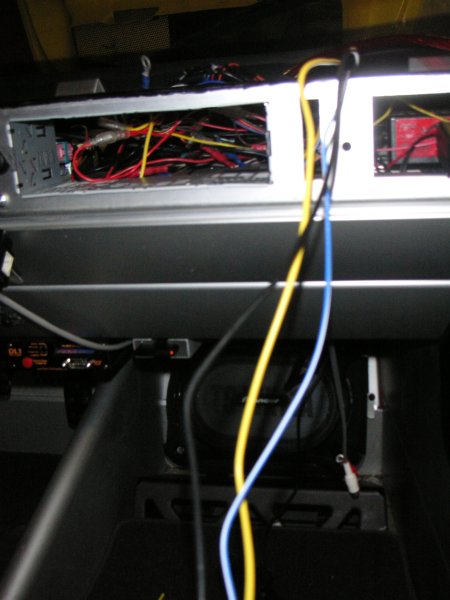
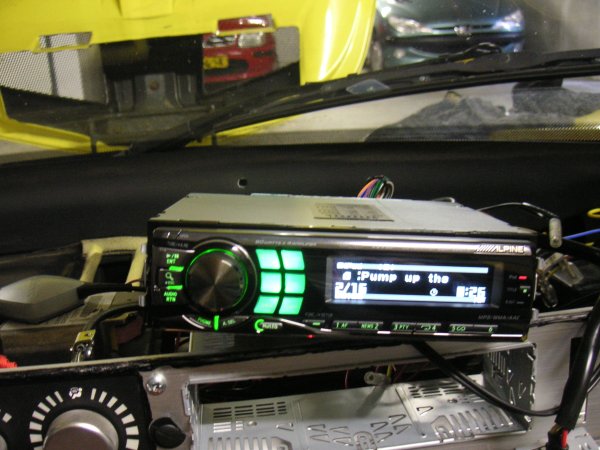
Time to put the dash back in place. Final installation looks like this.
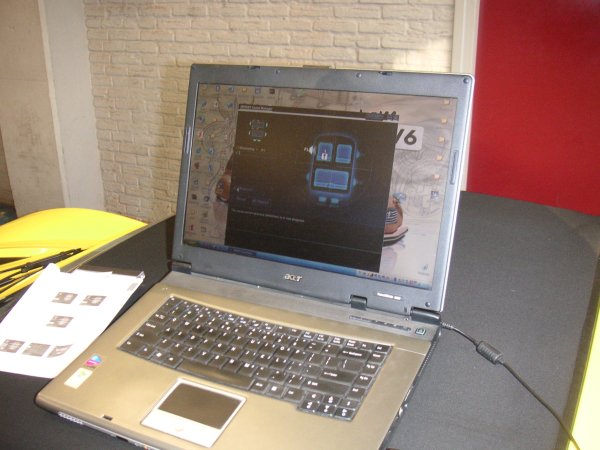
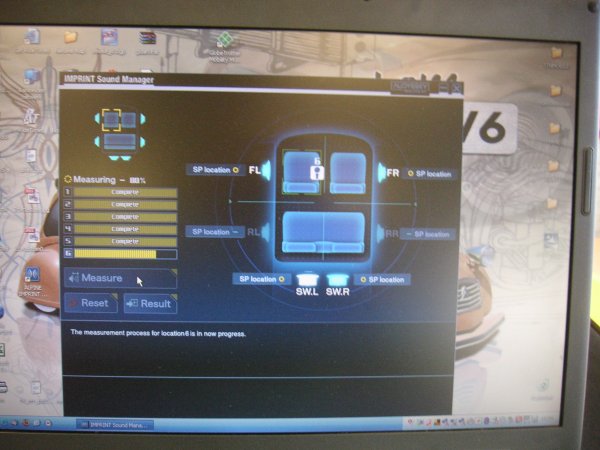
I then took the car for a spin. Everything seems to work fine. Sound is great, the sub just adds that bit more fullness to the sound, even with the top off. Integration with the iPod is very nice. You can controll everything from the headunit. And also the bluetooth carkit works very well. At 120km/h with the top off you can actually make a phonecall and people will be able to hear you :) Imprint CalibrationThis headunit has the Imprint option. Basically it means that an Alpine dealer can calibrate this unit so it adjusts to the specific surroundings of the car. It should also calibrate the time delay between the speakers. Just like with home cinema sets this should provide for a perfect stereo sound without adjusting to volume of one or more speakers.The problem is finding a dealer that can and want to calibrate this headunit. I finally found Menke Car&Telecom. They just recieved the Imprint calibration kit and wanted to do a calibration of my headunit. After arriving the kit was installed in the car. It consists of a (high spec) microphone, a convertor and a software package which has to be installed on a laptop PC.
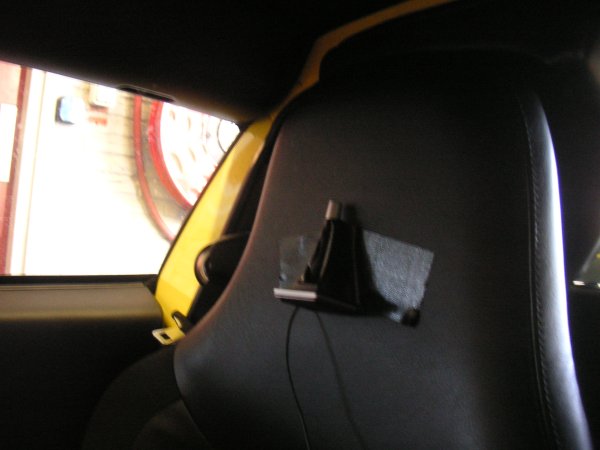
We used ducttape to put the microphone in the different spots in the car.
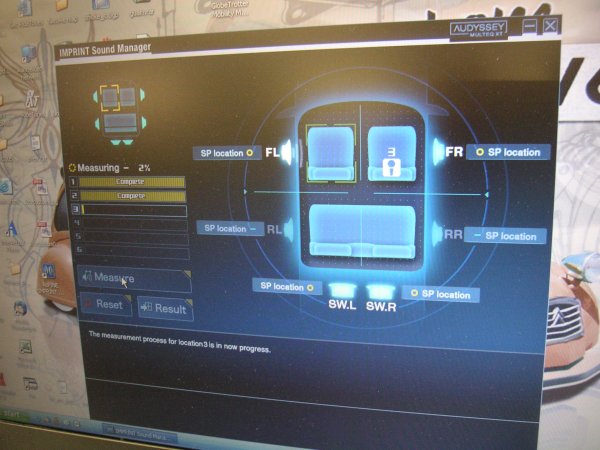
In the software we choose to calibrate the unit around the driver seat. You can also choose for other spots. The we started the calibration. You have to be very quiet as the software starts running sounds through the different speakers.
In total we put the microphone in 6 different postions, letting the software calibrate each time. That took more than an hour to do.
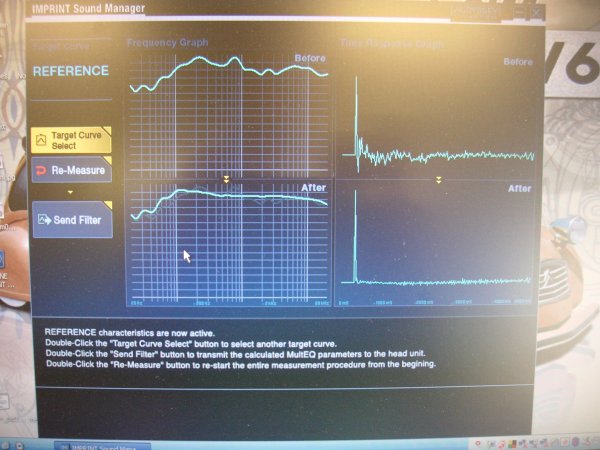
After all the measurements, the software calculates a sound profile. It compensates for the different frequency absorbtions in the car and time delays for the different speakers.
The final result is then uploaded to the headunit. The effect is very good! We sat in the car, listening to the sound with the calibration off and on. The difference is REALLY big! When driving the car the sound is also a lot better. Normally you loose a lot of the sound depth. This is now totally gone :). In future I would like to do another calibration. The headunit has space to save 2 calibrations, so I want to do another one with the roof off. But that will have to be done in a VERY quiet spot, so not to disturb the measurement. |