| |||||


2Bular exhaust systemFor a long time (since I've got the car) I've been looking for a good replacement for the standard exhaust. There were a few keypoints I wanted addressed in a new system:
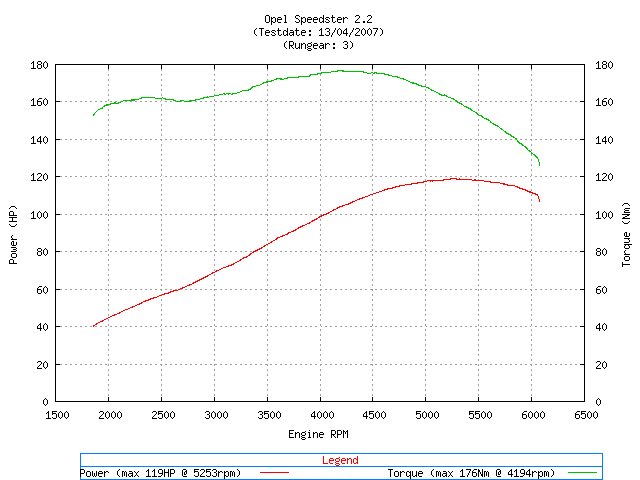
As an example of what is on the car, I sent him an original downpipe and cat, so he can use that as a basis of the new system (he doesn't have an actual car to work with!). One of the points I couldn't get a clear picture on is what the effect will be of the exhaust on the engine. You read a lot of unsubstantiated claims, without any rollingroad tests or other information. One of my goals was to make some good measurements before and after placing the new exhaust. These are the measurements before. Power/torque The way I measure the power and torque is explained elsewhere on the website. The results can reproduced over and over again. And allthough maybe not as reliable as some rollingroads, they come more then close enough to give a good idea how the engine gives out its power. The standard engine (with an open air filter) gives the following graph. All numbers are at the wheels of course.
Emissions To get an idea on the emissions I had a 4-gas test done. The results are as follows. Engine idling
Engine revved
Thanks to Cor Roos for the free measurement! Very good values, more than enough to pass the Dutch MOT. Sound level For the sound level I did 2 measurements, 1 with the engine idling and one with the engine at 3000 rpm. The microphone was at 1 meter distance the the exhaust, at an angle of 45 degrees and at the same height as the exhaust. I have done 2 measurements. One of the standard system on my car and the second of a Speester with a Milltek rear silencer on the standard downpipe and cat.
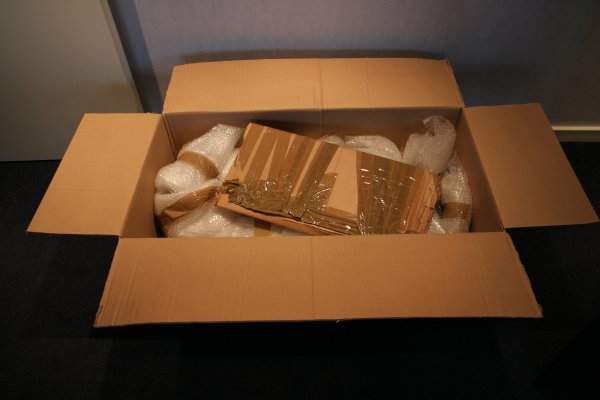
The new exhaustIn total Jim sent me an exhaust twice. Without a car to develop the system on it is allmost impossible to get everything perfect first time. Everything was very well packed in a big box.
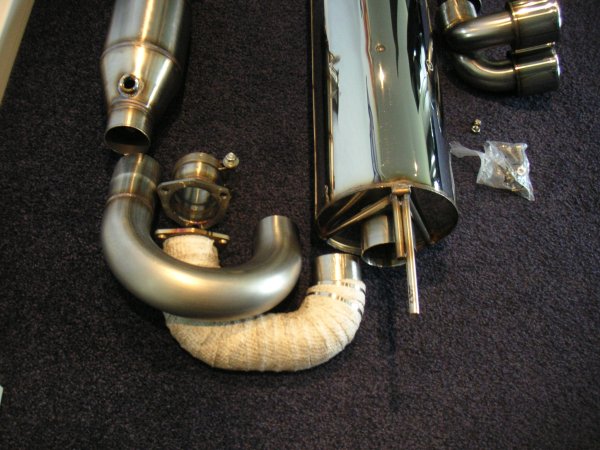
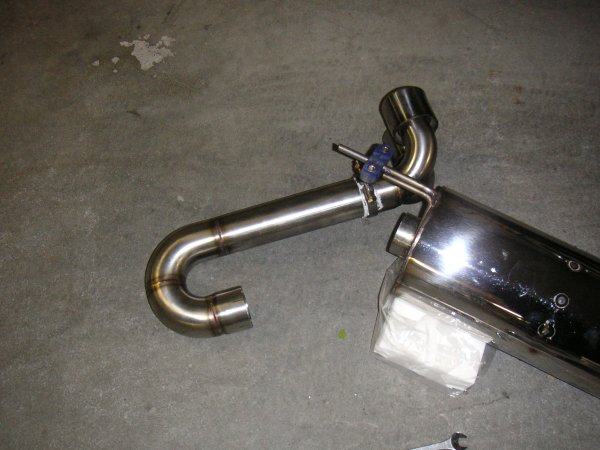
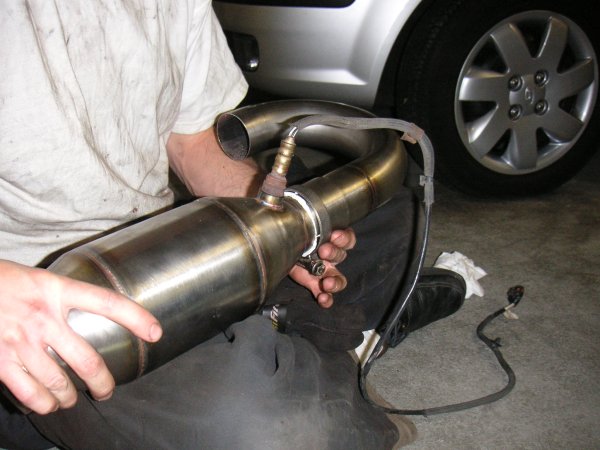
All parts are made from stainless steel, including the clamps. The silencer is nice and shiny and will stay that way. Due to the filling that is begin used (specially woven glasfibers) the outside of the silencer will become much less hot.
All parts of the exhaust have a minimum diameter of 2.5". The silencer
is a 100% absorption silencer. With this type of silencer design it is
much harder to reduce the sound levels, but it is very good for flow.
Jim has made two different bends to connect the cat to the silencer. The one that is wrapped is a tighter bend, which can be used if there was insufficient space. Fortunately that wasn't the case, so the wide bend was used.
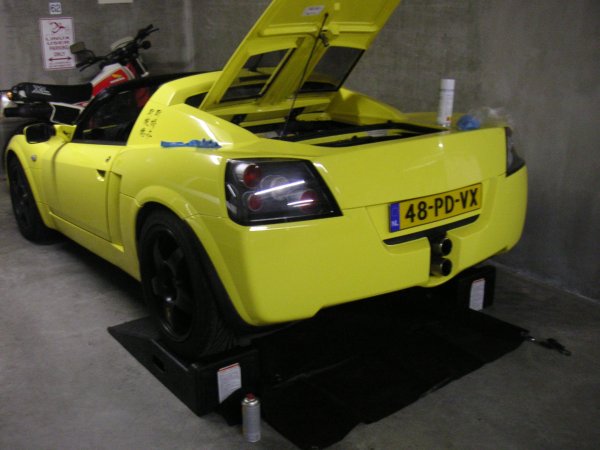
DisassemblingDisassembling and assembling was done in my garage. Put the rear on some stands, a tarp on the floor and was ready to start.
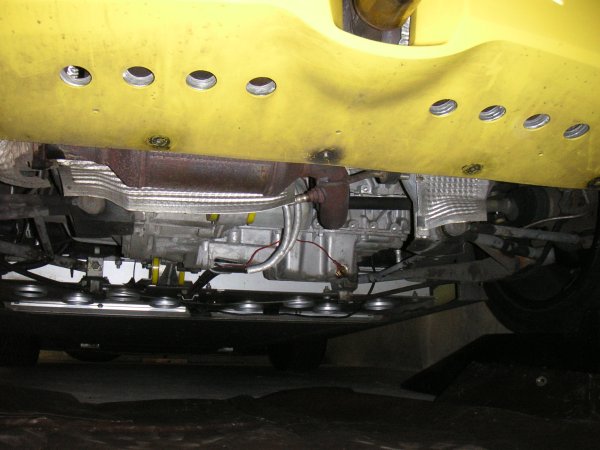
Remove the diffuser and undertray from the car.
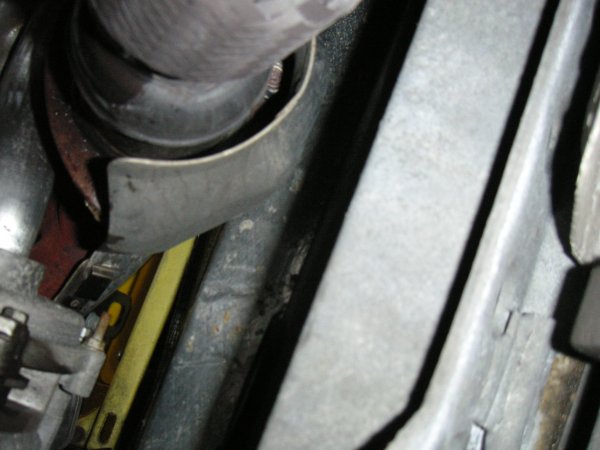
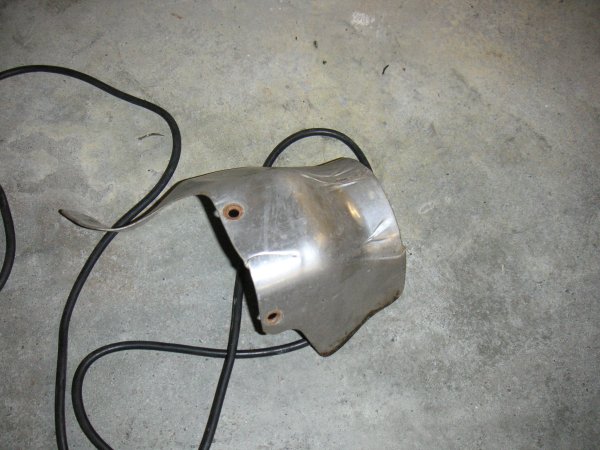
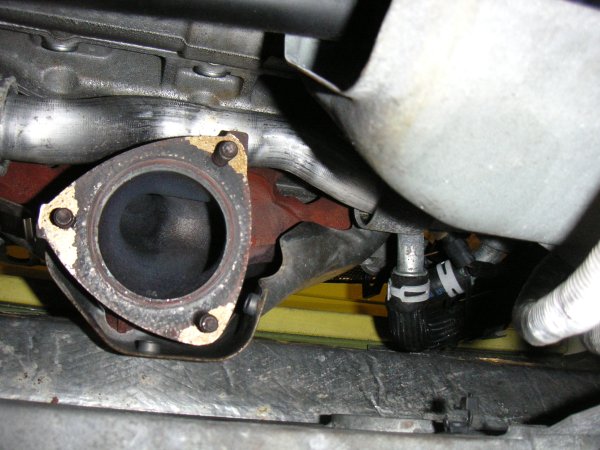
Remove the small heatshield from the manifold. It is held in place by three little bolts that are hard to reach.
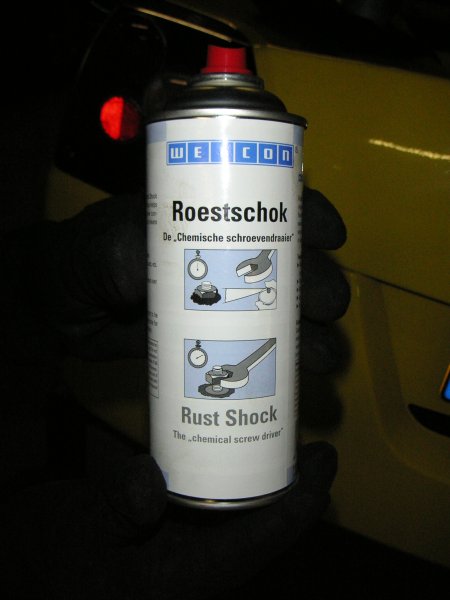
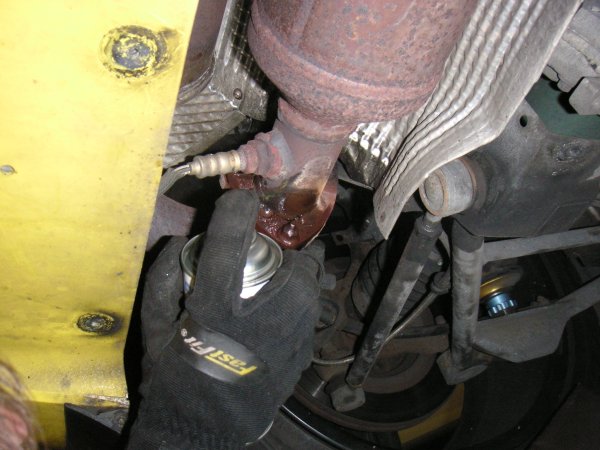
The nuts that hold the downpipe to the manifold can be difficult to remove and for this I bought a can of Rust Shock. This is a sort of penetrating oil which cools down the part you spray it on. The will let the oil penetrate a lot easier. It works very well, all the difficult parts come off much easier using this stuff.
Spray the stuff on the nuts.
They came off without a problem. Did it the same way with the bolts that connect the cat to the bend to the silencer.
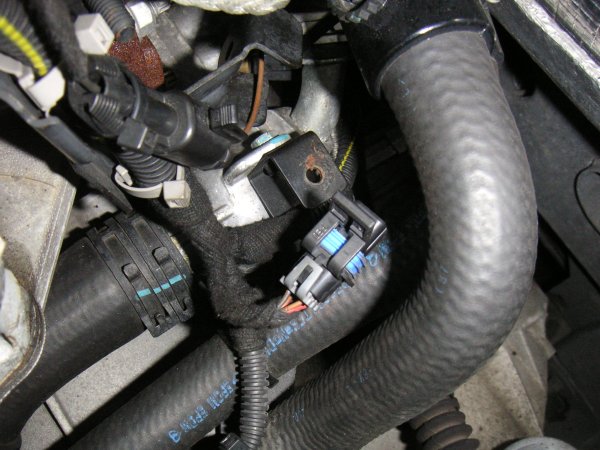
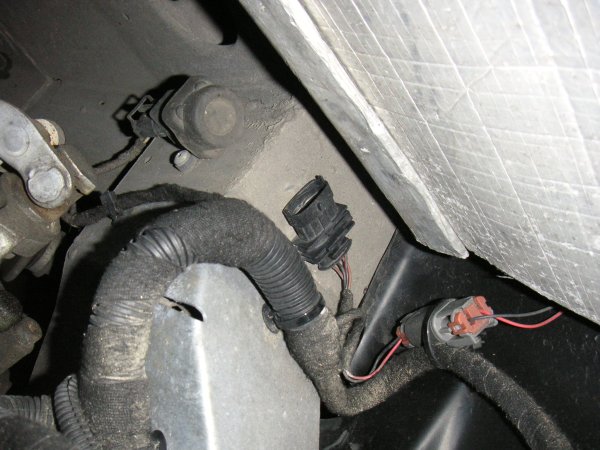
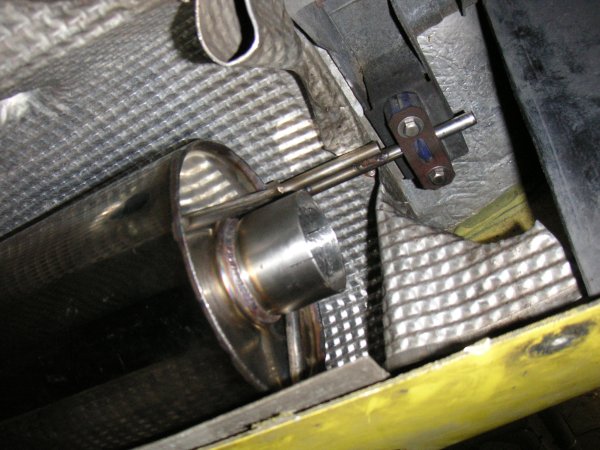
At the top of the engine, disconnect the plugs that go to the two lambda sensors.
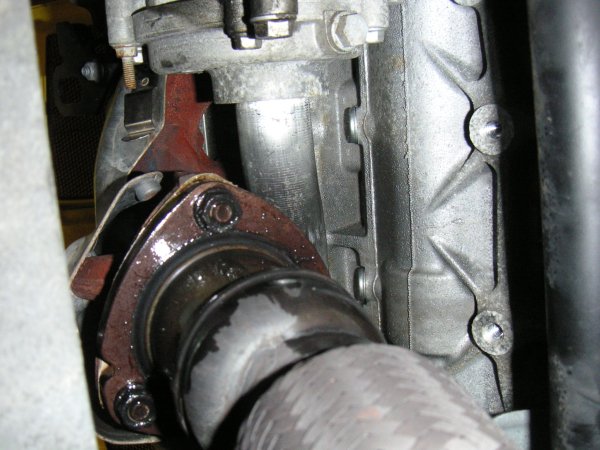
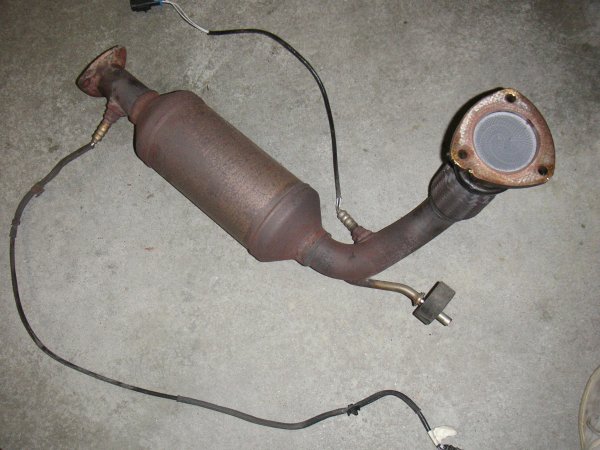
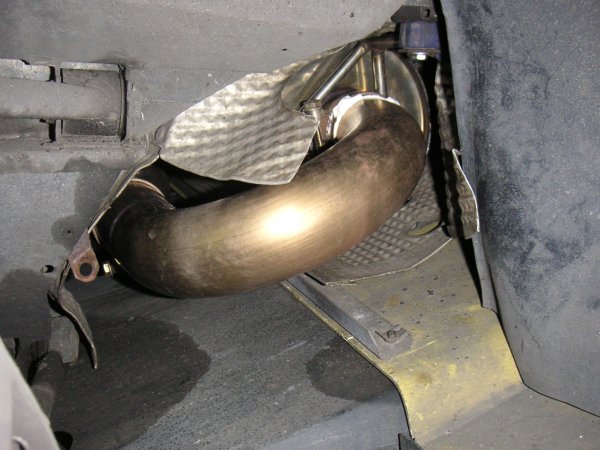
Then the downpipe with the cat can be removed.
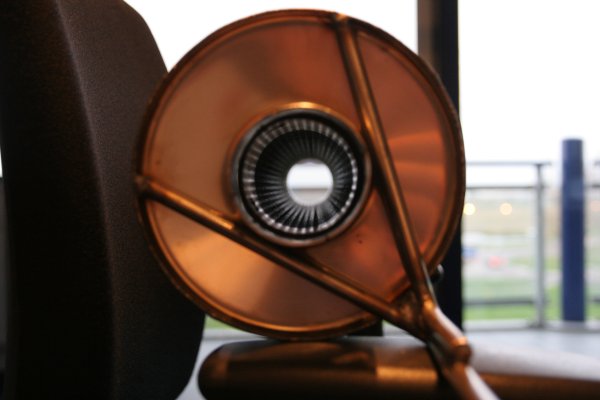
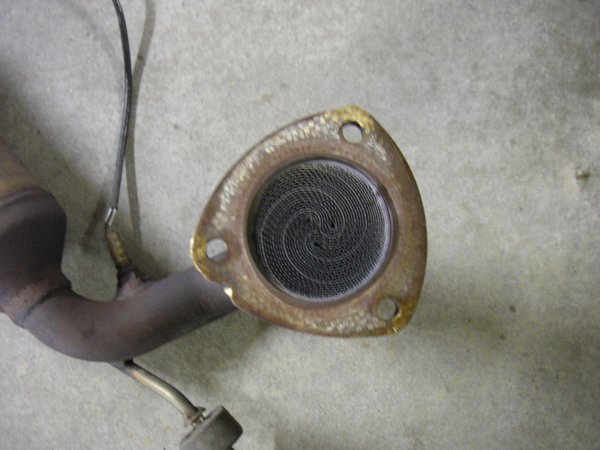
This photo shows how dense the pre-cat is that is in the standard downpipe. And then to think it only does something usefull the first few minutes after the engine is started. The rest of the time it is only in the way making it harder for the engine to push the exhaust gasses out. Less polution with a cold engine is worth some less effeciency apparently.
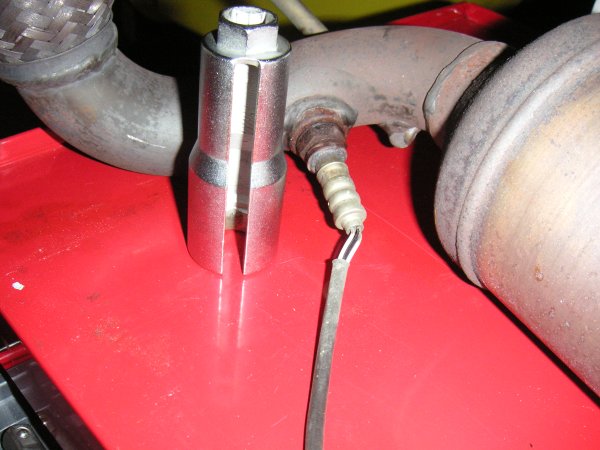
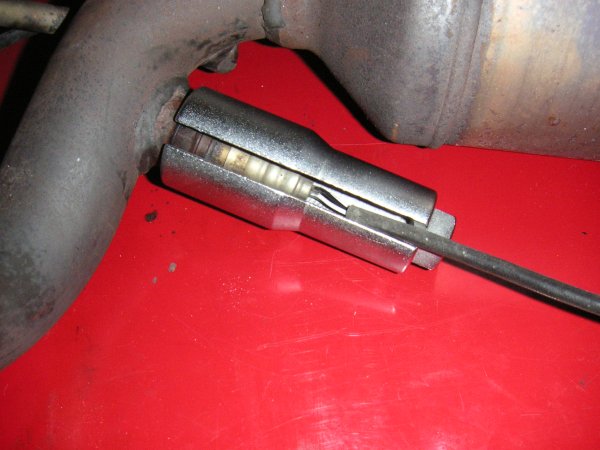
To remove the lambda sensor, Arno brought a special socket.
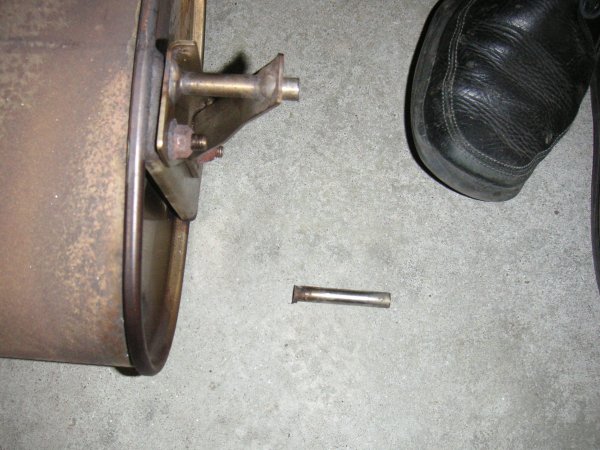
We used the same spray again here. Fortunately the lambda sensors came out without a problem. That saves a lot of cash buying new ones. The bend between the cat and the silencer came out pretty easy too. Then it was time to get the silencer out. Unfortunatly at one side the bolts that connect the hanger to the silencer wouldn't come loose. So we had to cut that hanger.
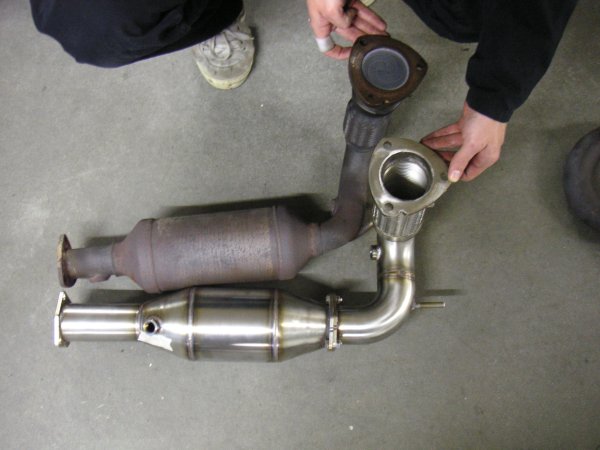
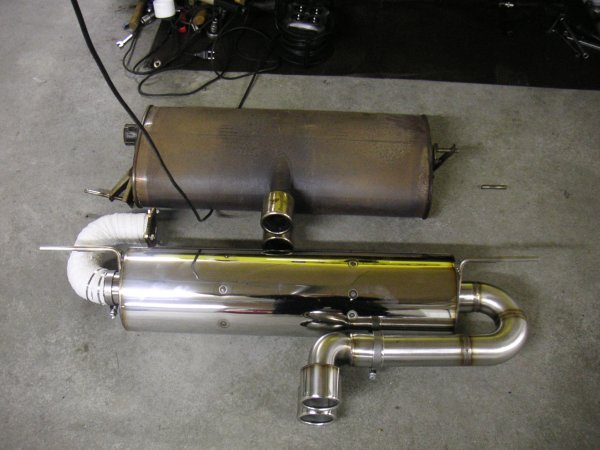
Old next to newWith the old exhaust system off the car, we put it next to the new one so you can see the differences.First the two catalysts next to eachother. First you clearly see the lack of a pre-cat which really helps flow. Second is the in and out flow of the catalyst. This is much more tapered which gives beter flow.
The downpipe also shows a big difference. The squeeze that is after the pre-cat on the standaard downpipe is gone. Only just before the first bend the downpipe goes back to 2.5", untill that time it is the same diameter as the manifold.
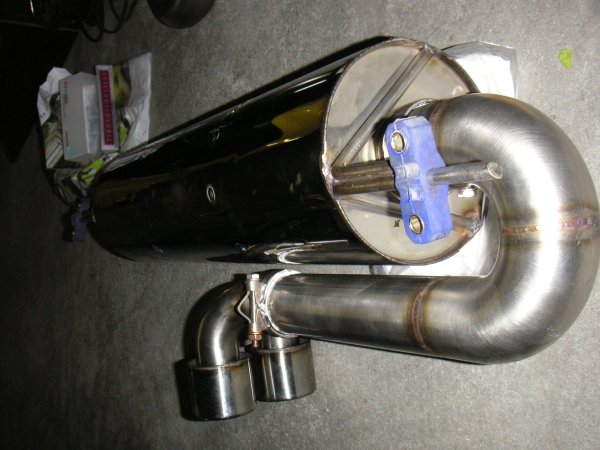
Lastly, it is the two silencers next to eachother. This clearly shows how big the 2Bular silencer is compared to the standard item.
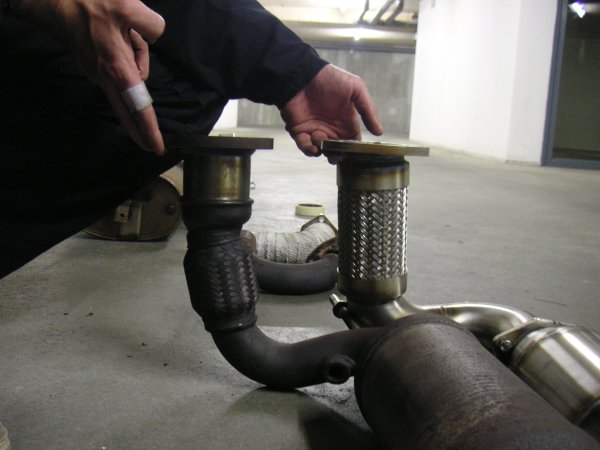
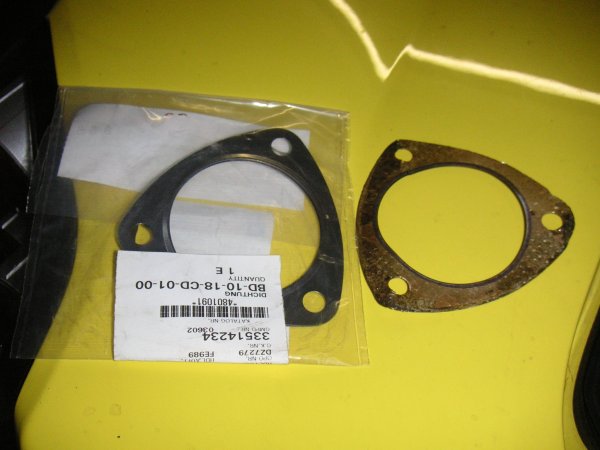
AssemblingBefore starting assembling I got a new gasket which goes between the manifold and the downpipe.
Removed as much of the old gasket from the manifold as I could. It seems that the type of gasket used has been changed.
First the endpipes are assembled with some paste to get a good seal.
Then the endpipes can be connected to the silencer. Also used the paste again.
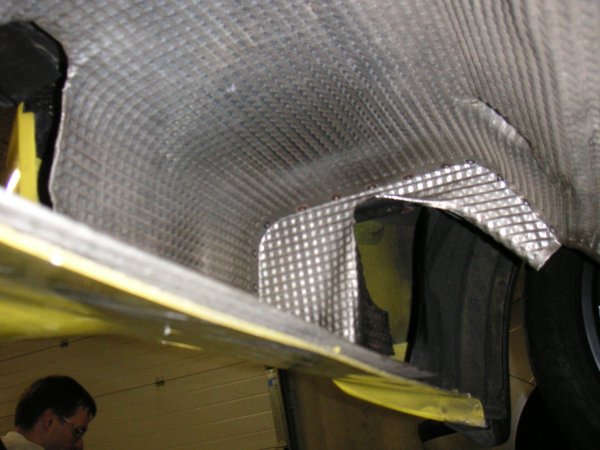
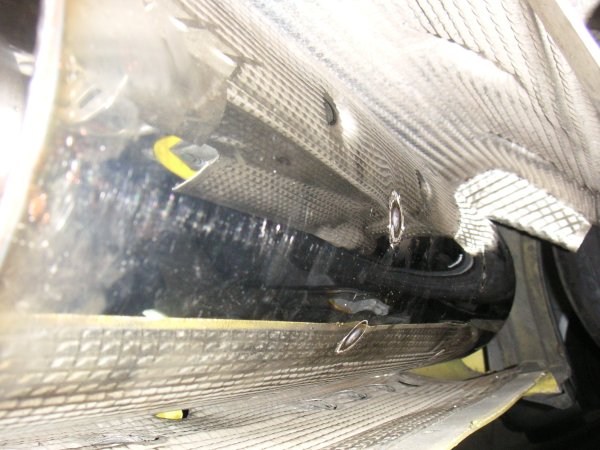
Where the silencer needs to hang it has left and right heat shields. We had to cut the shields to make place for the silencer and the bends at both sides. Later we can bend them back a little.
The silencer can now be put in place.
At both sides the standard hanger rubbers can be used.
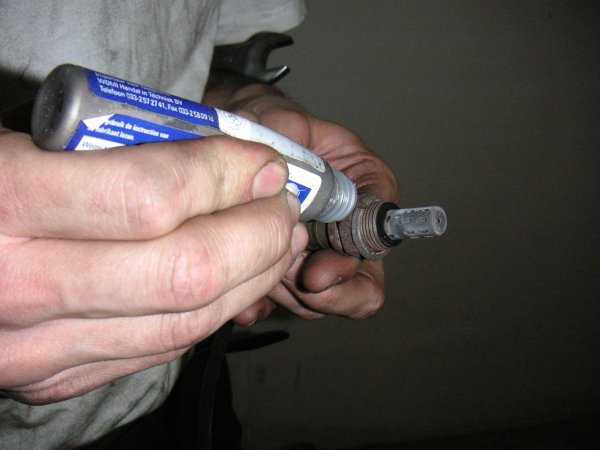
Then the lambda sensors can be put in place. To make sure you can get them out later, we used a special type of grease that won't affect the sensor. You can NOT use normal coppergrease here.
Place the first lambda sensor in the downpipe.
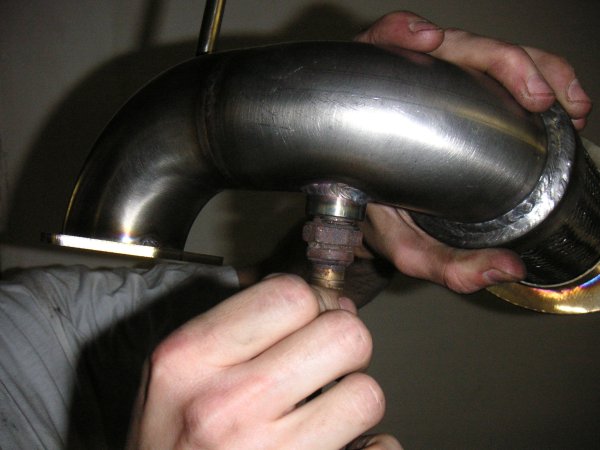
Then connect the downpipe to the manifold.
The second lambda sensor can be put into the cat, and the bend can be connected to the silencer. Ofcourse everything is covered with paste.
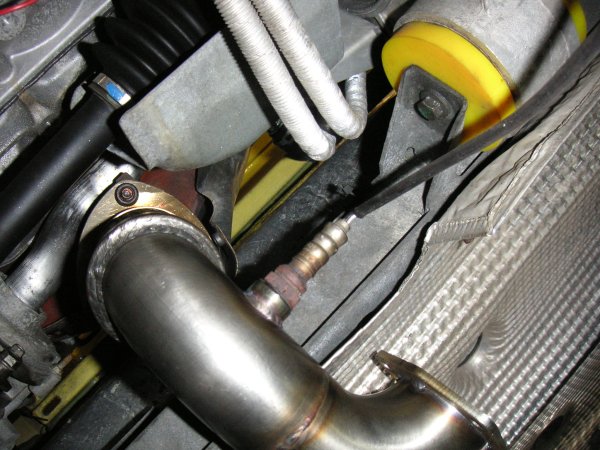
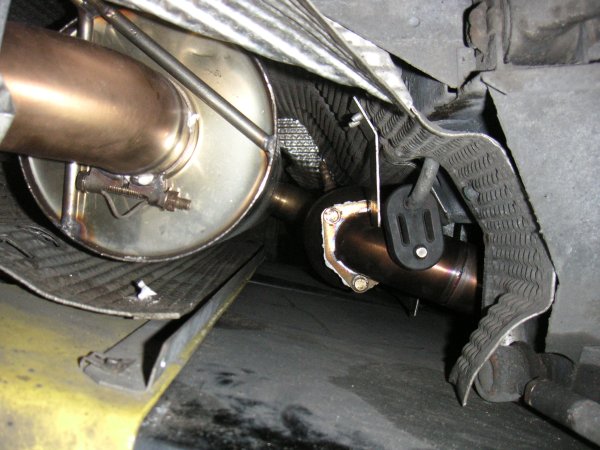
The system is ready. Ofcourse we did an engine start before putting the rest of the parts back on the car. The system didn't show any problems, so we put back the undertray and the diffuser and took some pictures from both sides. There is plenty of room between the catalyst and the silencer.
The bend between the catalyst and silencer is coming out less then the standard part.
And of course a shot of the 2 3" eindpipes.
The resultsWe did the testdrive with an OBD2 reader connected to the ECU. The first 30km we drove carefully to keep the ECU running in "closed loop. This will get the ECU to use the readings from the lambda sensors to change the air/fuel ratio. This proved to be useful. We saw on the OBD2 reader that the ECU was changing the amount of fuel by 18%. This was a long term trim which was the first sign that the exhaust was really having some effect.Below are the results of the different measurements. Weight I weighed the silencer and cat (with downpipe) of both exhaust systems. These are the results.
Even for such a big silencer it is a nice weight saving. When ordering a smaller silencer even more weight can be saved. Sound level The sound of the exhaust is typically that of an absorption silencer. Allmost all high notes are filtered out. What remains are the big pulses coming directly from the engine. A low bassline. The table shows the different sound levels.
It is clear that the 2Bular system produces more sound that the standard system. Taking pipe diameter, the removed pre cat and the type of silencer into account, the difference is pretty small. And compares well to one of the most used silencers on the Speedster. Emmisions After putting the exhaust on I had another 4-gas test done. Below are the before and after values for this test. Please take into account that the second test was done on a different test machine. Engine idle
Engine revved
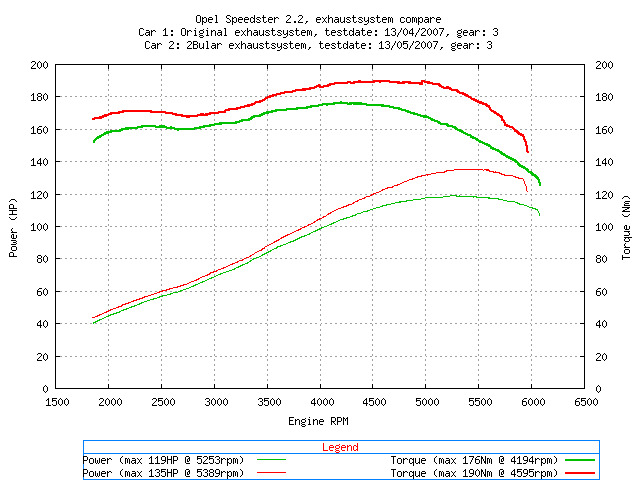
The results are allmost the same as the original exhaust and still way within the allowed limits. Power/torque Below is the graph of the power and torque of the engine with the standard and the 2Bular exhaust. There is clearly a measureable difference. This again is measured at the wheels.
Sound One of the most personal aspects of an exhaust is the way it sounds. For a 2Bular exhaust it is the typical absorption silencer sound. Especially the low sounds come through. The nice thing about a 2Bular silencer is that you can choose how loud the sound has to be. Quieter then my setup will be tricky, as there is no room for a larger silencer. But it can be louder of course. 2Bular has silencers in different sizes. Below are a number of recordings of the car with the new exhaust system on so you can get an idea of the sound it makes. Car driving by at low speed.
Car driving by at a higher speed.
Sound inside the car
Sound from the rear of the car standing still.
Car at the rear of the car driving away.
Car at the rear of the car driving away bit faster.
With the new silencer that is on the car, it seems like the sound inside the car is allmost louder than outside. This probably has to do with the heat shielding that is around the silencer. The shields are only open towards the interior of the car, which probably helps focussing the sound inside. Conclusion
The quality of the exhaust system is really super. Everything is nicely
finished, welds are great etc. |