| |||||


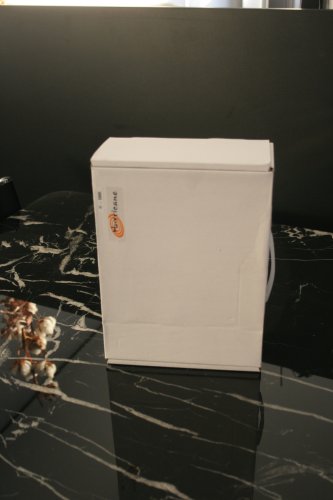
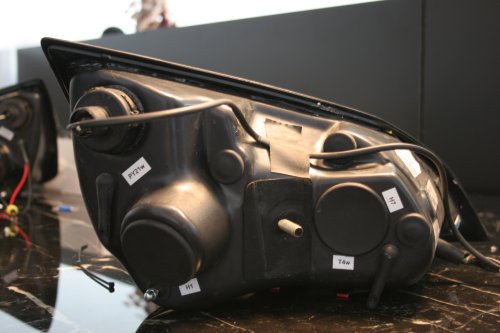
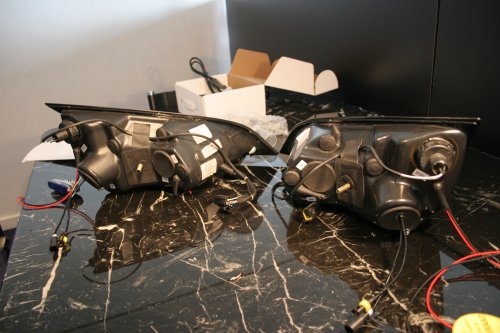
HID XenonIn december there was a group by for HID Xenon kits on Seloc through Elise shop. This is a High Intensity Discharge Xenon kit, a replacement for the standard bulbs. These bulbs produce significantly more light than the standard bulbs.The kit looks like this.
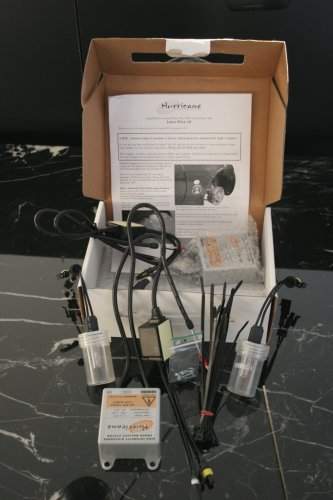
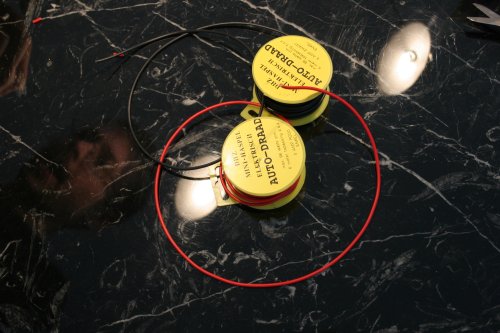
This kit is for the Elise S2 but can also be used for the Speedster. The kit contains the following parts:
Installing the kit is a two part job. First the lightunits need to be wired.
After that the ballast and starter need to be installed in the car.
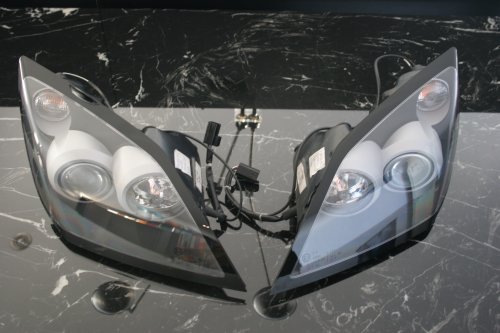
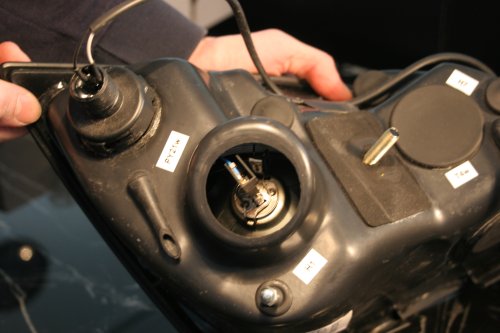
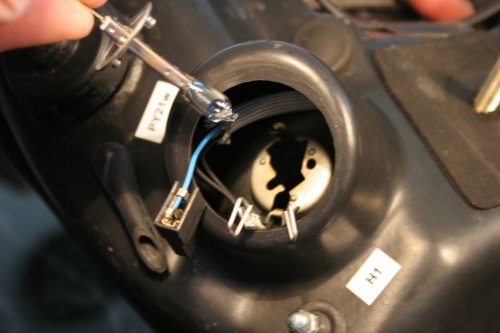
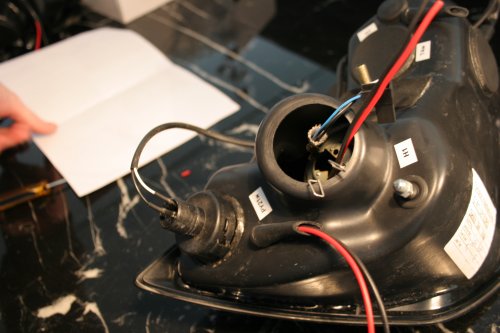
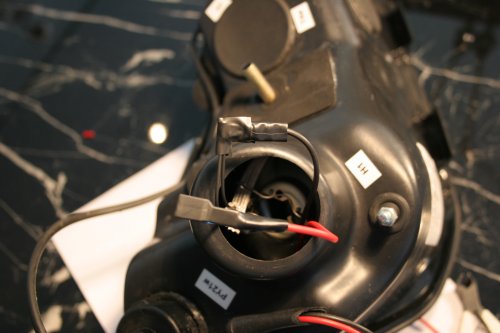
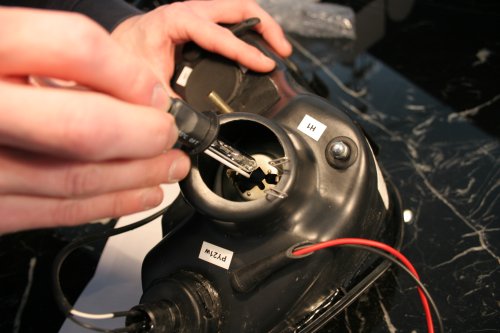
The low beam lights have to be replaced by the xenon bulbs. This is the bulb behind the lid near the H1 label.
Remove the lid.
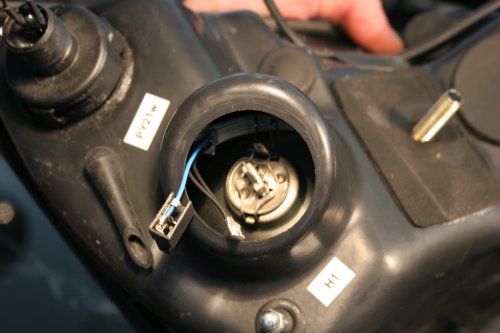
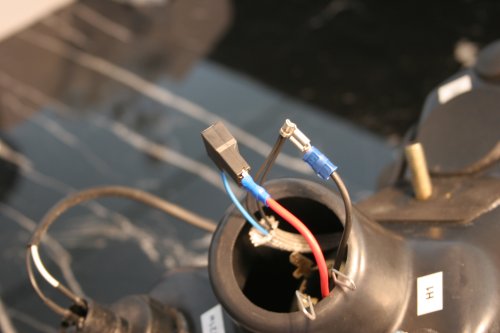
Remove the 12V connectors from the bulb.
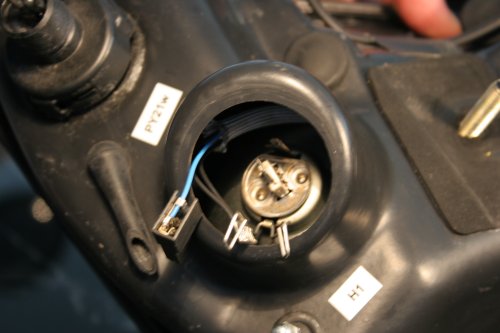
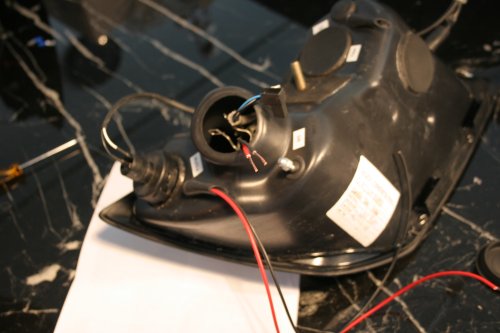
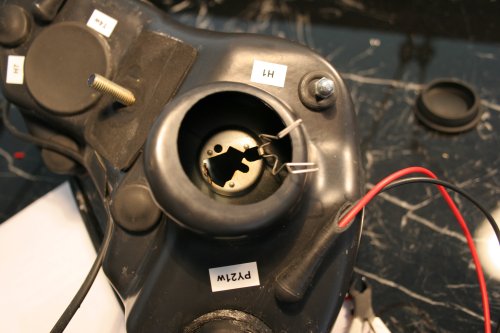
Unclip the bulb from the holder.
Remove the light from the fitting. Take care not to touch the glass of the bulb, that will significantly shorten the life of the bulb (if you want to use them after the conversion that is).
I wanted to make sure that I could replace the xenon blubs with the original bulbs without special tools. If one would stop working and I would be in a situation where I can't arrange for a new one, I can atleast get some light back on the car. Therefore I choose to make an extention cable for the 12V supply. The disadvantage of this is that you have to use extra connectors, which theoretically can lead to a higher chance of faults in the system. Make sure you have some wire (preferably in two colors) to make the extention cable.
To get the wires to the outside of the unit we use the air vent pipe (thanks to Stev6 for that idea). Remove the vent from the unit.
Pull the two wires through the pipe.
Pull the two wires through the unit.
Put the pipe back on the unit.
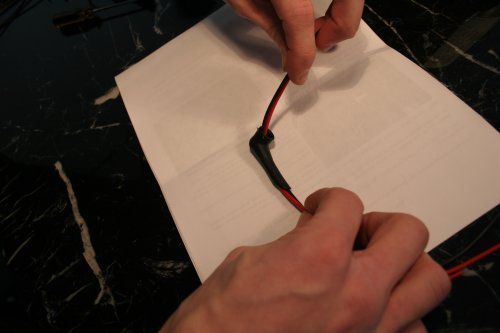
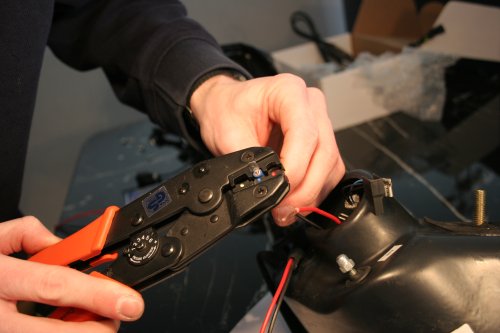
Strip both ends of the wires.
Crimp a connector plug on each wire.
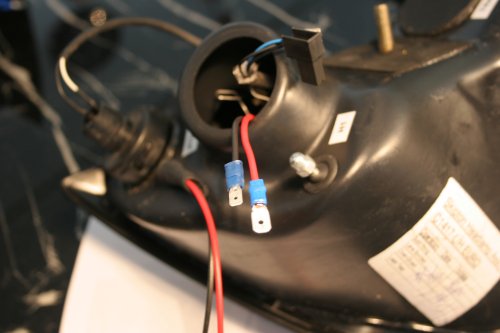
Connect those two connectors with the ones that were on the original bulb.
Insulate the connectors with insolationtape.
Put the cables inside the lamp. You won't need these untill you want to place the original lights back in the unit.
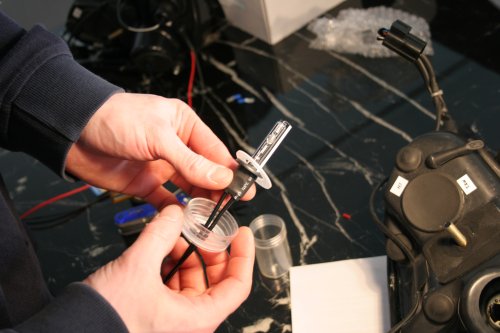
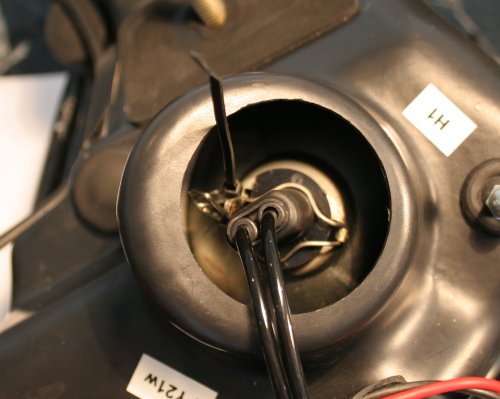
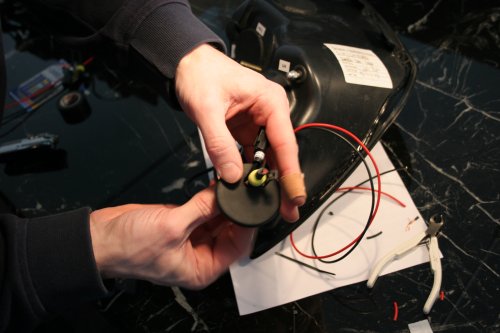
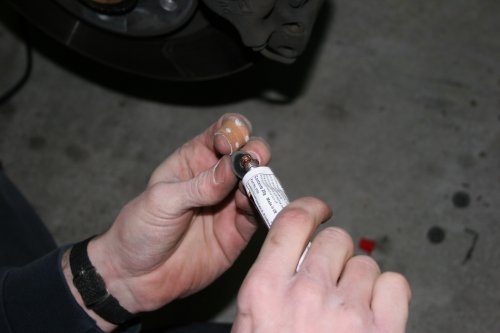
Get the xenon bulb from it's container. Take care not to touch the glass.
Place the bulb in the fitting.
Put the clip back in place. The base of the bulb is a bit thicker, which can make this difficult. Best option seems to be to hook the clipends together so they stay in place.
Join the clips together with a tiewrap so they can't get loose. And cut the end of the tiewrap.
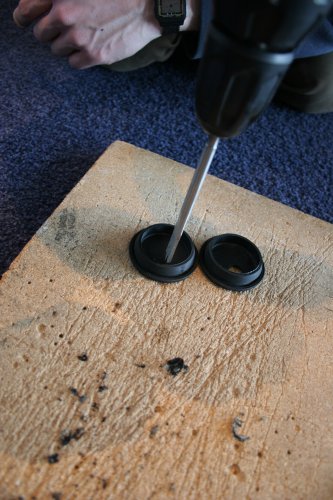
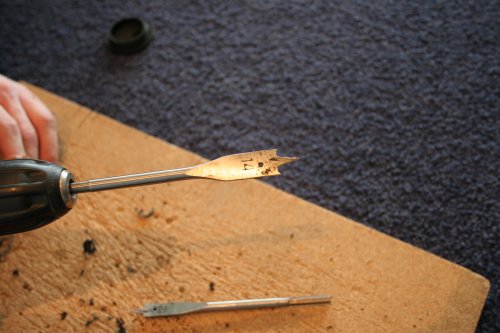
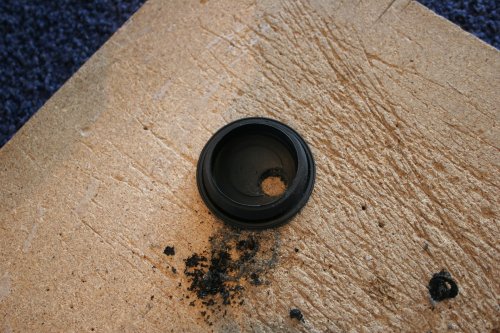
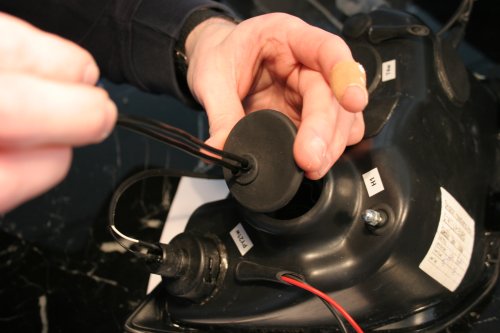
Now we have to make a hole in the cap to put the wires from the blub through. I used a speeddrill 12 and 14 for this. Started off with 12 and enlarged with 14.
Pull the connectors through the hole in the cap.
Push the little cap attached to tie wires in the big cap.
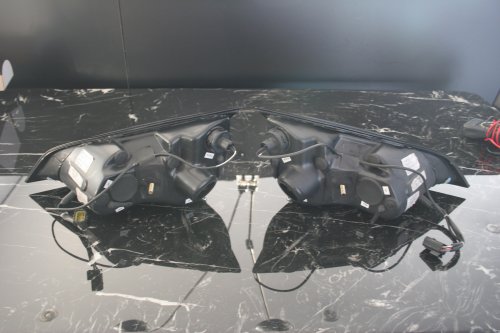
The unit is now ready.
Do the other unit the same way.
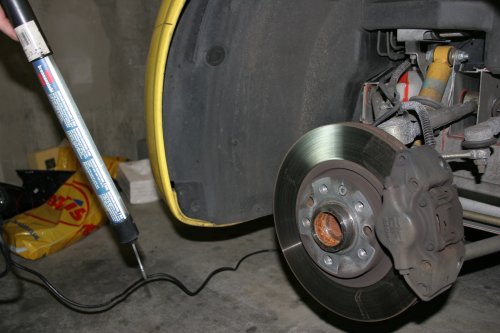
Now part two of the installation can start, the part on the car itself.
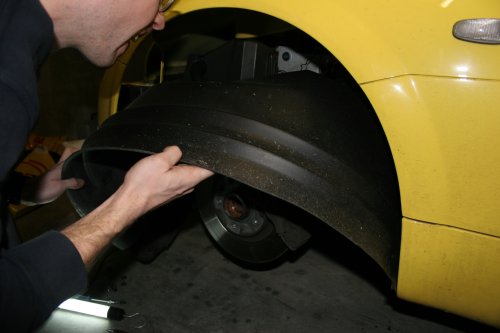
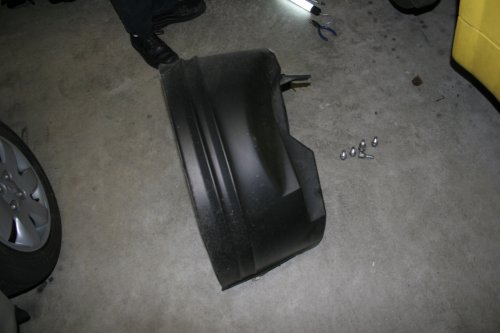
Remove the screws and plugs keeping the inner lining in place and remove the inner lining.
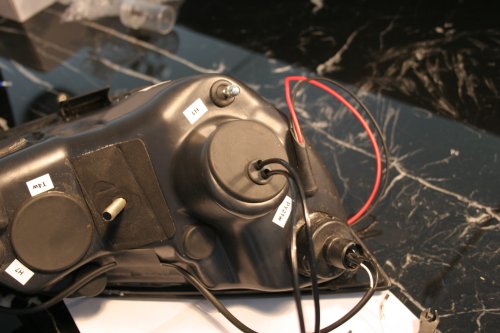
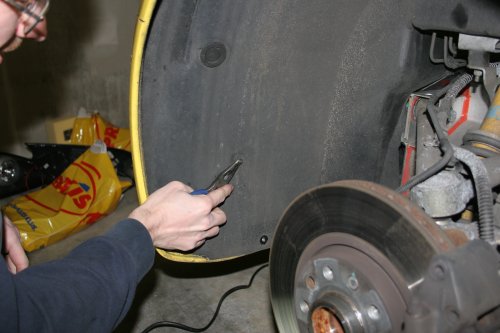
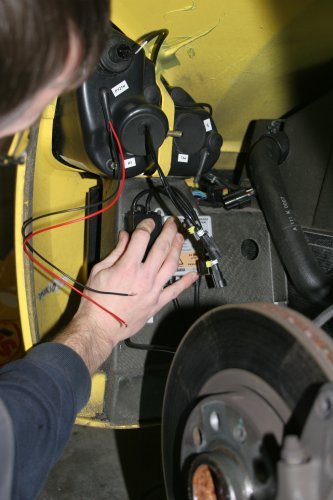
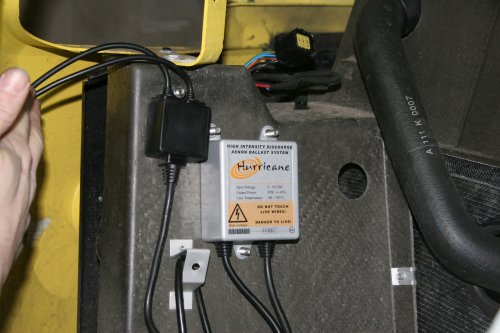
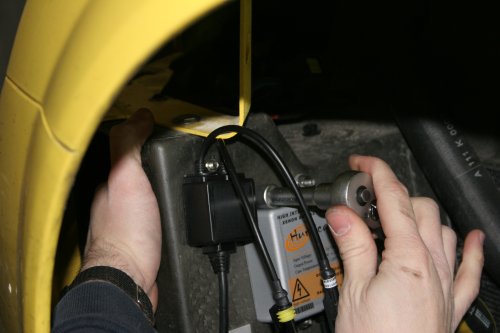
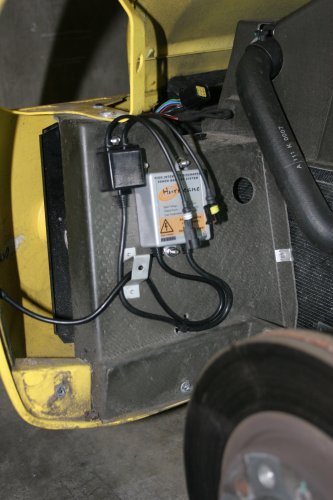
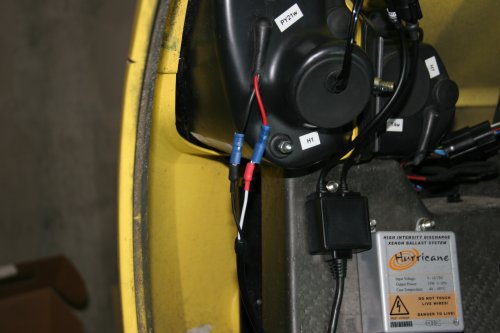
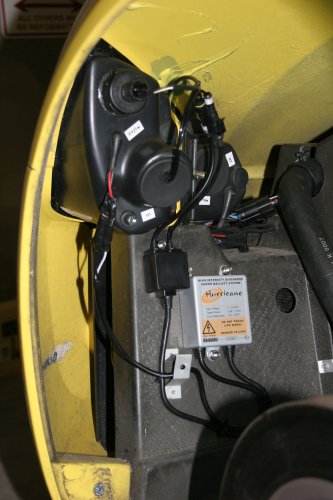
Figure out where you want to put the ballast and starter on the panel that is behind the liner.
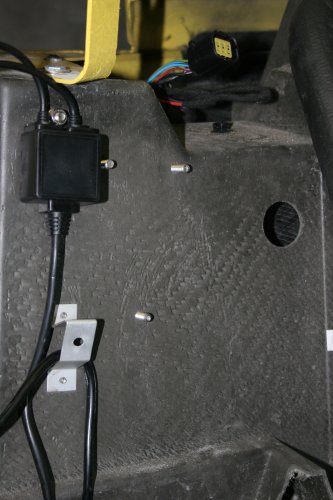
For the starter you can use the hole that is allready there. For the ballast you will have to drill three holes.
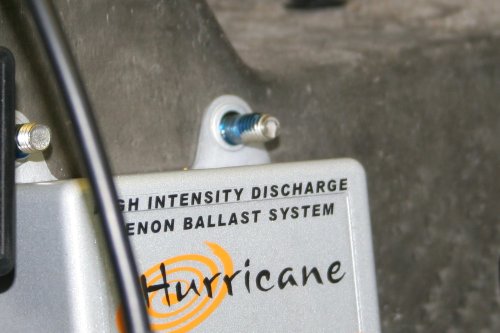
Use stainless steel bolts and nuts to make sure the won't rust. Use a ring on both sides of the panel. Hang the starter and balles from the bolts.
If you don't use nyloc nuts, then use some threadlock on the bolts to stop them from vibrating loose.
Put the nuts on the bolts.
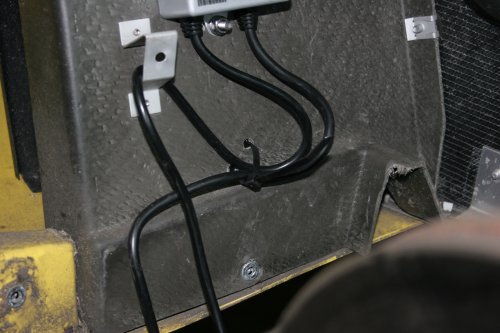
Drill an extra two holes at the bottom of the panel to put a tiewrap through. That way you can keep the wires in place.
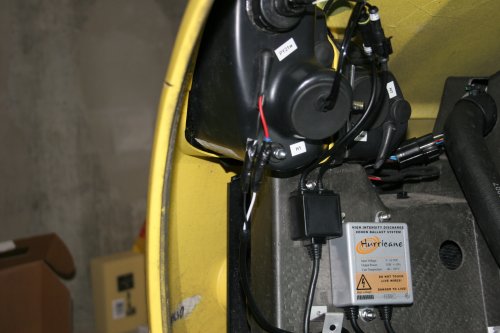
Everything is in place and secured.
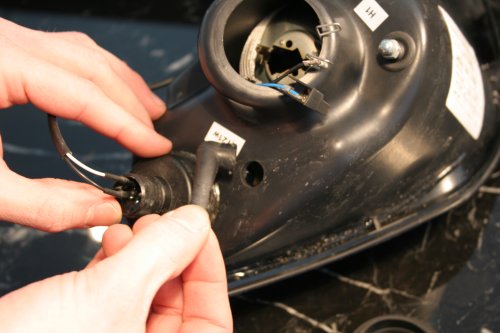
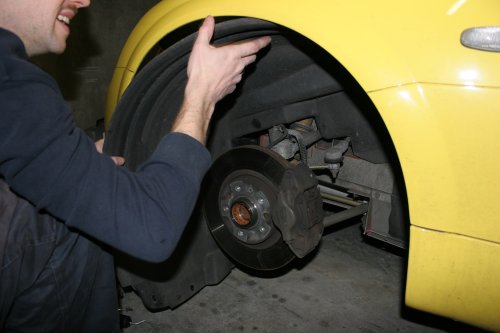
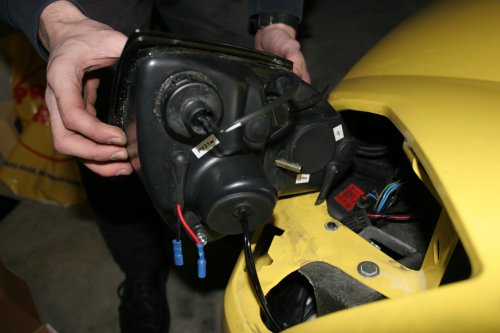
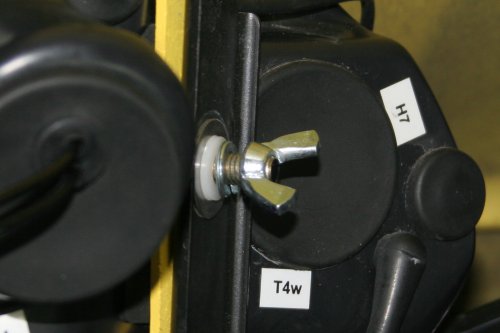
Place the lightunit back on the car.
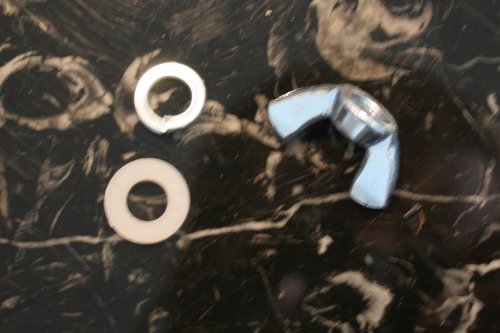
I've replace the standard nut with a wingnut. That makes it much easier to te remove the lightunit.
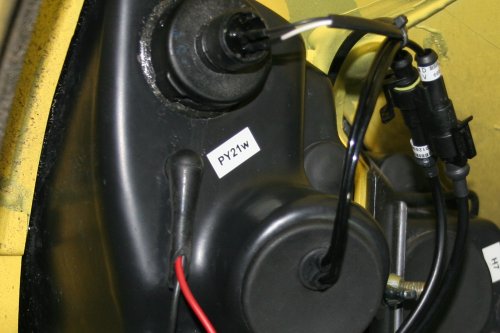
Attach the highvoltagewires to the ballast.
Cut the 12V wires from the lightunit to size (I've kept them fairly short), crip connectors on them and connect them to the ballast.
Insulate the connectors.
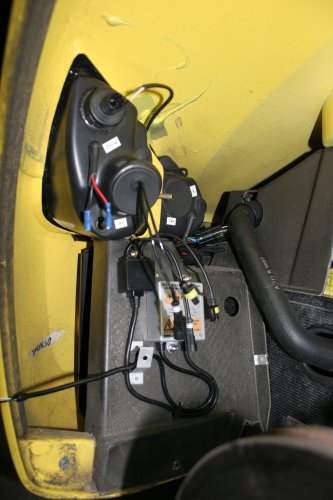
The installation is now finished.
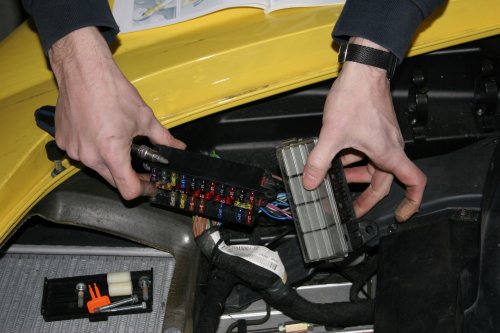
The bulbs use less power than the original blubs. But when the lights are warm and the need to be started, the starter unit can use a lot of current because starting in these conditions can be very hard. It is recommended that each light can get 15A. Unfortunatly on the Speedster it is not very clear how the lights are fused. In my dutch manual there is no mention of a fuse for the lights. In the english one it says it is the 25A fuse on position 14 that is marked as head lamps. Probably that 25A fuse is sufficient, but I'm going to ask the dealer just to be sure.
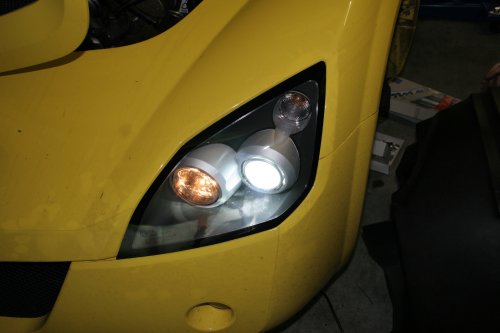
The lights seems to work ok. The effect of the xenon light is difficult to get on a picture.
After testing the light, the lining can be put back in place. Put some coppergrease on the screws before putting them back. If you need to remove the lining in future you'll be sure it wont have rusted.
After placing the lining, put the wheel back.
First impressions of this kit is that it is a significant improvment from the standard lights. It is difficult to get the effect on photo. I can recommend this as an upgrade for the Speedster. |