| |||||


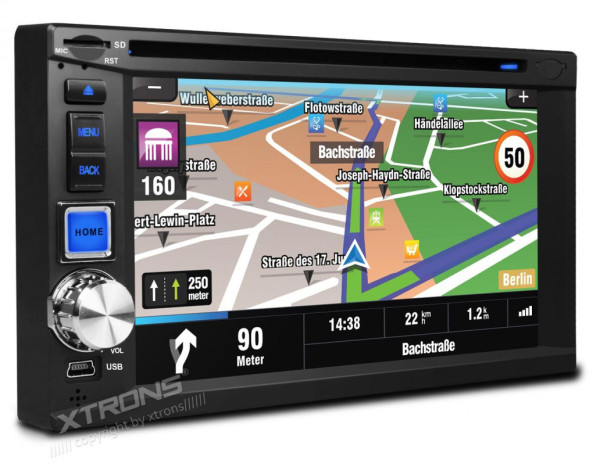
Double DIN Android headunitAlthough the standard radio is pretty ok as far as I'm concerned, the number of extensions I've added to it over the years are a bit silly. There is a Parrot carkit connected, a seperate Tomtom navigation system and an internal bluetooth extention for wireless audio.There are a growing number of relatively cheap Android car radio's available that would allow me to integrate most of the features. Important for me are a radio running native android (not a WinCE system with android hacked into it), a dial volume controll (I don't like the push buttons), a capacititive touch screen and external USB connectivity. After a lot of searching I made the choice to order the Xtrons TD620A.
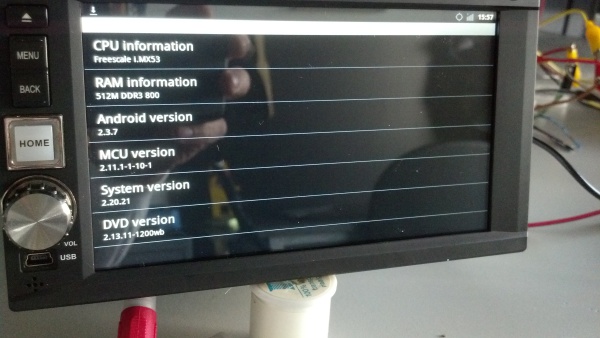
The TD620A has the following features:
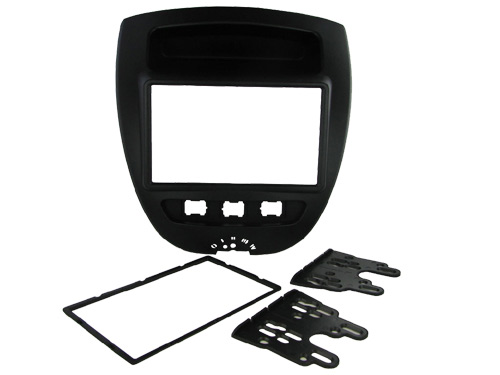
As the unit runs android, it is not an instant powerup. It requires about 30-40 seconds (probably depending on what software you install on it) before it is up&running. For mounting the unit in the dashboard I found a double din adaptor on ebay.
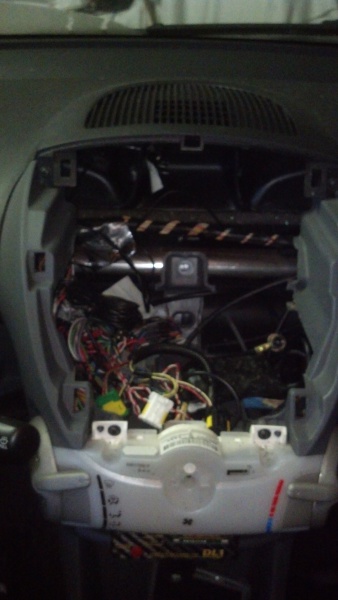
When both had arrived I tried fitting it to the C1. Unfortunatly there are a few bits of plastic that are in the way, the installation depth isn't sufficient to fit the unit. The horizontal center bar is in the way.
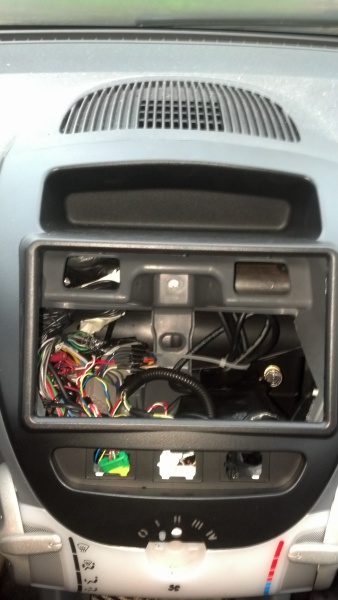
With the mounting bracket in place you can clearly see which part is the problem.
So I took my dremel and did some modifications to make sure it would fit.
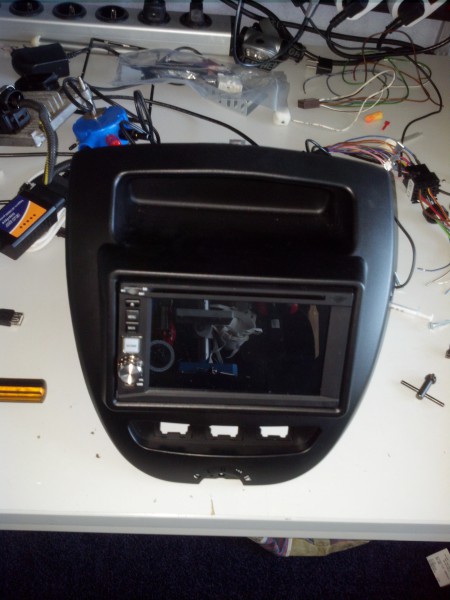
The mounting unit came with an adapter window. Unfortunatly the hole in the unit is larger then 2 din and the window is smaller. I couldn't find a way to change the window so it would fit the unit. So I decdided to fit it with a little space above and below the unit, which would at least help with ventilation. The mounting unit didn't come with any bolts or screws, so I made up my own set and mounted the td620a to the frame.
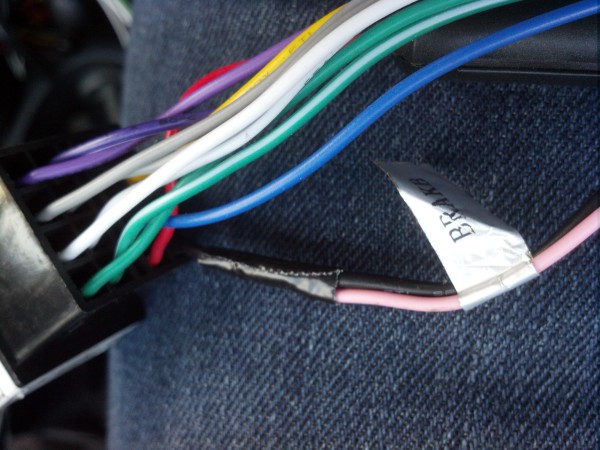
Before puttin the unit in the car I made a small modification to the wireloom that came with the td620a. I connected to brake wire to ground to get rid of those silly messages that don't allow you to play video while the vehicle is moving.
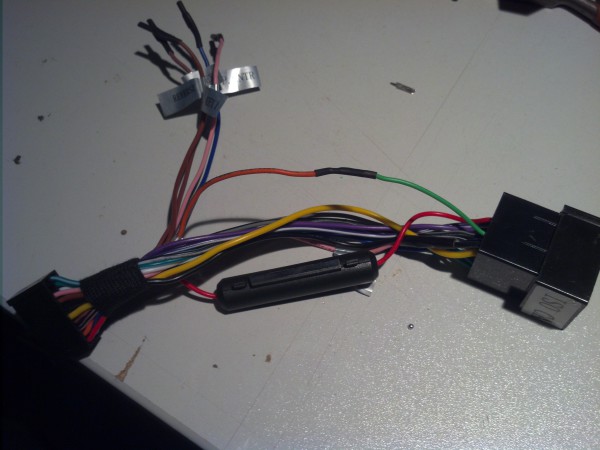
I also connected the seperate light wire to the ISO connector, so the buttons light up when you turn on the lights.
When mounting the unit it used an ISO extention cable to be able to modify 12v permanent and switched connection easily and rewire in the sub (that was connected in the parrot wire loom). Putting it all in place it looks pretty nice.
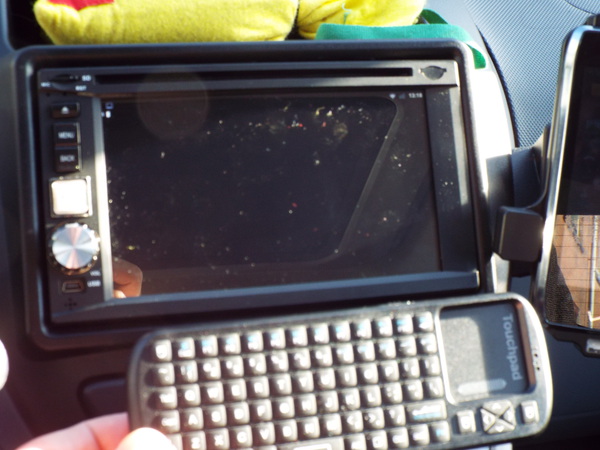
On the back of the unit I added an USB hub (4 ports) to the USB connector. From there I added an ELM327 OBD2 reader to the hub. I also added the original wireless dongle and a wireless keyboard adapter.
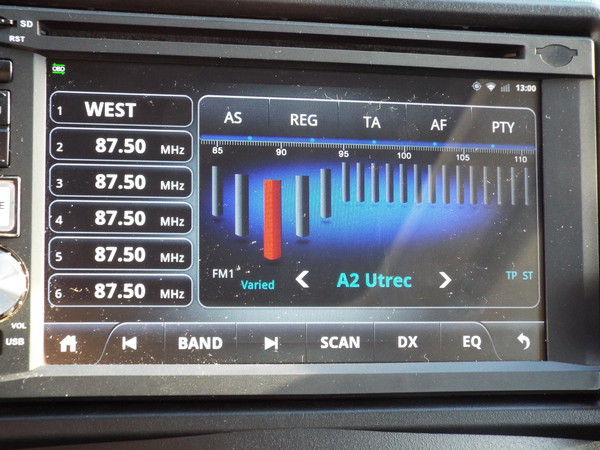
I don't have too many application installed on the unit at the moment. The most important are: Radio application (comes with the unit)
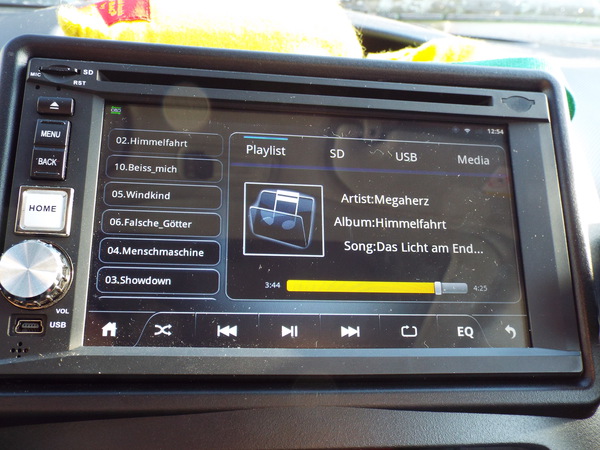
MP3 player application (comes with the unit)
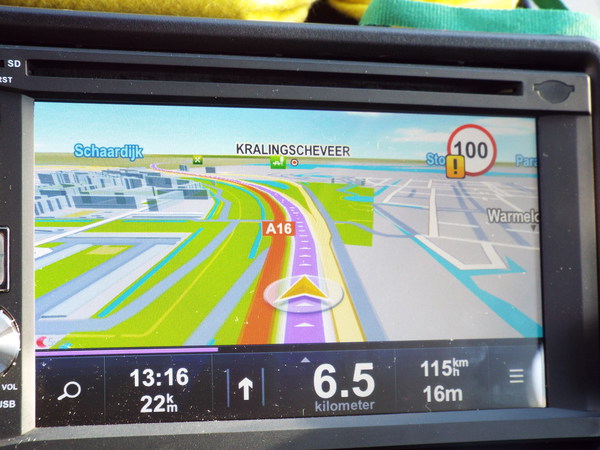
Sygic navigation (comes with the unit, to replace my tomtom unit)
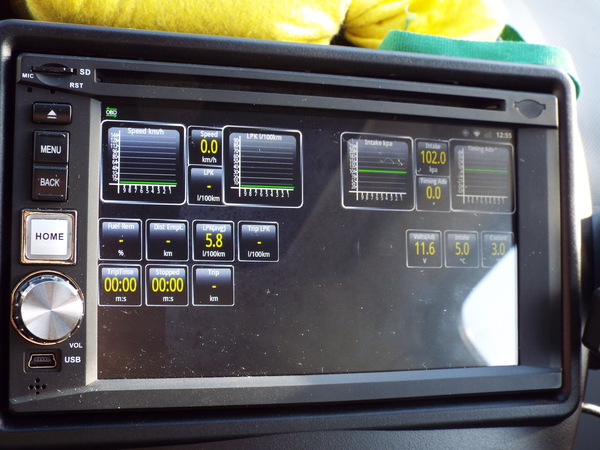
Torque Pro (to replace my scangauge)
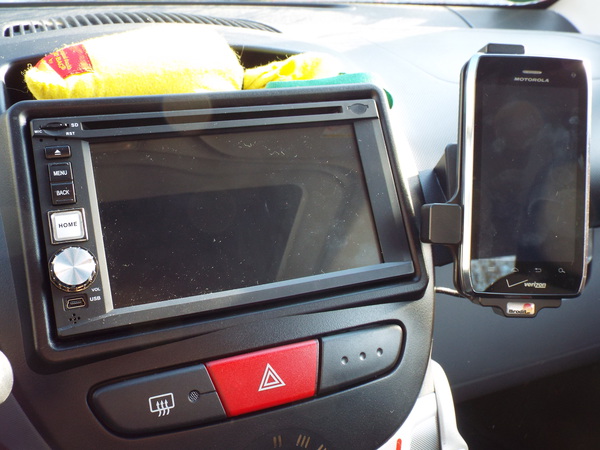
After a bit of tweaking all seems to work ok. I added the charge holder for my mobile phone back to the dash. When the phone connects over bluetooth to the TD620A (for handsfree calling), tasker detects this and puts the phone in wireless tether mode, allowing the td620a internet access. |