| |||||


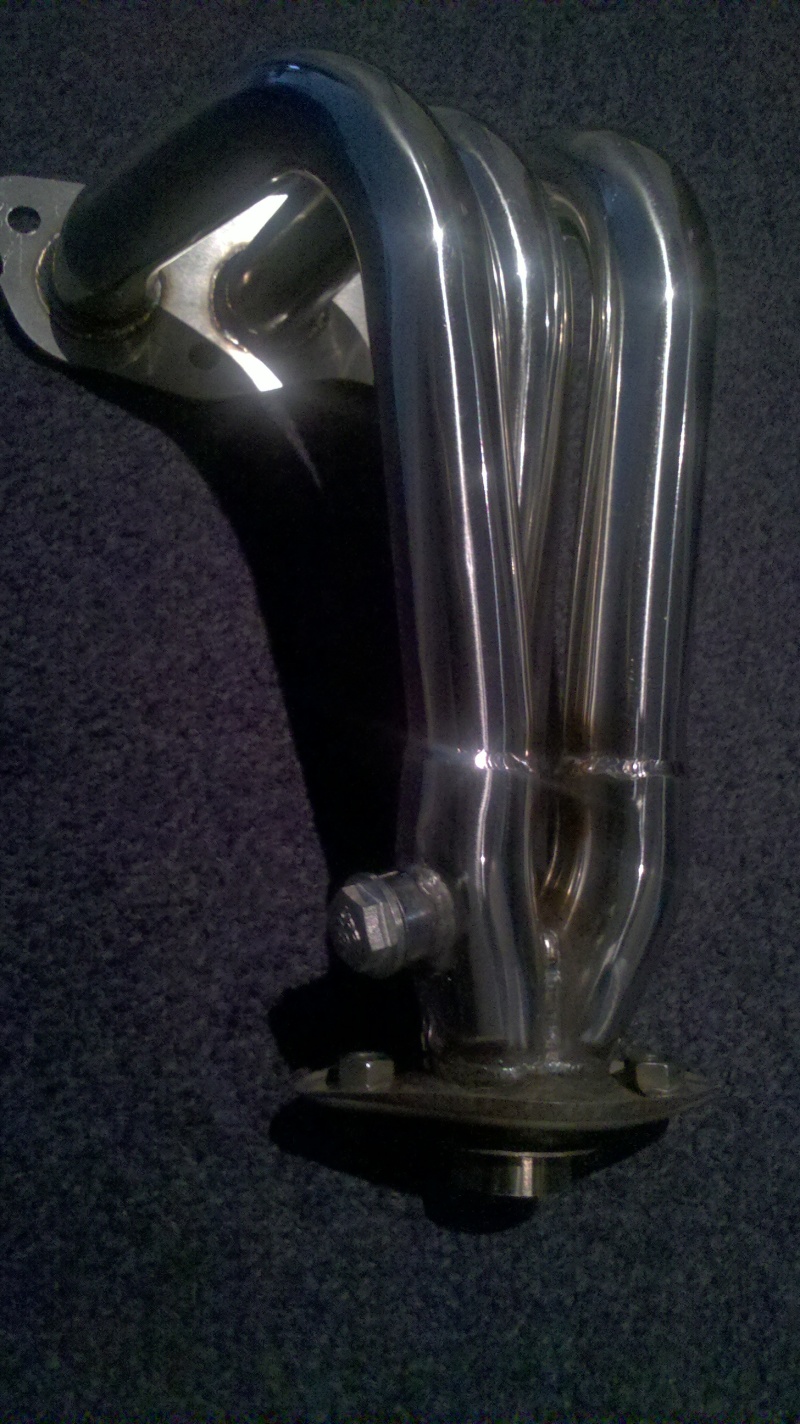
Full exhaustYears ago I bought one of those 3 into 1 manifolds from De Snelle Leeuw.
I've always been convinced one of the limiting factors of this engine is the exhaust. So after some searching I contacted NM Parts about building a full replacement exhaust. The idea is as follows:
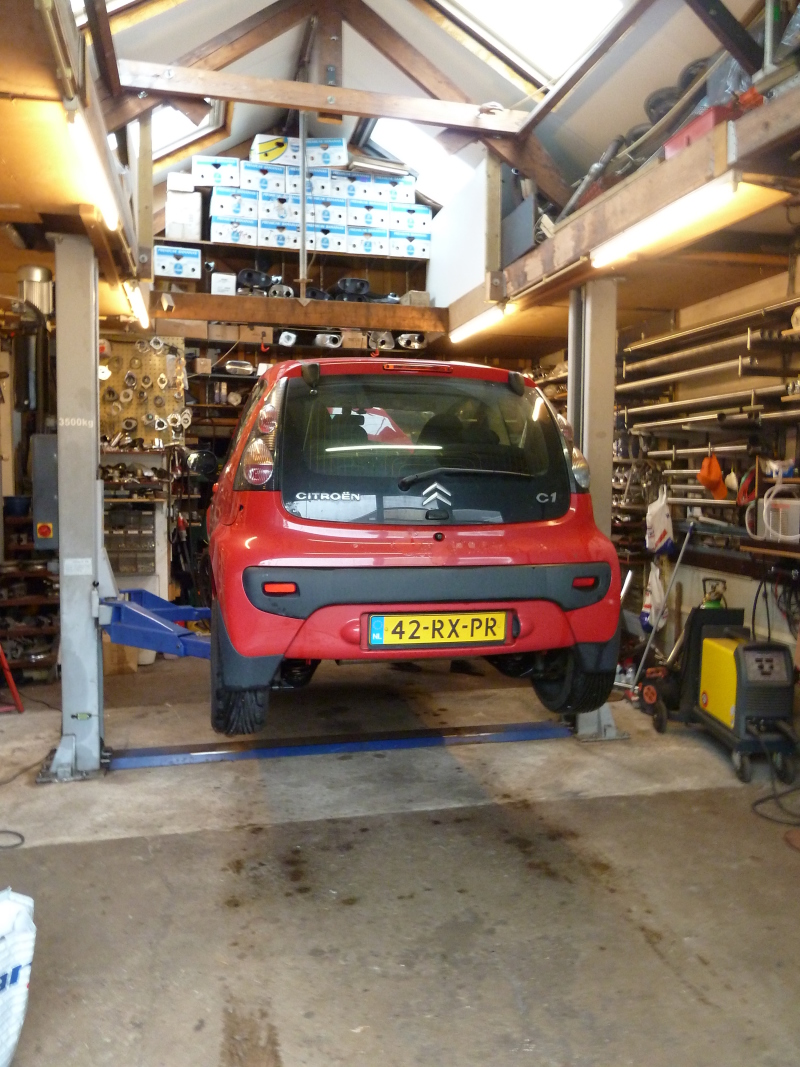
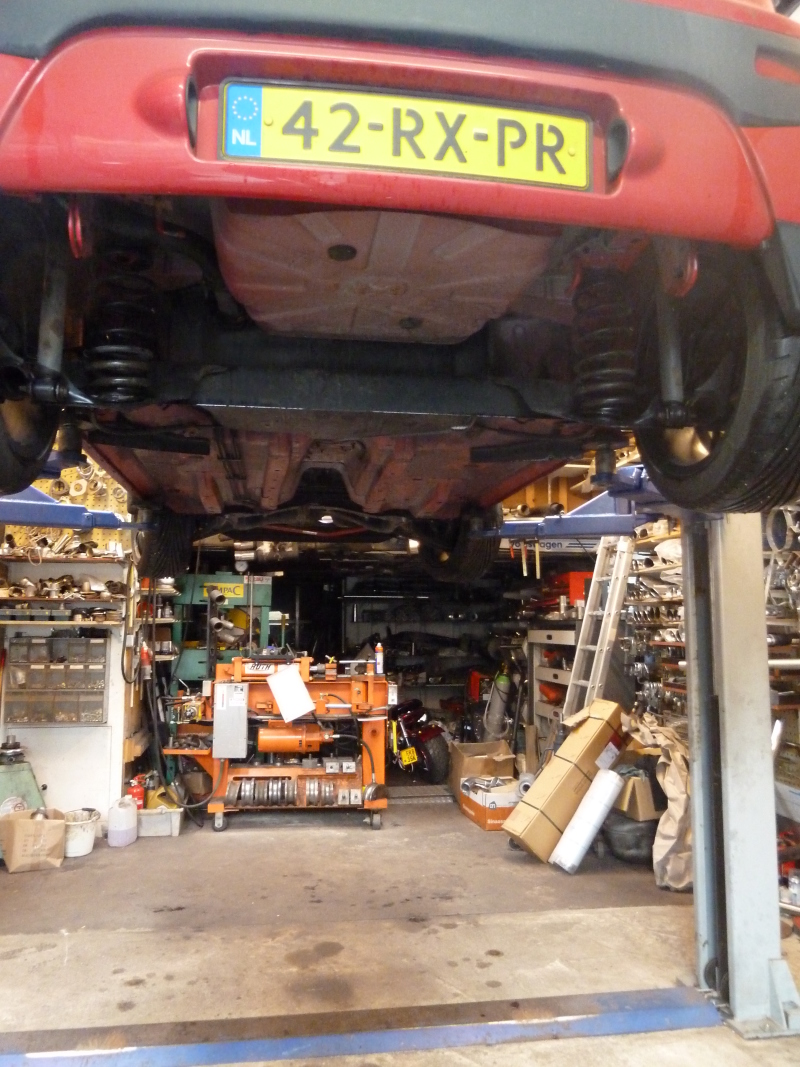
On arrival the car went on the bridge.
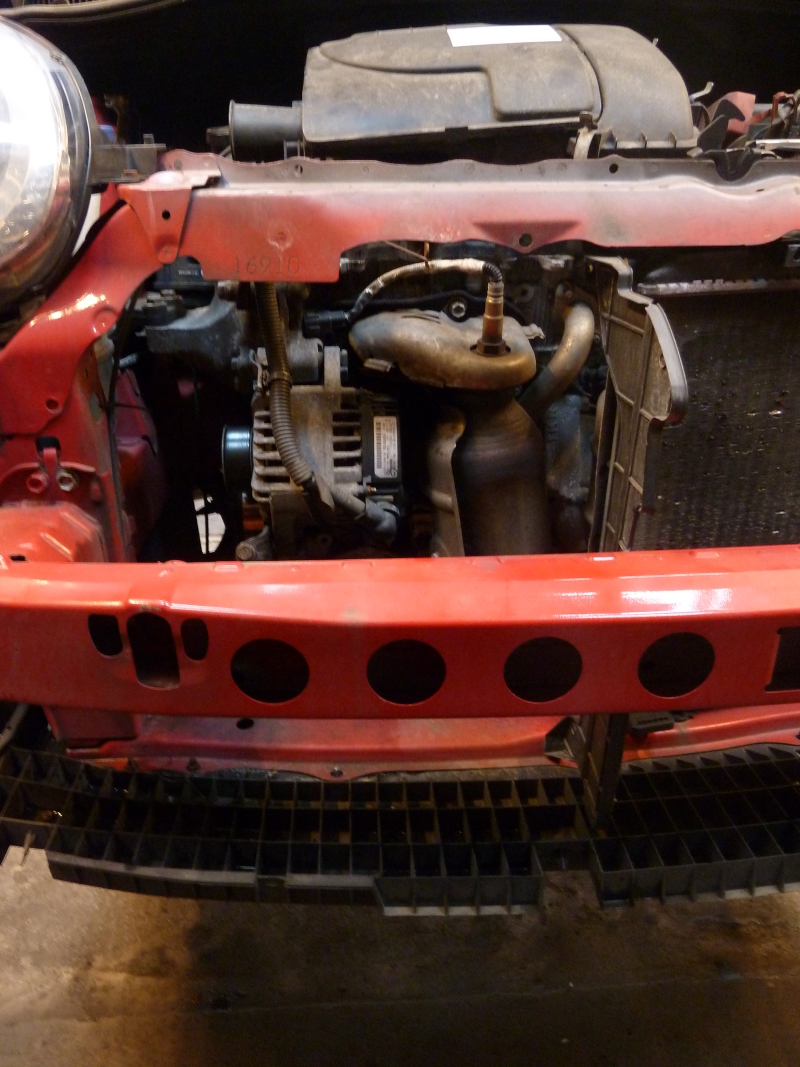
Then remove the bumper.
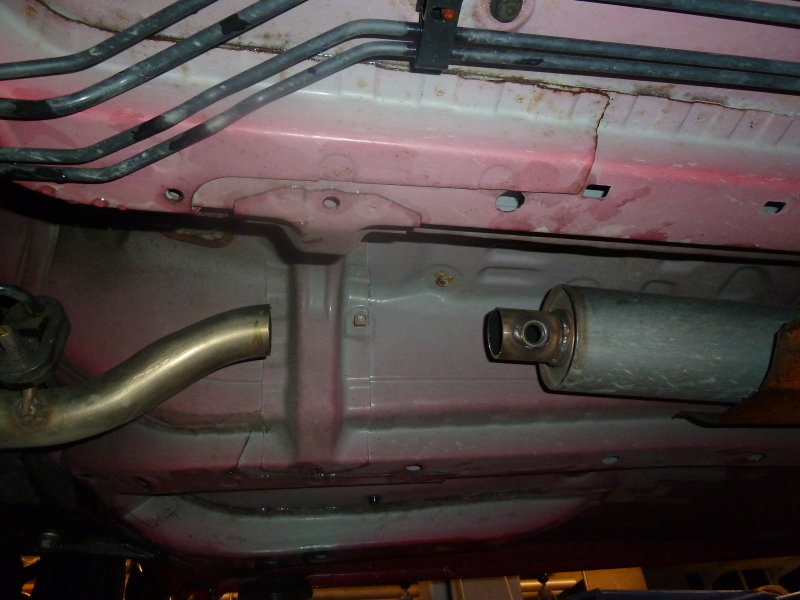
Next remove the exhaust from the manifold till the silencer.
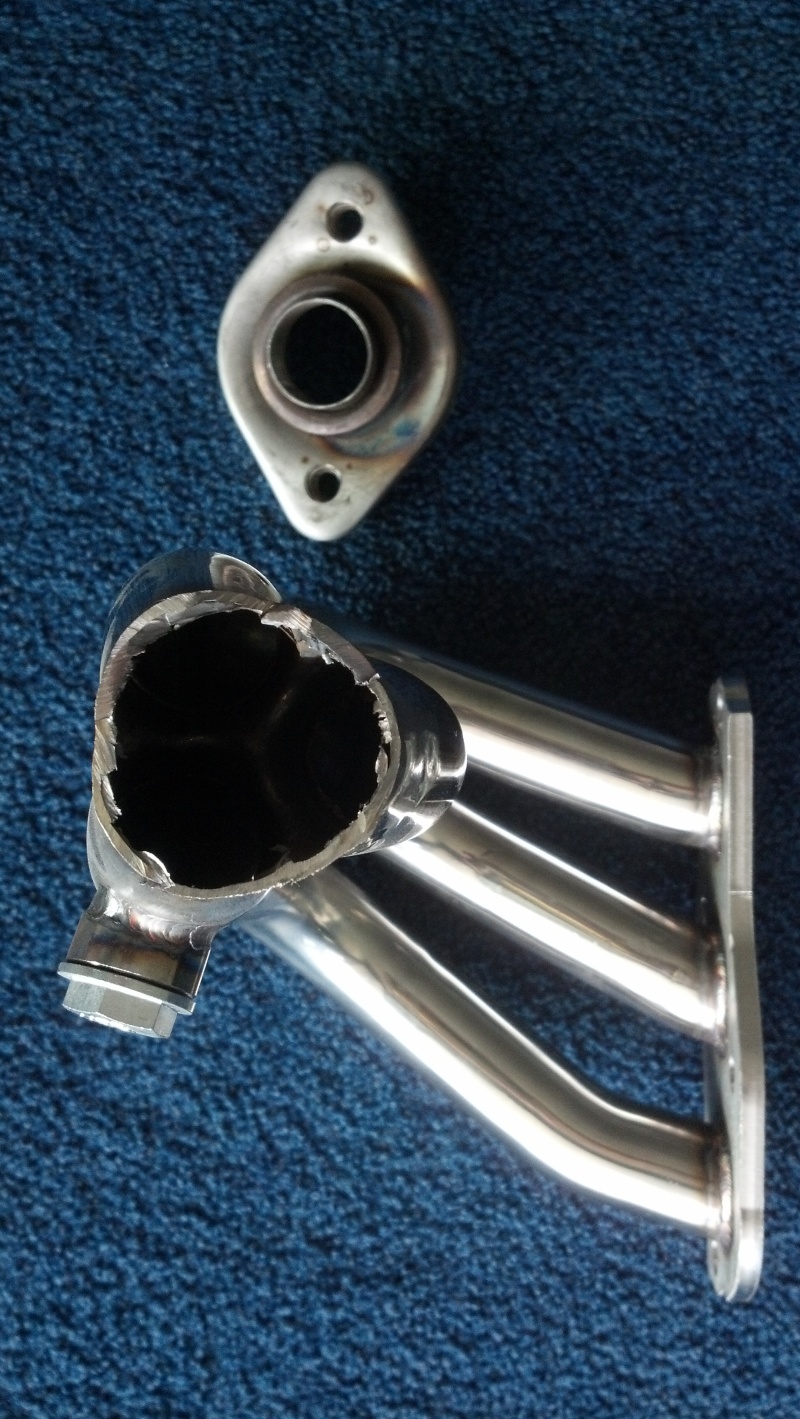
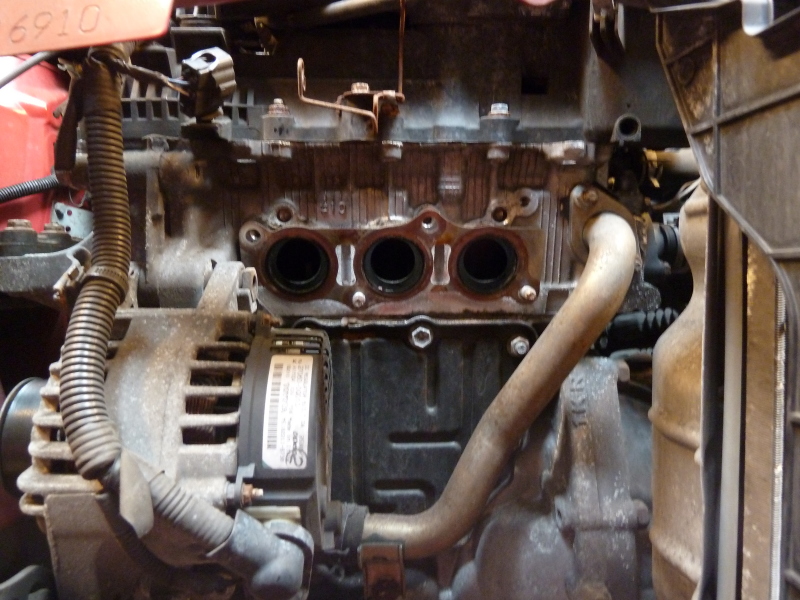
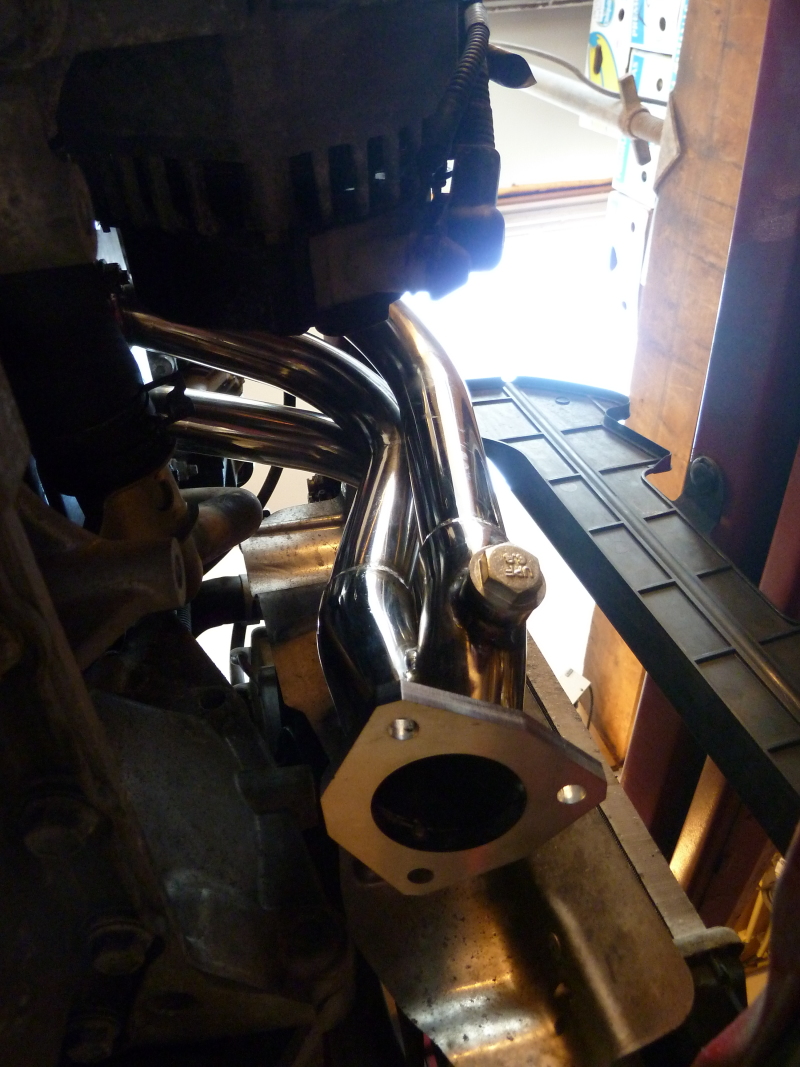
Now the manifold can be removed.
And we can see the exhuast ports!
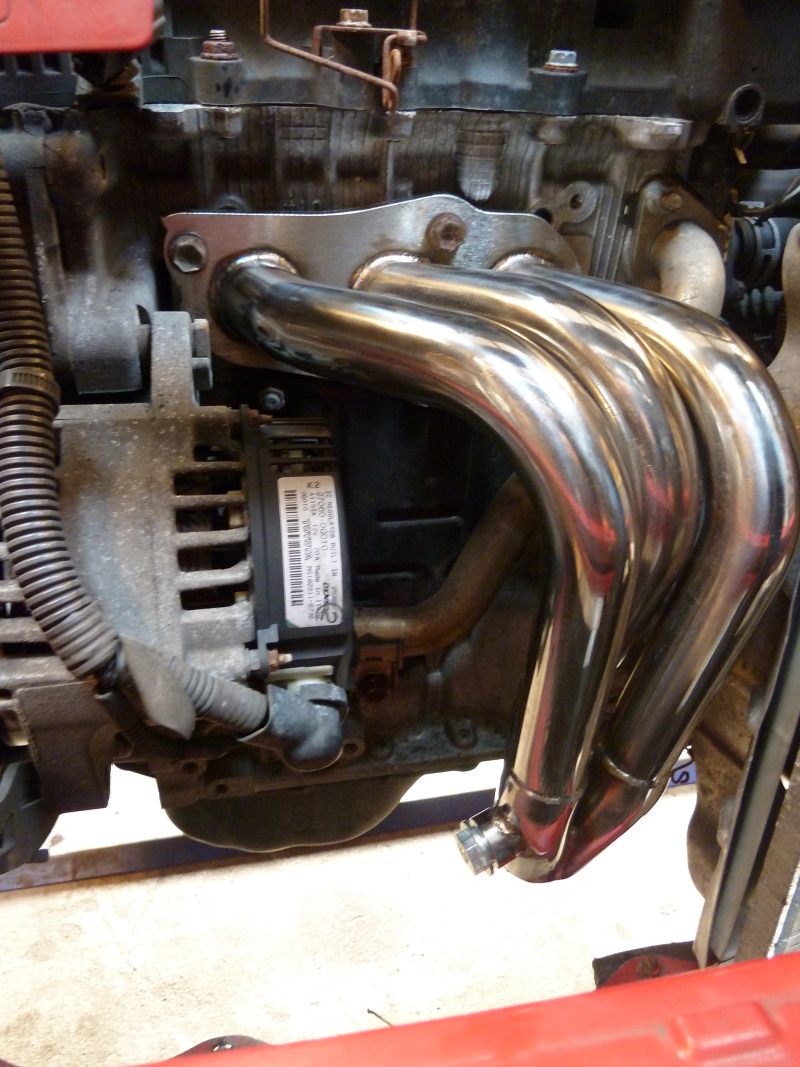
Now we can start fitting up the new manifold.
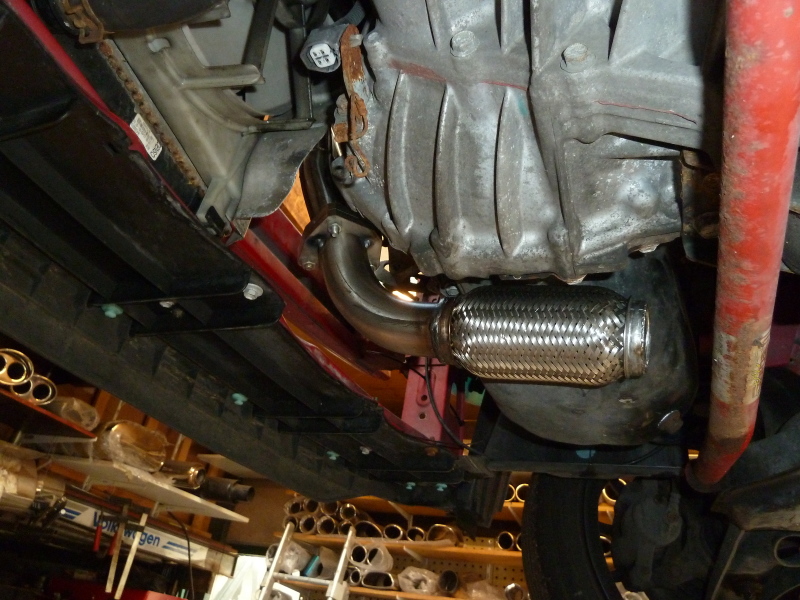
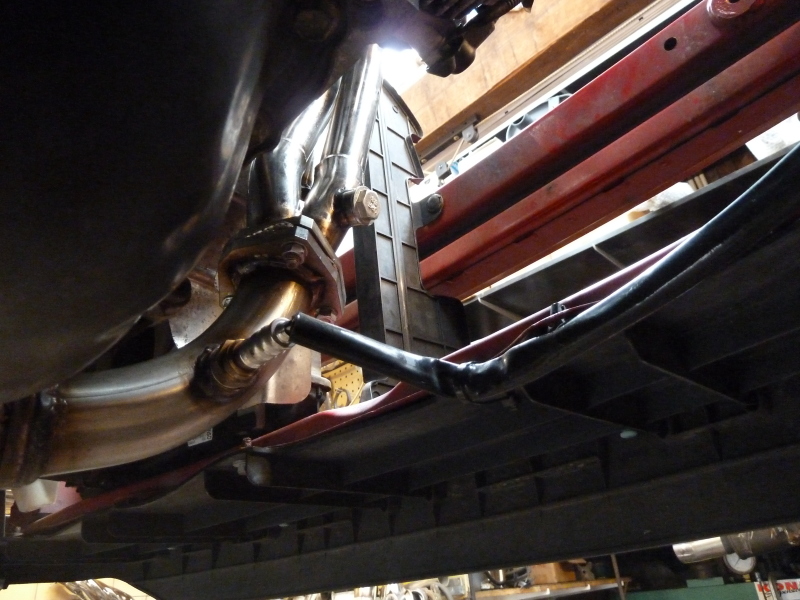
Next a flange is welded to the manifold.
Now a 90 degree bend to a flex pipe can be added.
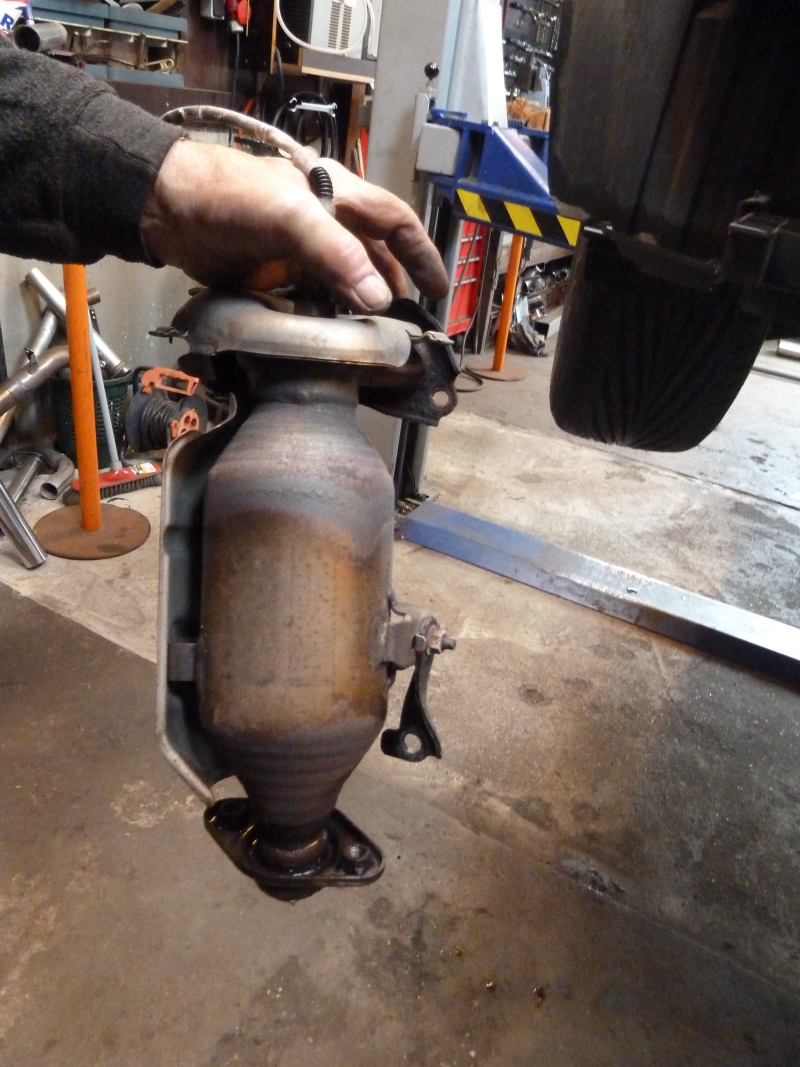
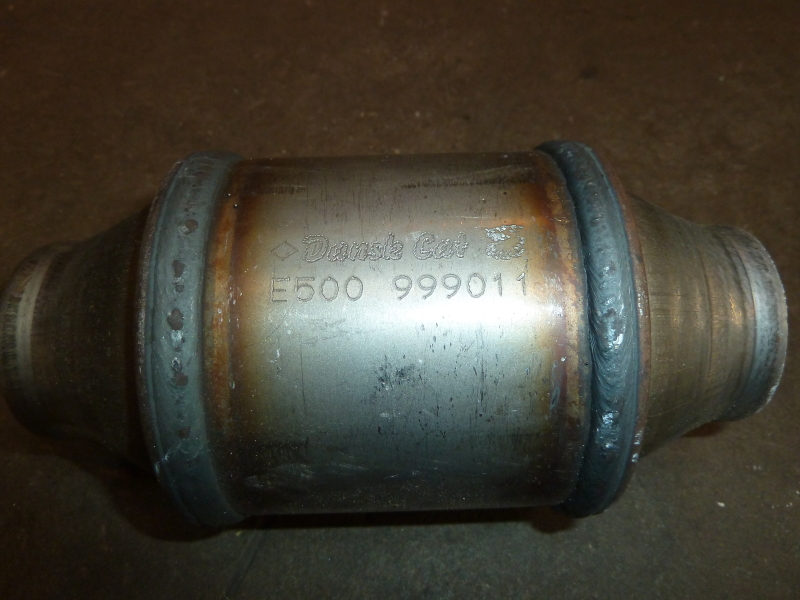
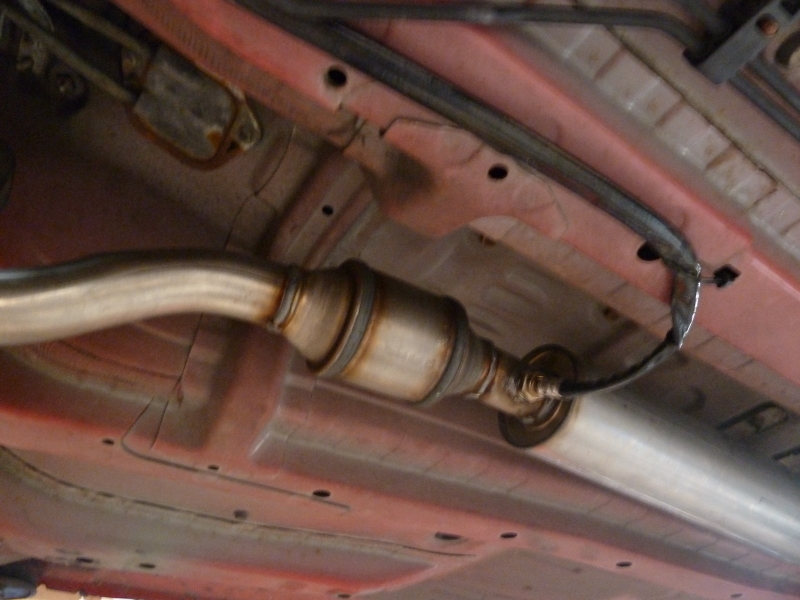
Connected there will be the catalyst. It is a Dansk Cat E500 999011, with 400 cells per inch.
Now the pipe with the catalyst is connected. This was unfortunatly done without a flange (although I requested a flange).
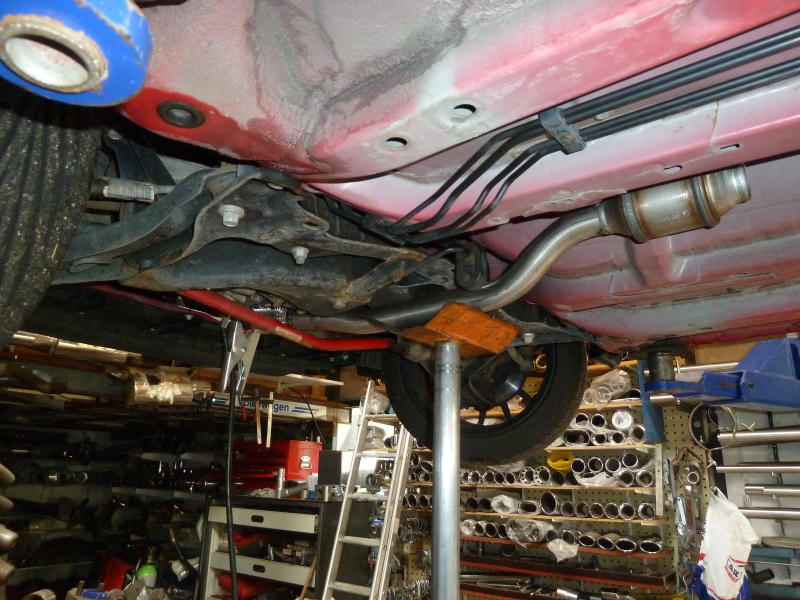
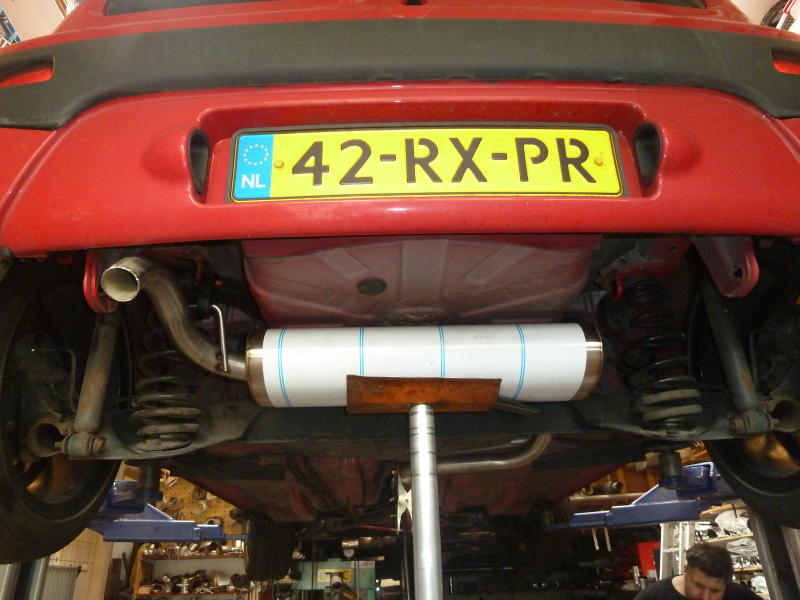
After the catalyst the resonator is placed.
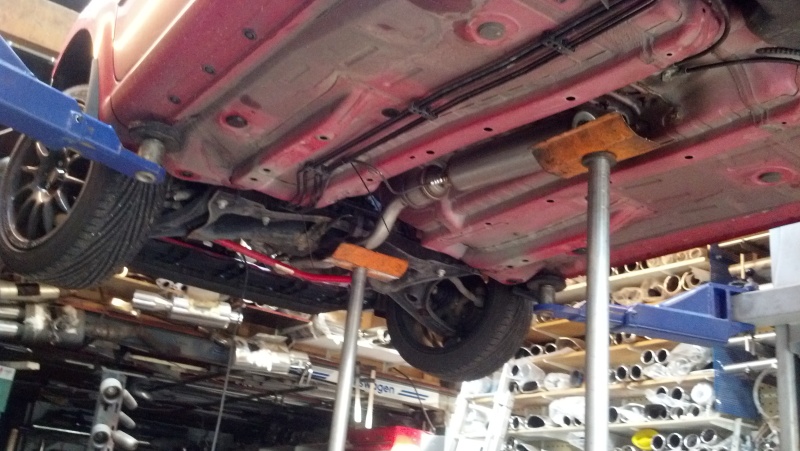
This whole part of the exhaust (including the bend over the rear axle) looks like this.
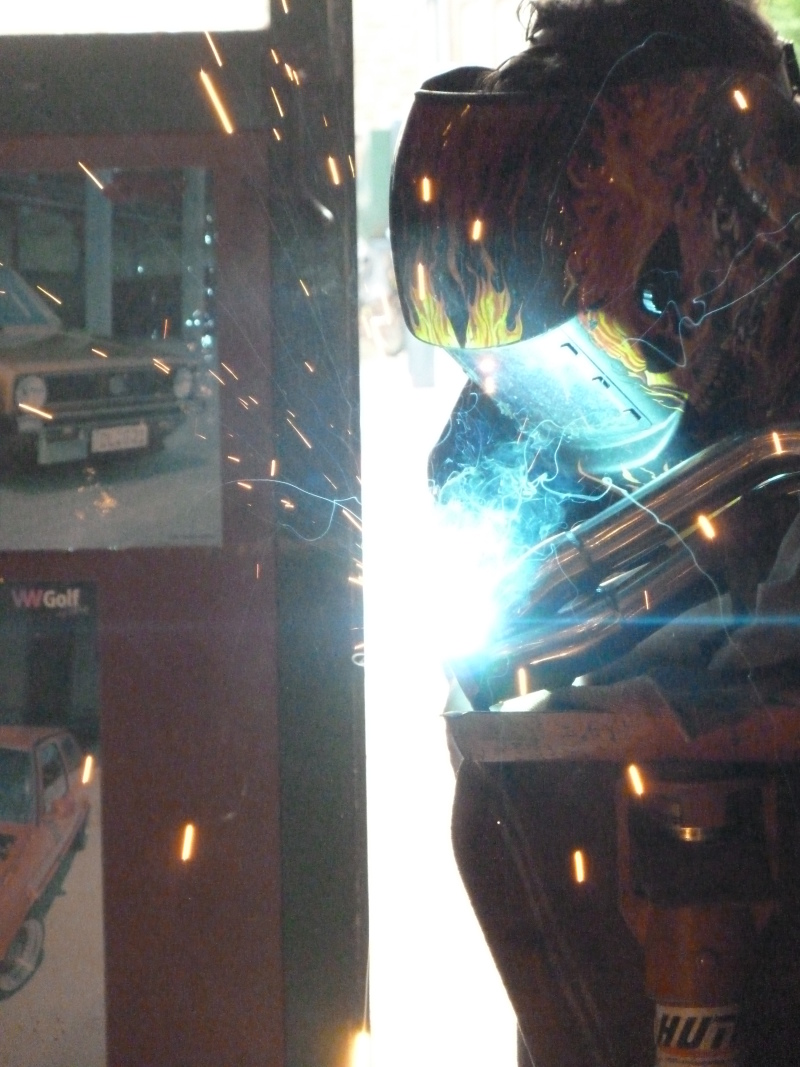
This part of the system (after fitment) is now fully welded.
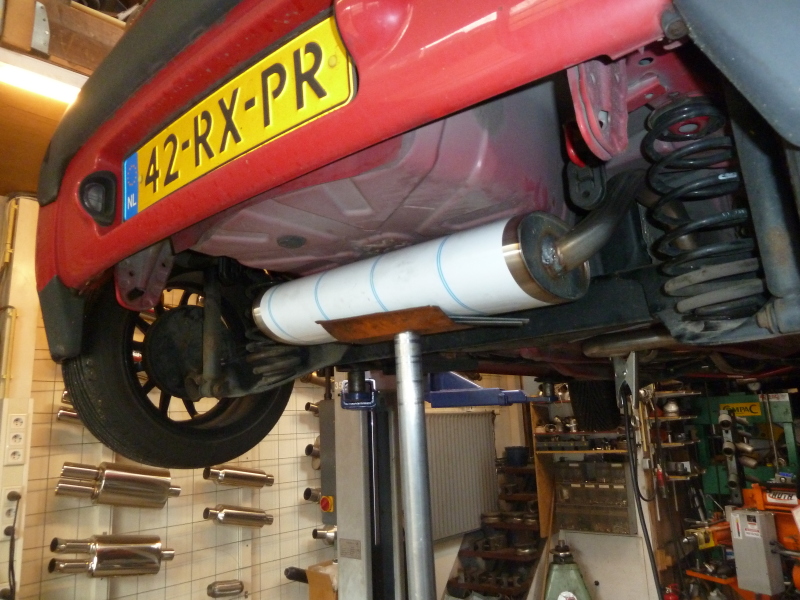
The rear part is being support by a new hang point at the rear of the car.
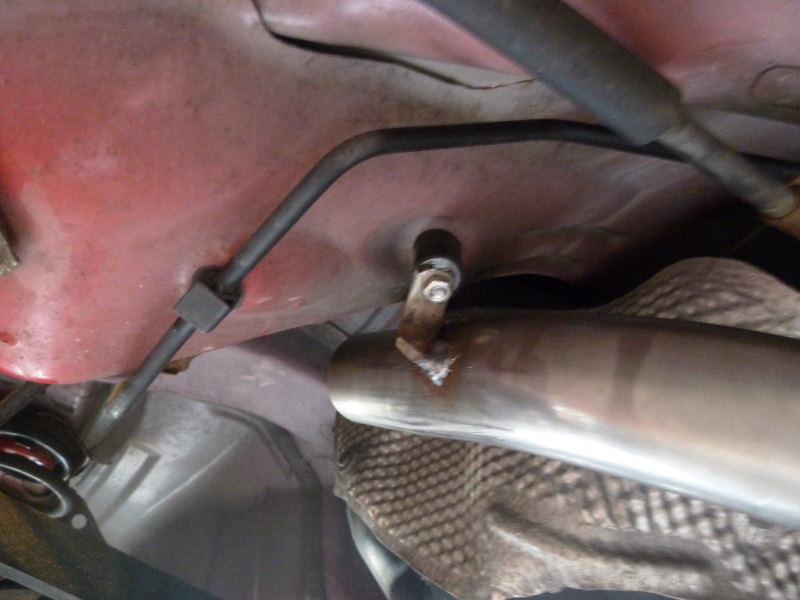
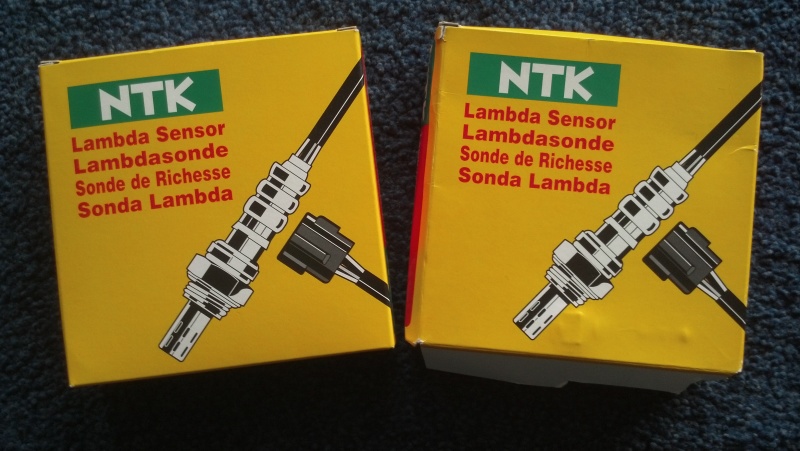
For this install I got two new lambda sensors.
Next, I installed new lambda sensor myself, with new, custom wiring. First the sensor after the catalyst.
And next the front lambda. I didn't use the port in the manifold, because that location is only measuring one of the primaries.
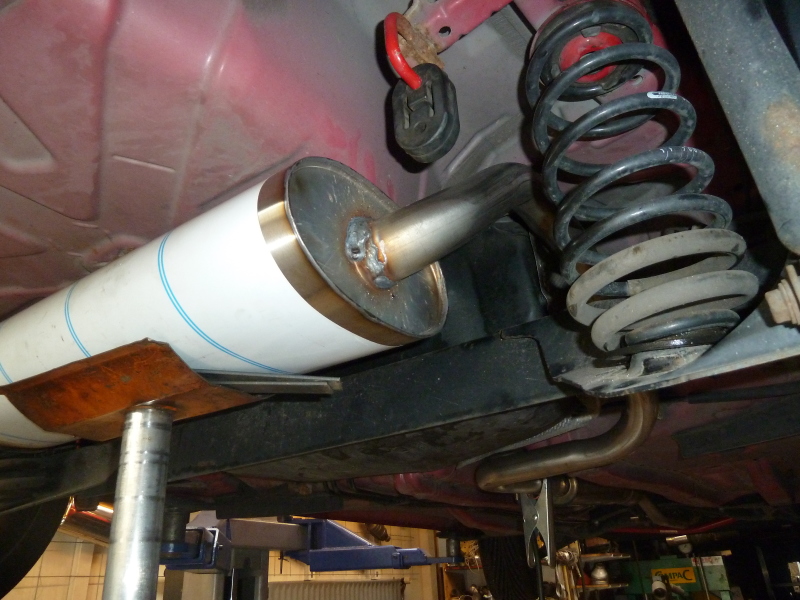
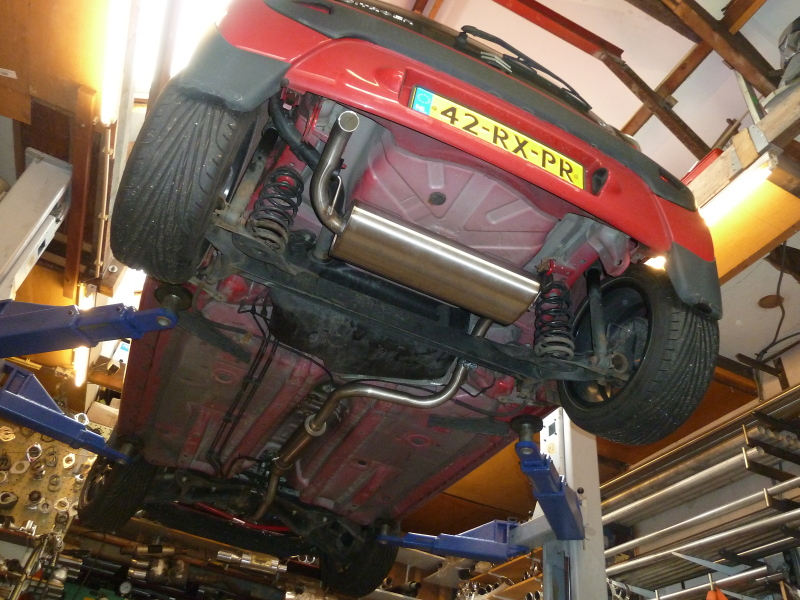
Next, the backbox goes on for fitment.
And welded to the pipe that connects to the center section.
Now the end pipe is set up. I want a very simple and non-obvious end pipe.
And with everything welded up it looks like this.
The end pipe is a bit too long, but was shortened later.
When driving home, everything feels fine. The engine feels faster an responds
a bit better.
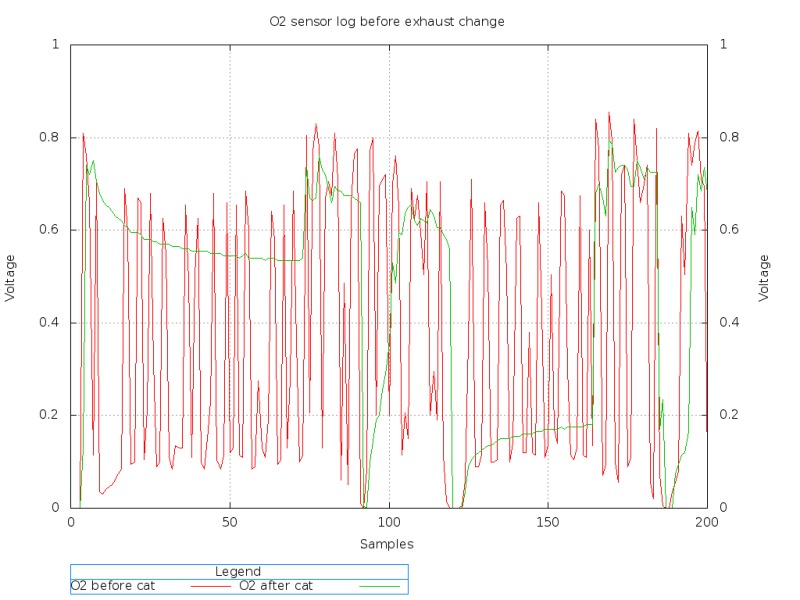
And that's a fail! :( During driving, after a while, the ECU light comes on and indicates an error with catalyst effeciency. While looking at both lambda sensors, it is clear the catalyst is not working correctly. Below is a graphs of both lambda sensors before installing the new exhaust.
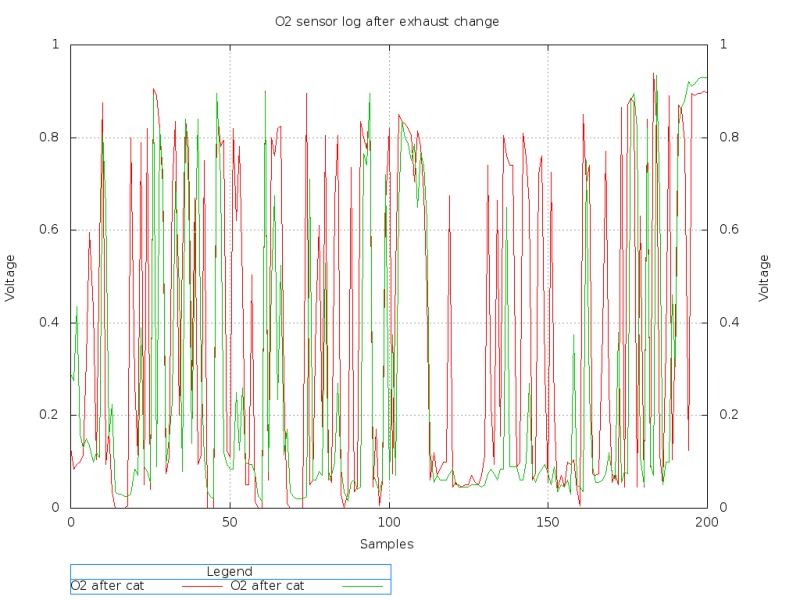
And now the graphs with the new exhaust installed.
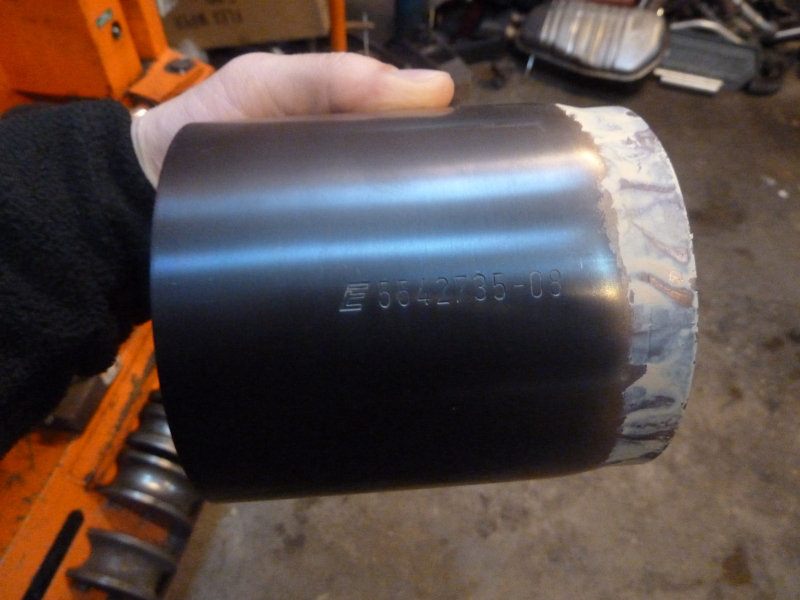
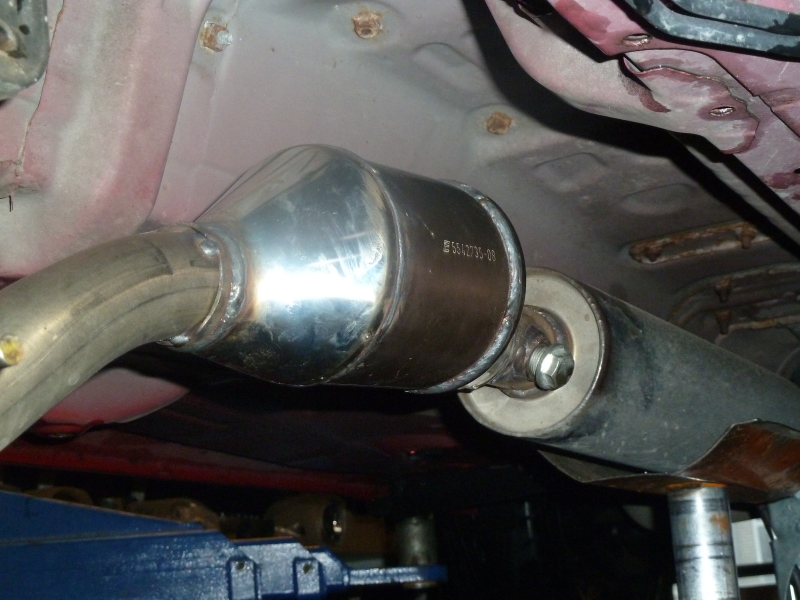
You can clearly see the second lambda sensor is just following the signal of the first lambda sensor. Effectively the catalyst isn't doing anything anymore.. After quite a bit of emailing they would fit a catalyst which should perform better. Although the original should work, I did have to pay extra for a working catalyst :(. The new catalyst looks like this and should be a HKS 5542735-08
Remove the other catalyst. Unfortunatly no flanges, so get out the saw..
Now fit in the new catalyst.
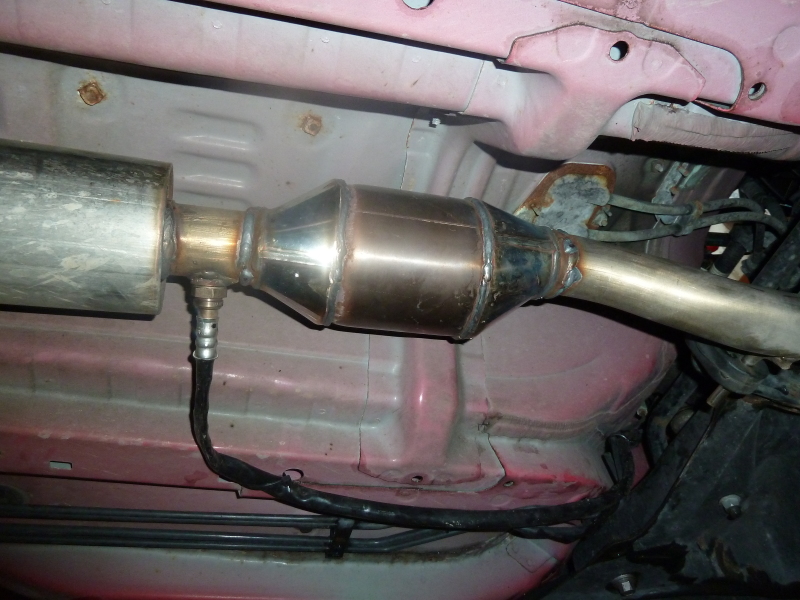
And now the new catalyst in place with the lambda sensors reconnected.
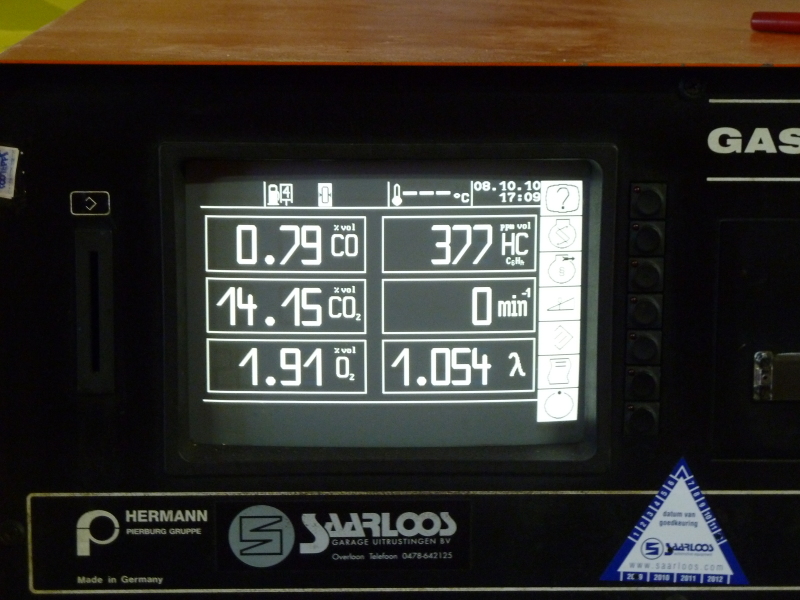
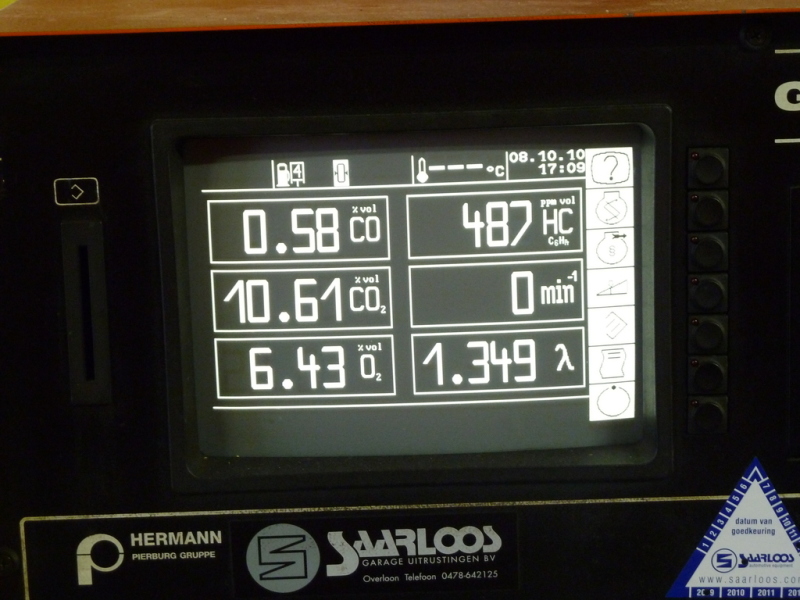
With the new catalyst in place, I retested the exhaust values. But unfortunatly, no change.
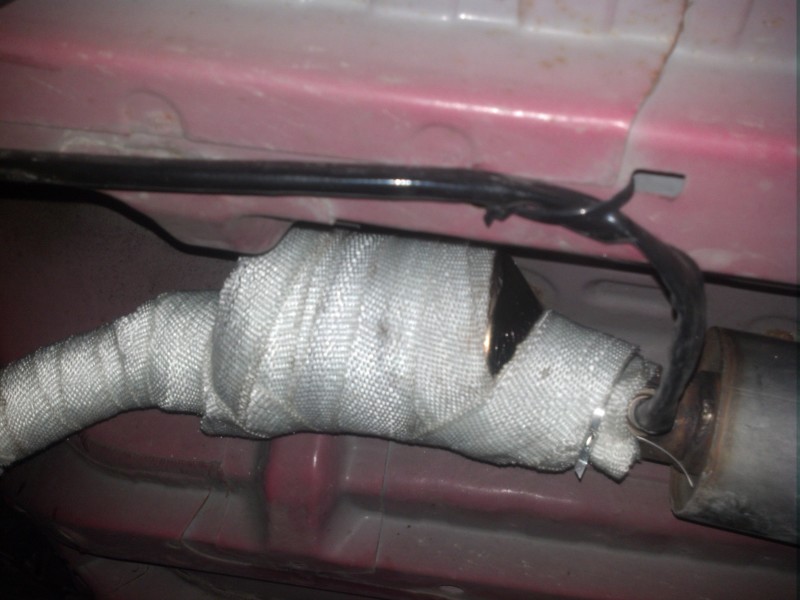
In a last attempt to get the exhaustgasses right, I tried to isolate the exhaust
and catalyst to get the temperature up.
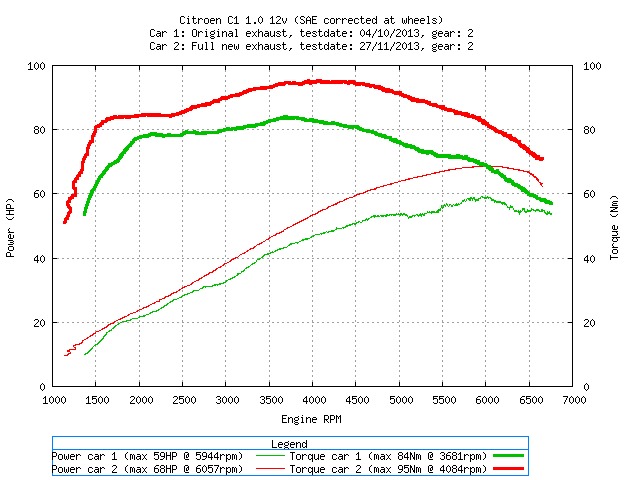
I later on tried it with a specifially designed heat shield. Even when driving the car at high revs, loading the system with heat and testing it directly afterwards, it failed the test. The data from the O2 sensors still looks the same, this catalyst behaves the same as the other one. With the upcomming APK I had to removed the whole system, and went back to the stock system. Contacting NM Parts didn't result in anything. They're not responding to emails or phonecalls. They didn't even sent me the invoice as they promissed.. With the system on the car, I did manage to do a power measurement, just to see what difference the exhaust change makes.
So the differency is quite clear, specially in the higher revs when the engine produces more exhuasts gasses. Keep in mind the values are measured at the wheels, not at the crankshaft. Results are:
Last note. As you've read my experience with NM Parts isn't very positive. I've spent a lot of money and didn't recieve a working product. If you want to get any work done there, please be VERY careful! |