| |||||


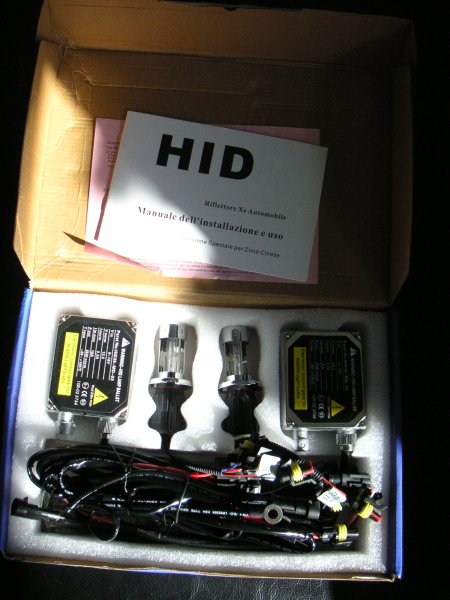
Xenon lightsAs my car is from oktober 2005, I am still legally allowed to retrofit it with xenon lights without fitting a washing or leveling installtion to the headlights. So I went shopping on ebay and bought the cheapest H4 bi-xenon kit I could find.
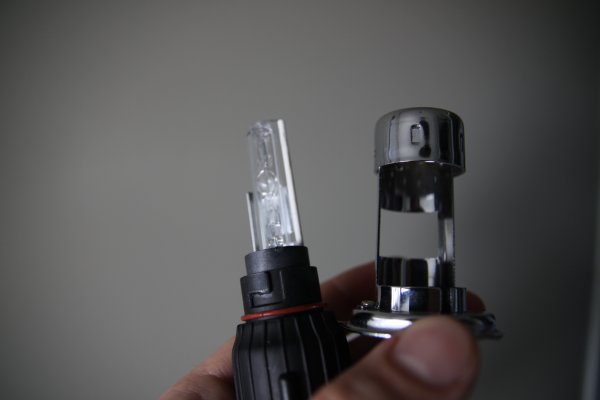
When replacing the normal lights with xenon on this car, you need to take into account the car uses H4 lights as default which have high beam integrated in the same light. So you need to replace them with H4 bi-xenon's. The kit consists of the following parts:
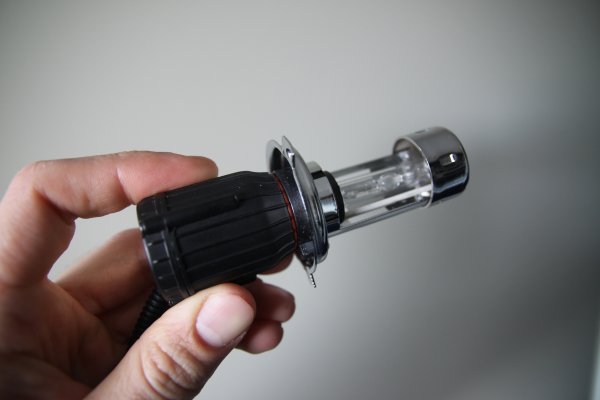
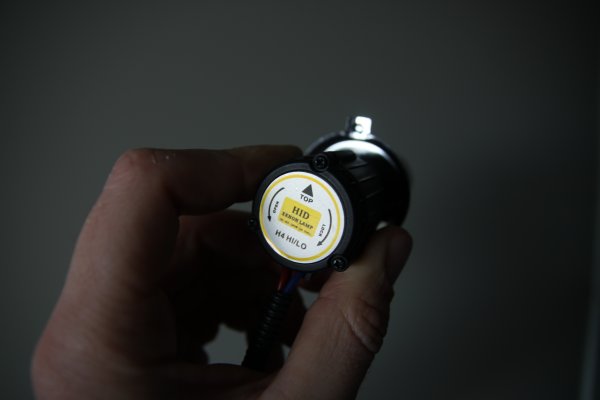
To fit the lights, start by removing the original lamps. Then, disassemble the xenon lights by twisting out the lights from the holders.
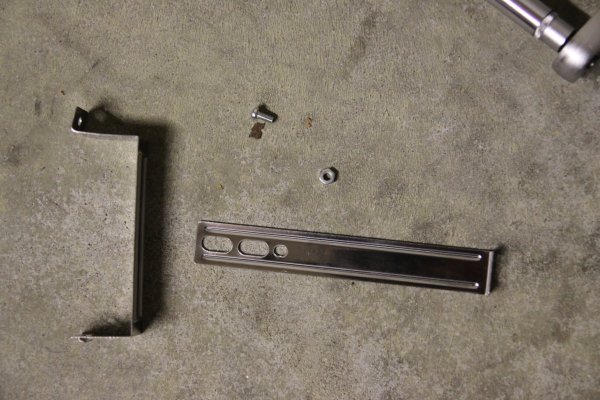
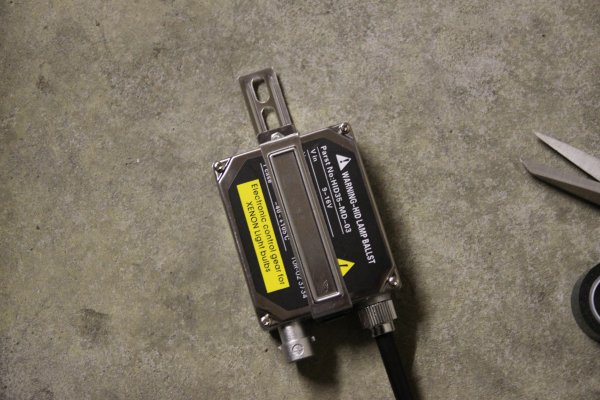
Place the holders in the light units and fit the xenon lights in the holders. The two ballasts come with brackets.
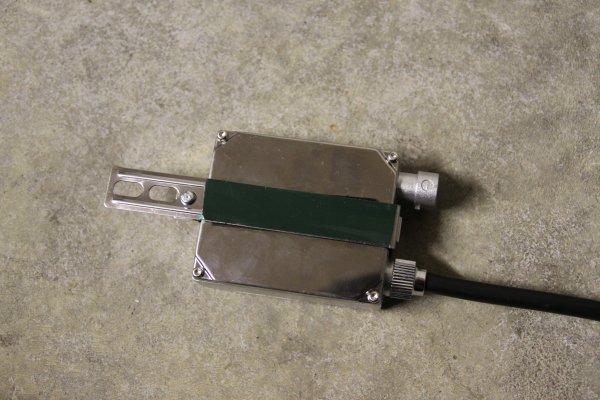
I put some tape on the inside to make sure there is no room left around the ballast unit.
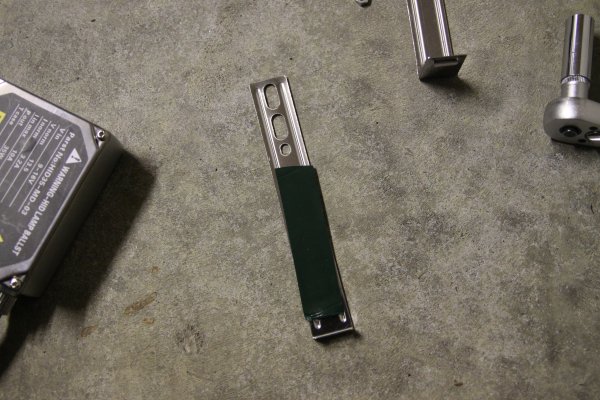
Then tighten the bracket around the ballast unit.
And also put some tape at the rear of the bracket.
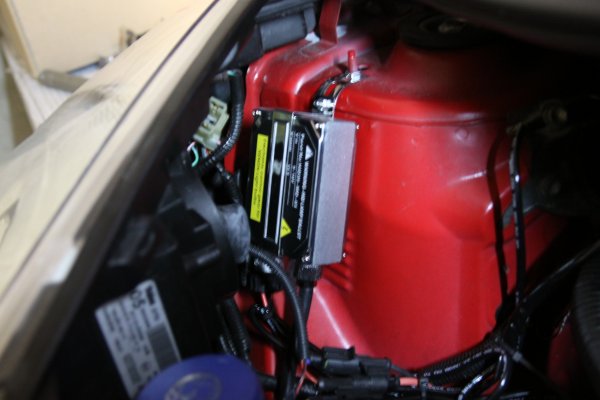
The bracket needs to be bent a bit, and then can be fit in place. On the left side, there is a stud the bracket can be placed over.
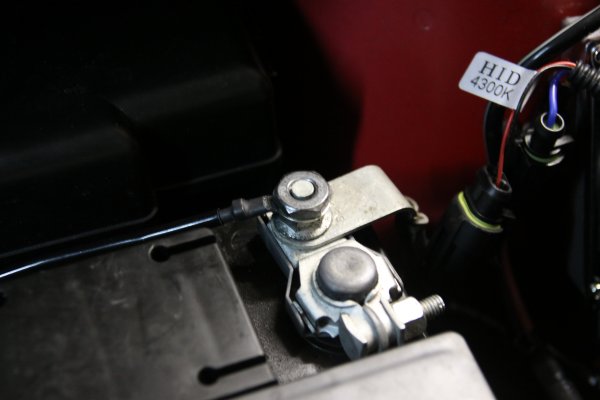
On the right you can remove the ground lead and put the bracket there.
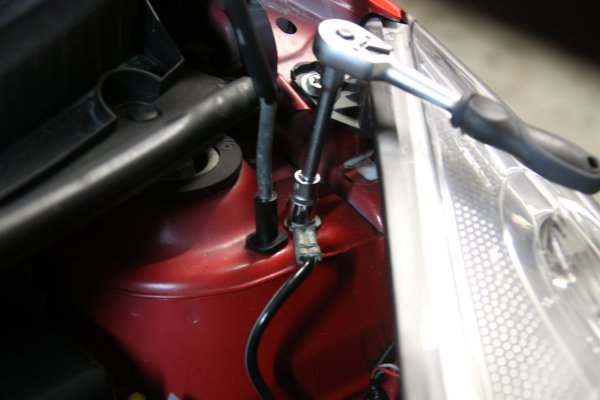
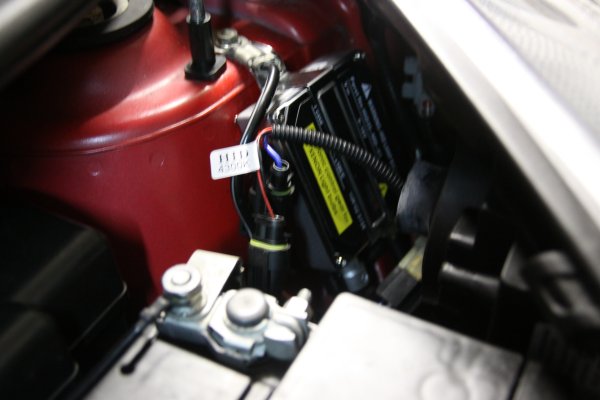
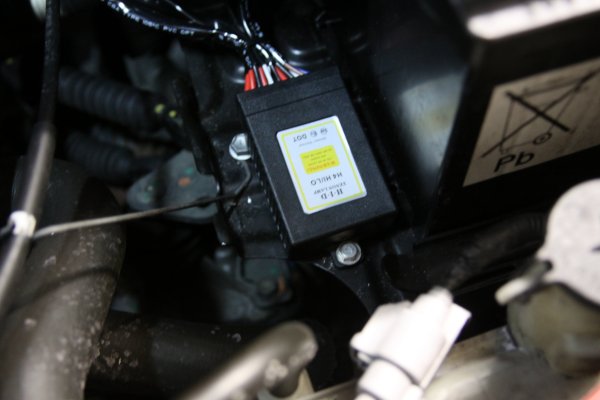
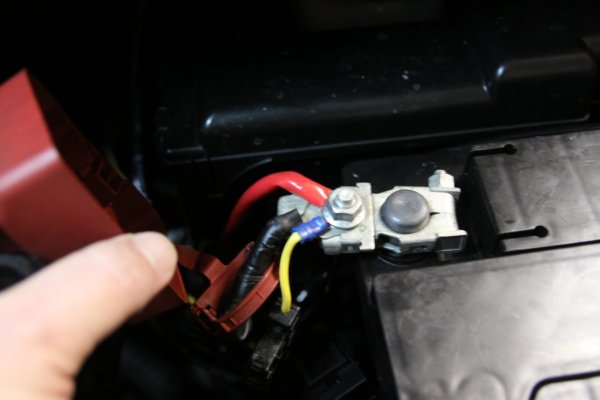
Now the last bit can be fitted, the high/low beam unit. I choose to place it next to the battery. Drill a 5mm hole and use a bolt and nut to fix it in place.
Then you have to connect the unit up to the battery.
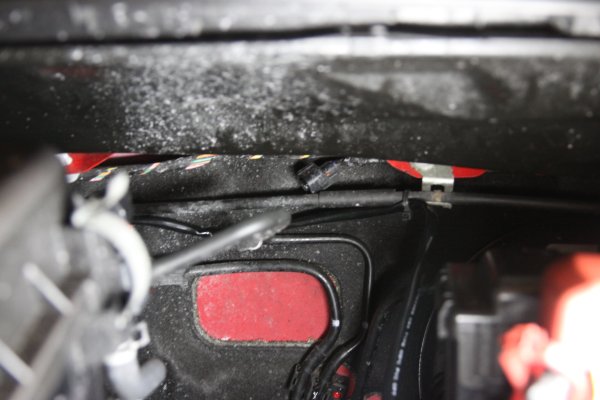
Then run the wire to the left of the car for powersupply and low/high beam signaling.
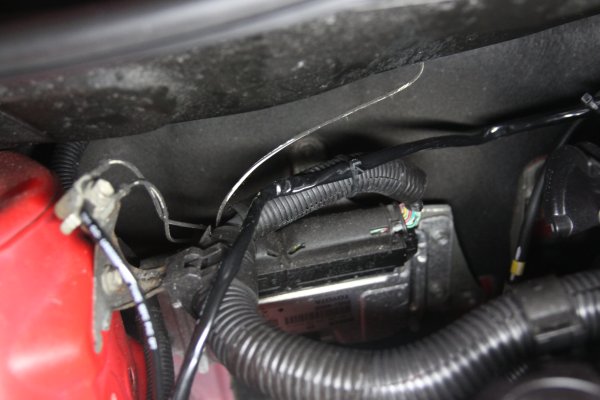
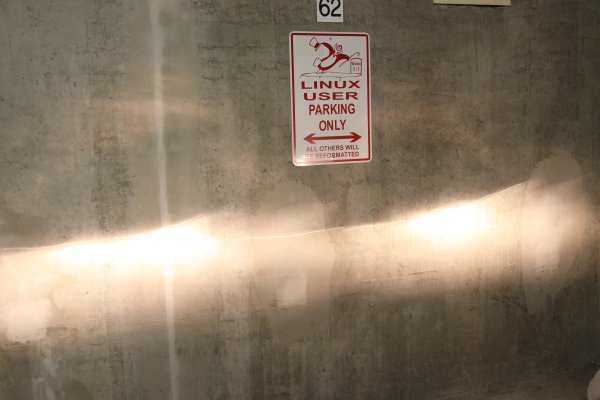
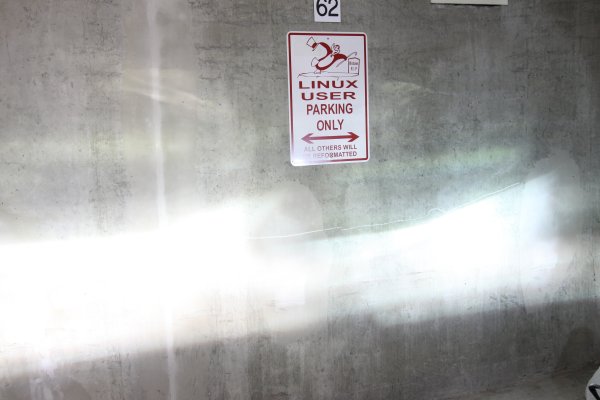
Finally, connect everything together. Don't forget the connect the original connector for the halogen light to the high/low beam unit. This is only neccecary at the right side, the connector at the left side isn't needed any more. I made a photograph of the wall with standard and xenon lights with the same camera settings. So below you can see the difference in light intensity and light pattern.
Although not very visible on the photo's, the light patern is pretty ok. Should not cause any problems on the road. Light intensity is a lot higher then standard. |