| |||||


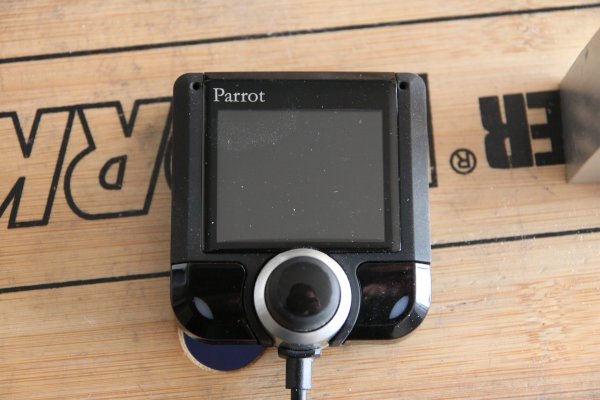
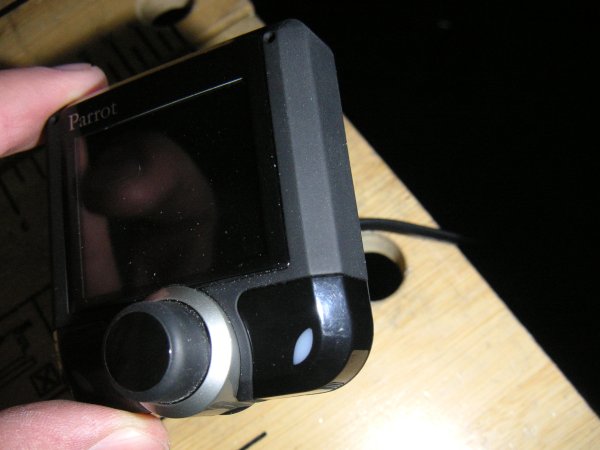
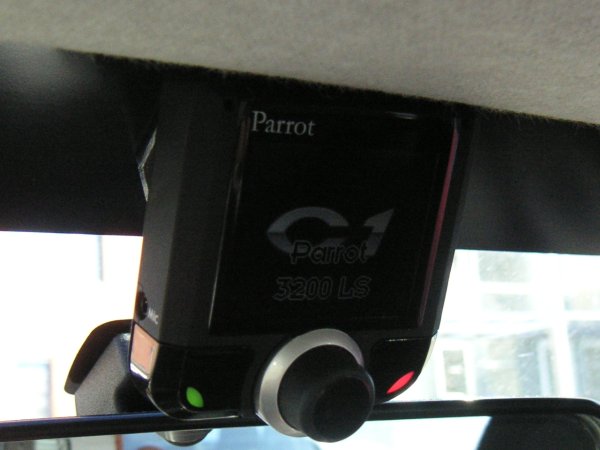
Parrot carkitI had a Parrot CK3200 lying around which I wanted to fit to the C1. Inspired by the standard Toyota carkit, I decided to place the display of the carkit above the rearview mirror. Therefore I had to start out making a bracket for the display unit.
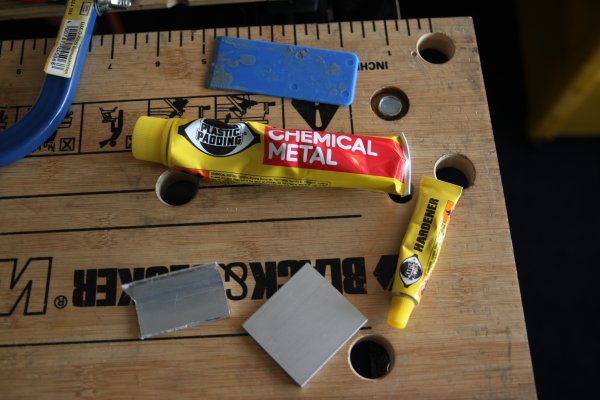
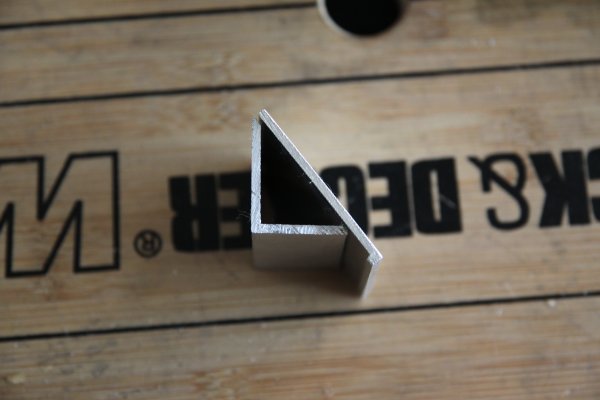
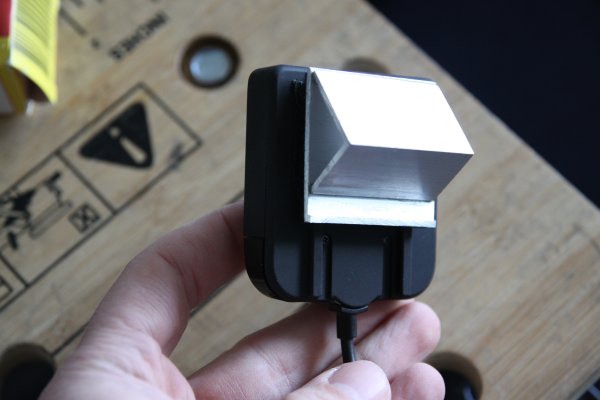
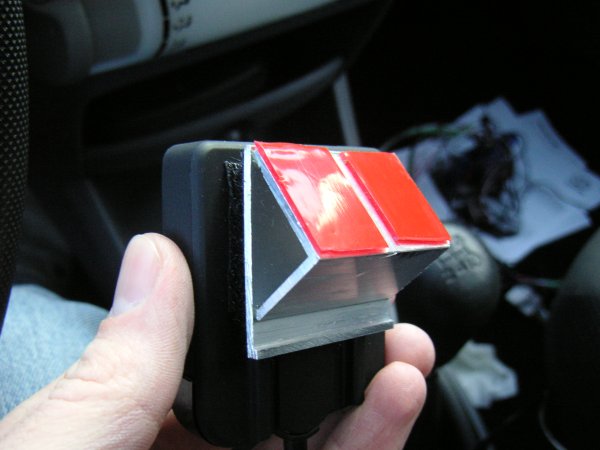
Using some bits of aluminium and some chemical metal I made this bracket.
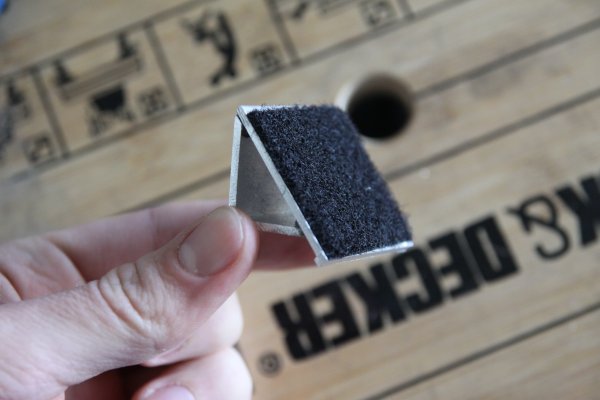
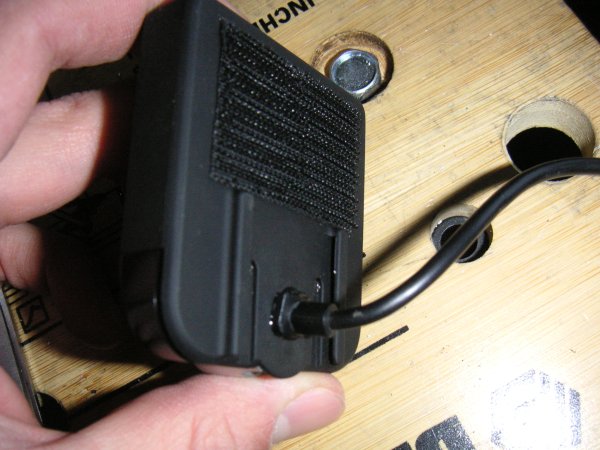
Using some velcro I attached the display to the bracket.
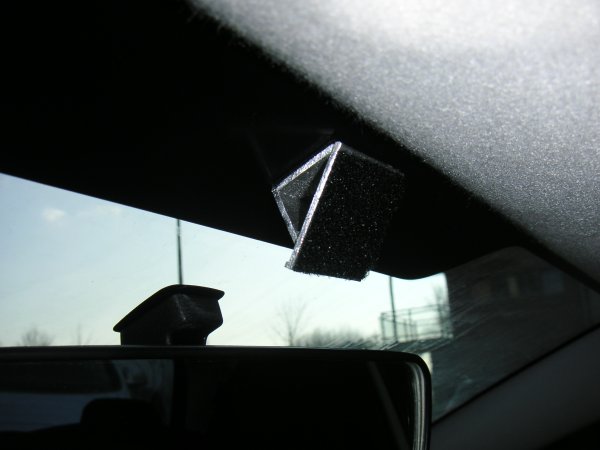
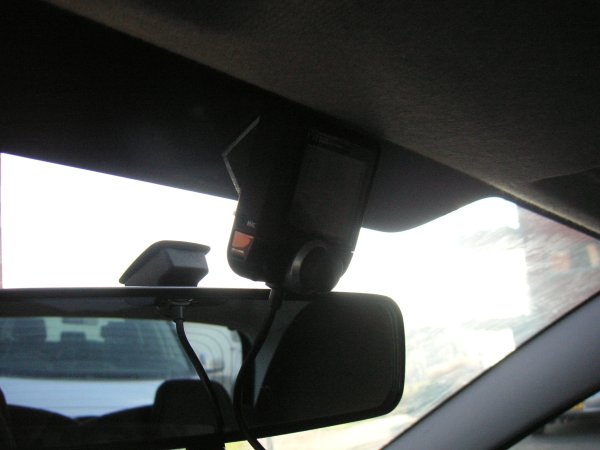
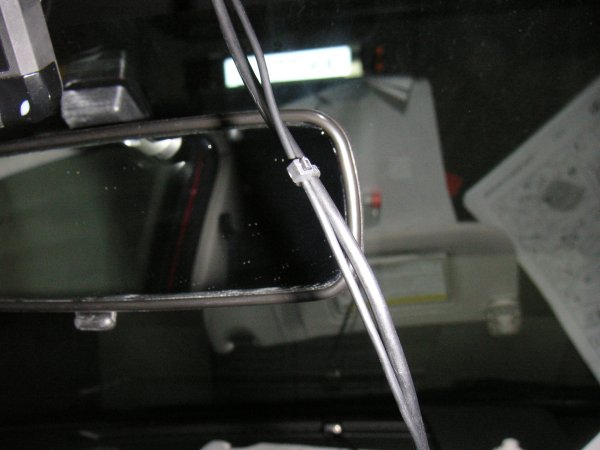
So with some high strenght adhesivetape I put the bracket on the window.
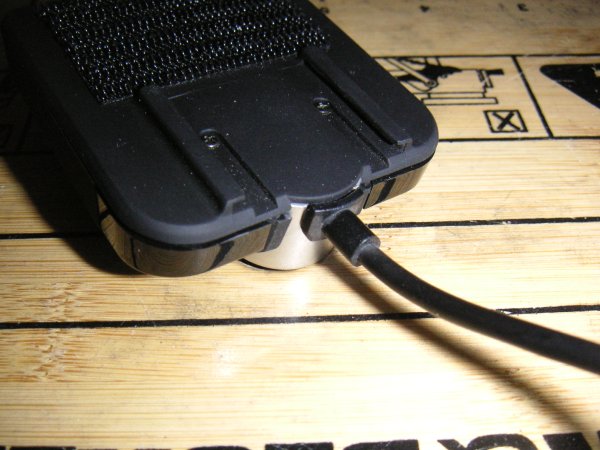
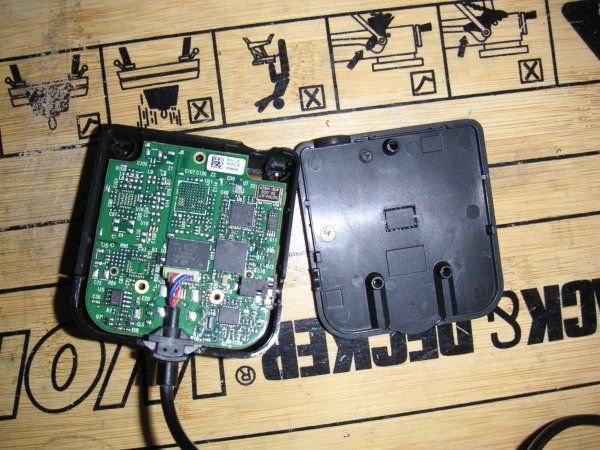
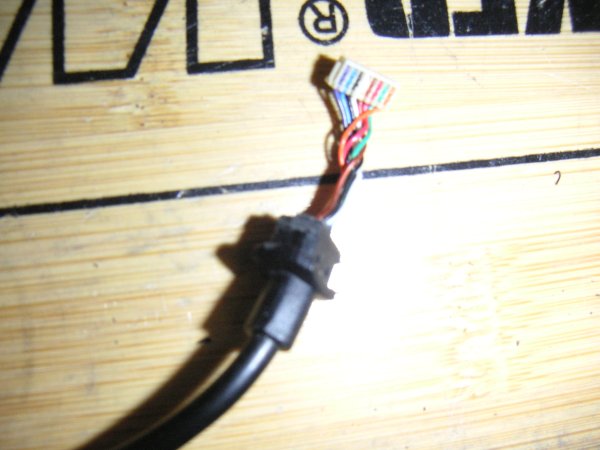
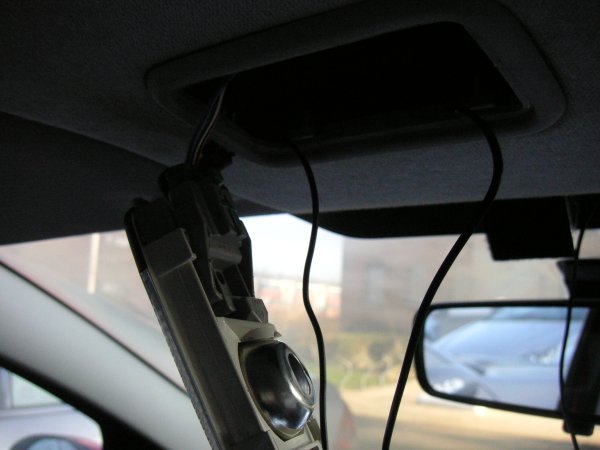
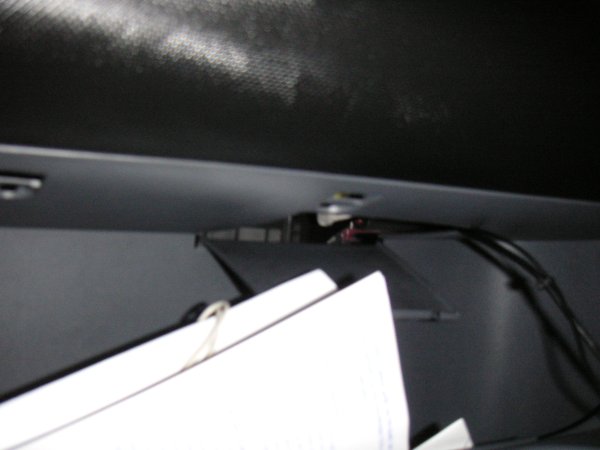
As you can see in the picture, the wire is connected to the bottom of the display, which is in front of the mirror. So I want to move that to the back of the unit. So remove the back of the unit.
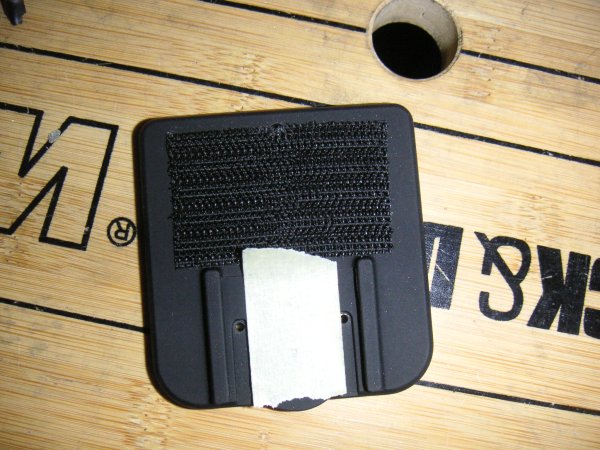
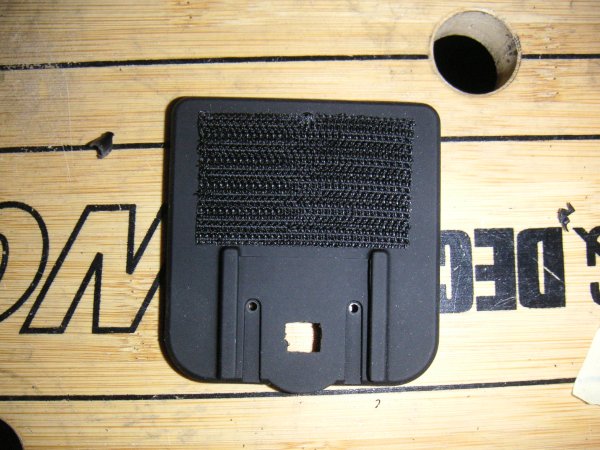
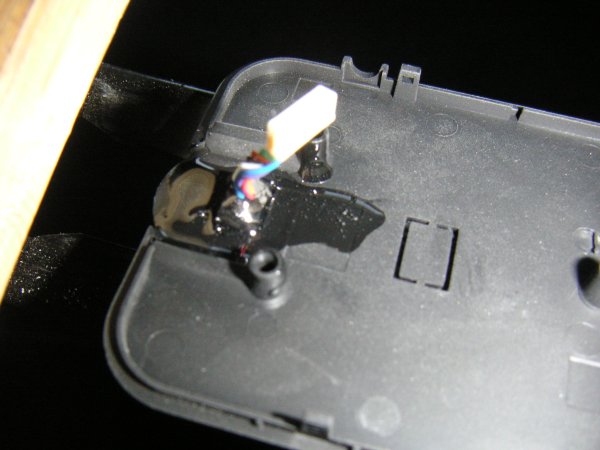
Put a piece of tape on there and drill a hole for the wire.
Cut the excess cable shielding away, so it will clear the print inside the caseing.
Put the cable through the hole and glue in place, reassemble and you're done.
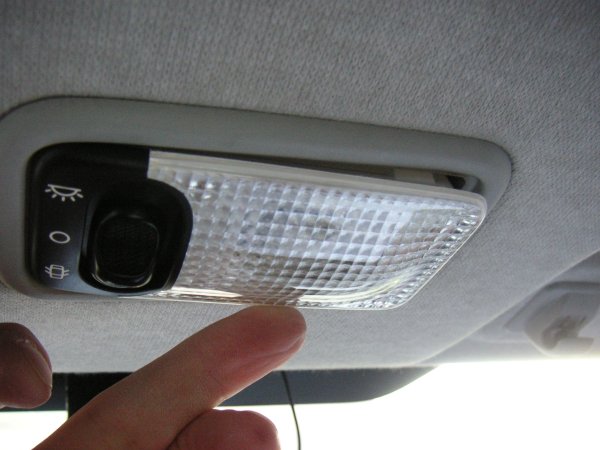
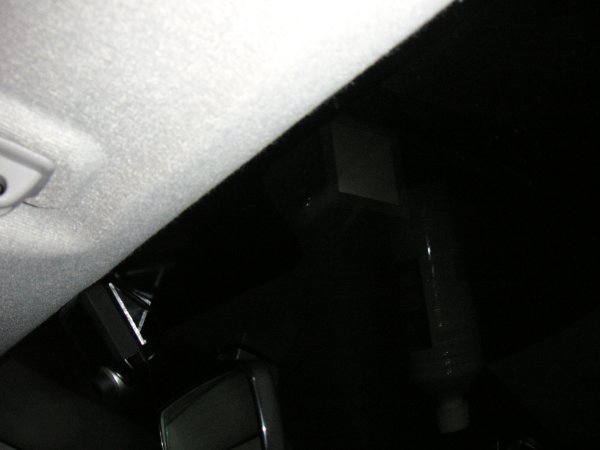
To put the microphone in place, I removed the light and pulled the wire through.
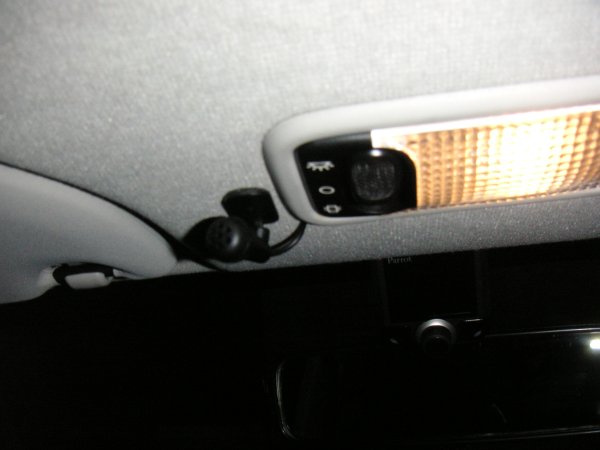
Put the microphone next to the light and put the light back.
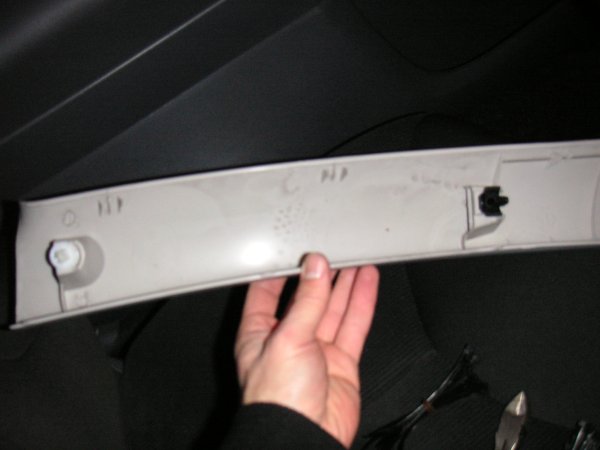
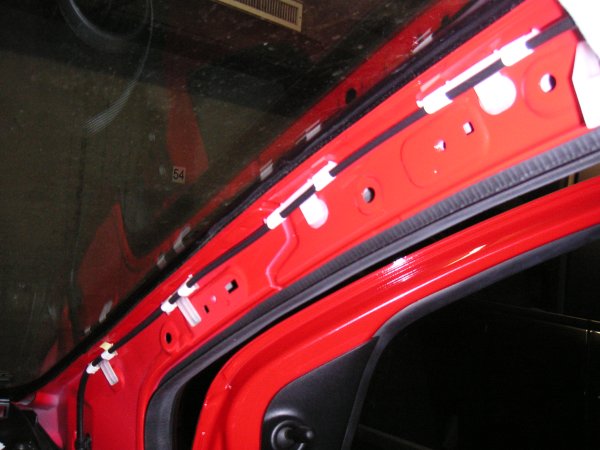
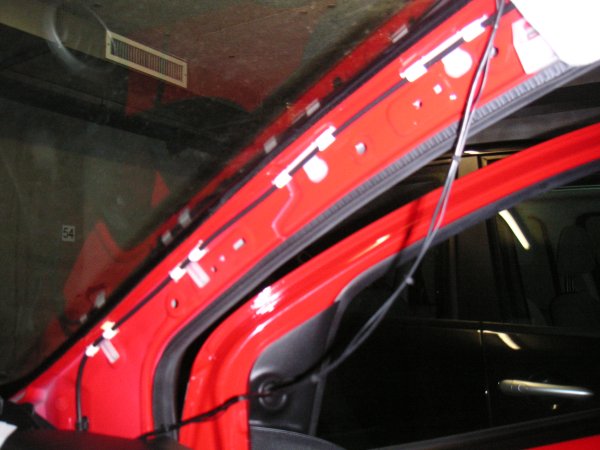
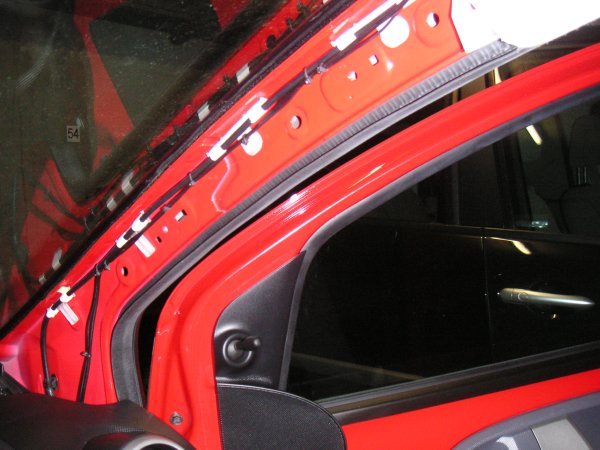
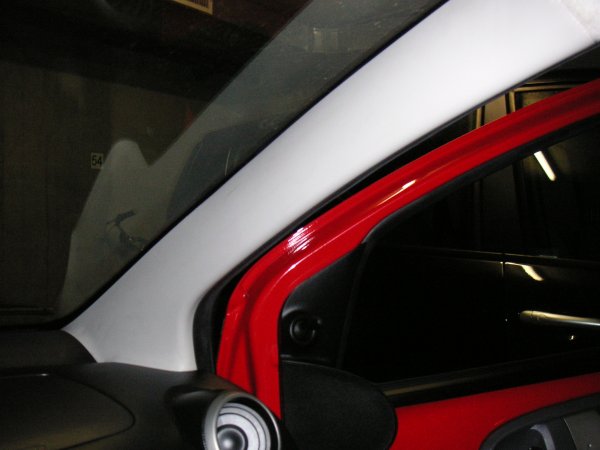
Then you have to remove the A pilar cover. This can be tricky. Best thing to do (for me anyway), is to push the cover into the car, pushing from the outside (where the rubbers are for the door). That seemed to work ok.
Tiewrapped both the microphone and the display cable together and put them under the ceiling cover.
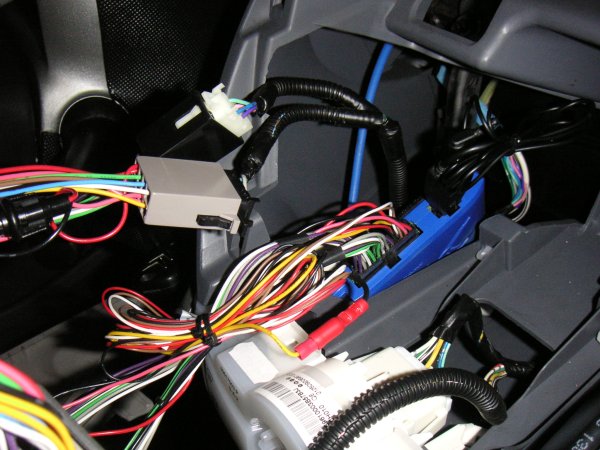
The cable can now go into the dashboard where the other cable in the A pilar goes down. In the dashboard there is a little panel you can open where you can try and grab the cable from the a pilar and pull it through.
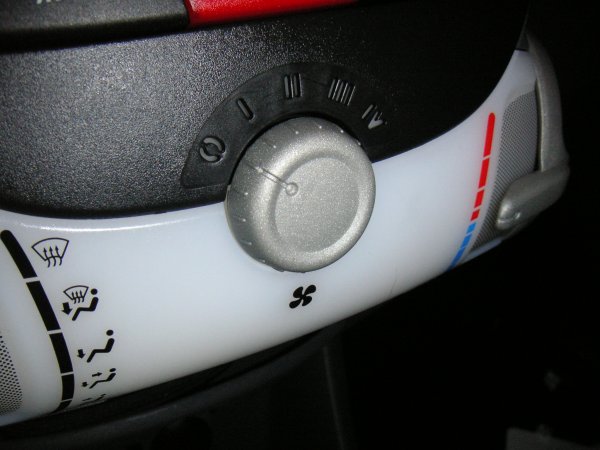
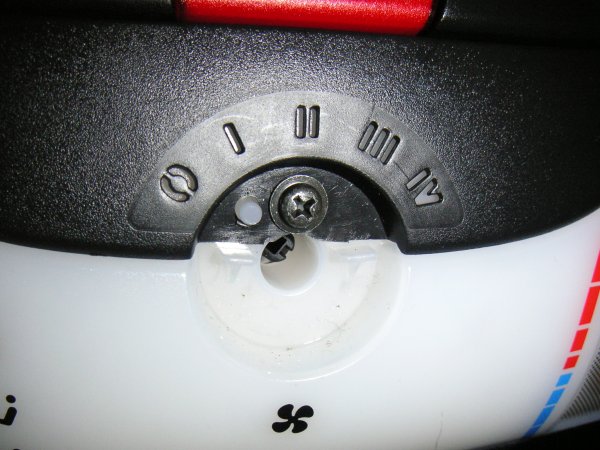
Open up the radio compartment by removing the ventilation speed knob, the screw that it hides and pull the panel carefully towards you.
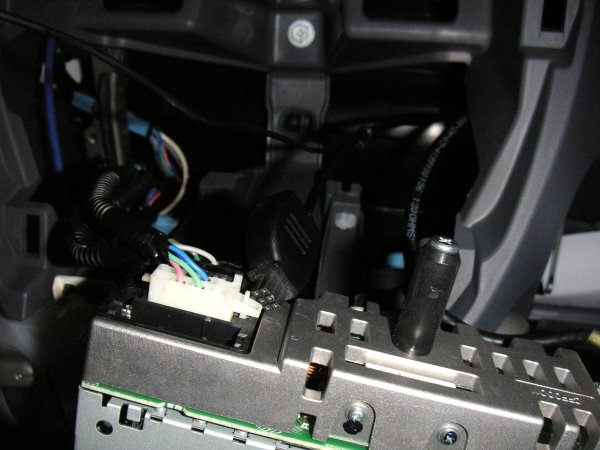
Pull to cable from the glovebox to the radio compartment and connect everything up.
Tiewrap the cable in place in the a pilar and put the cover back.
Close everything up and the carkit is operational. Works like a charm :)
|