| |||||


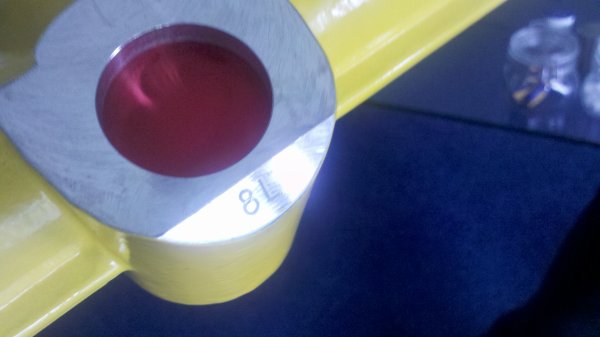
SteeringrackThe steering rack on my car has been making irritating knock noises. Further investigation showed the right side has some play on the joint. So time to replace it with a new one. You have to choice to put in a normal steering rack, or a quick rack. So I opted for the quick rack with an 8 teeth sprocket.
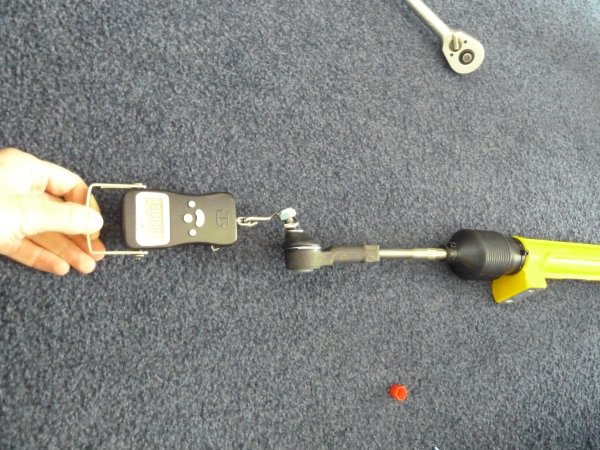
Before fitting the steering rack, it is important to check (and if required adjust) the preload. Otherwise steering can be to light or heavy. To check this, you need to measure the steady force required to move the steering rack through its full travel. The force required should be between 50 and 70 Newton. To check you can use a scale and see how many Kg's are required to pull the rack trough its travel.
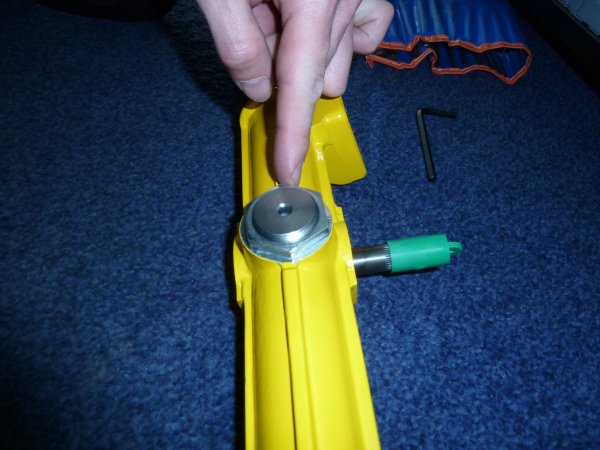
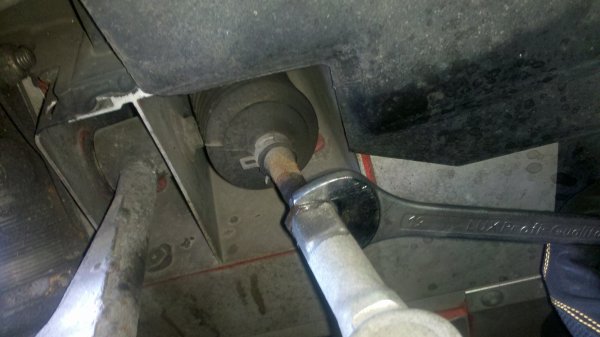
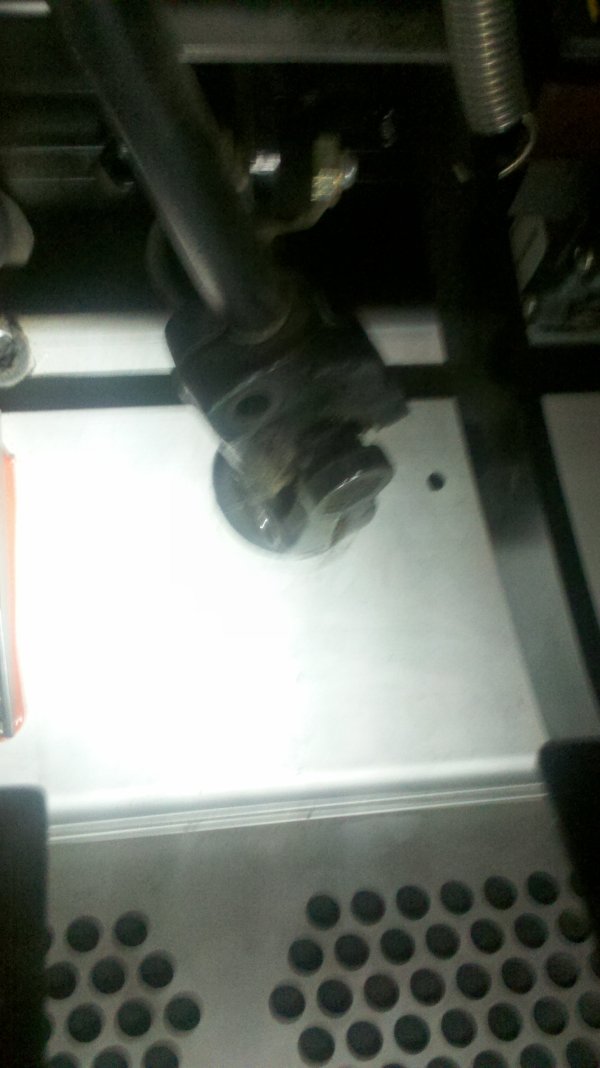
Initially the scale indicated over 10Kg, which is about 98N (multiply by 9.8). So the preload was to high (something you could feel when pulling, it was just too heavy). To adjust you need to loosen the locknut with a 36mm socket.
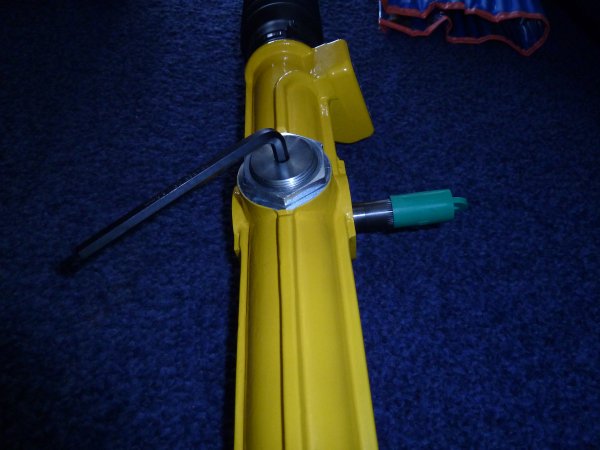
And then adjust the preload with a 5.5mm allen key.
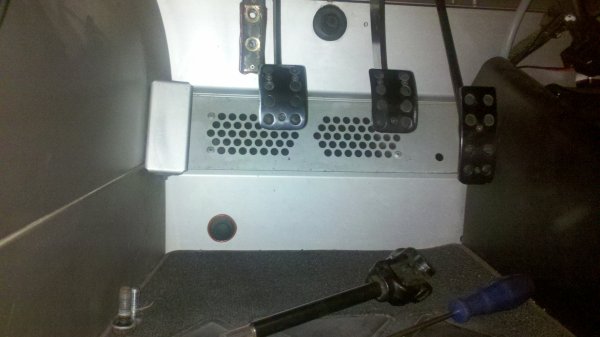
After each adjustment, measure again until you get the desired setting. To mount the rack on the car, put the car on stands and remove the front wheels.
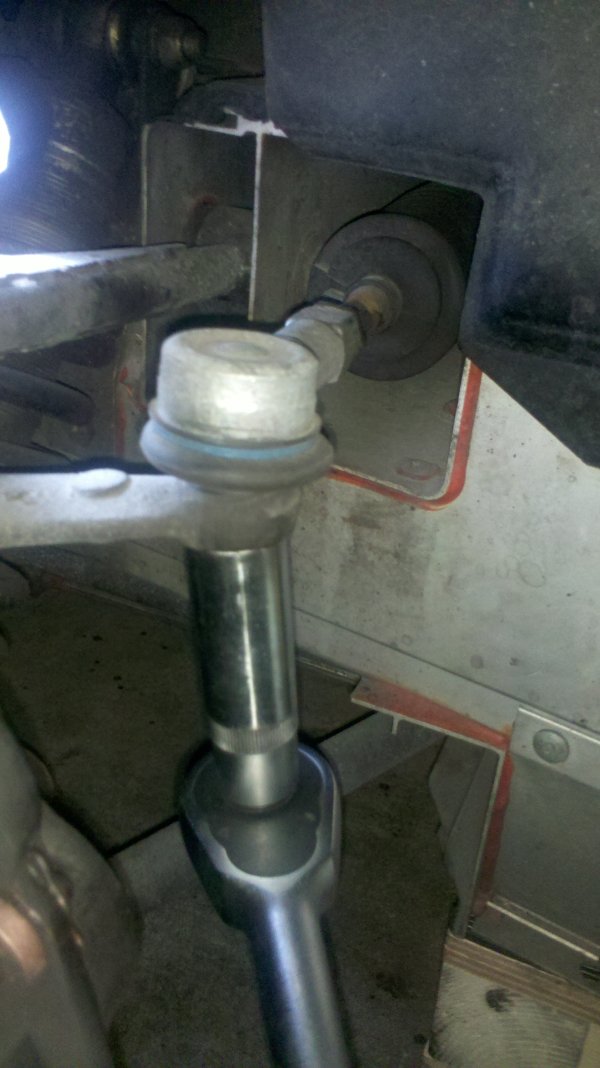
Loosen the lock nuts on steering arms.
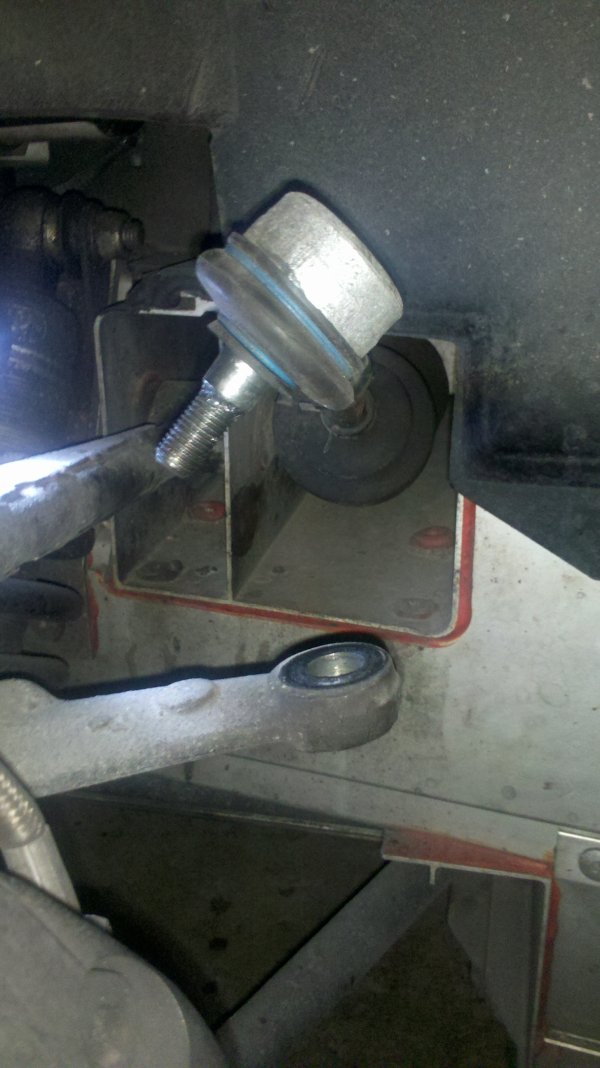
And remove the nuts joining the steering arms to the uprights.
They should now come apart.
Remove the 4 bolts holding the steering rack in place.
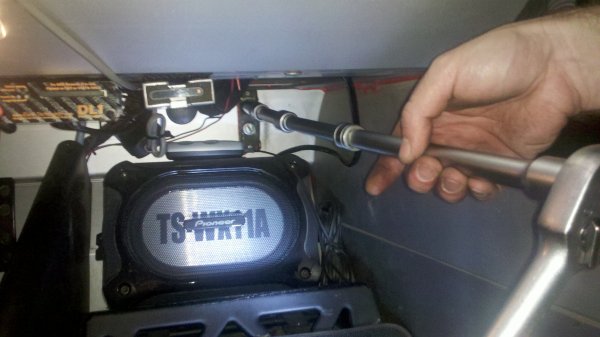
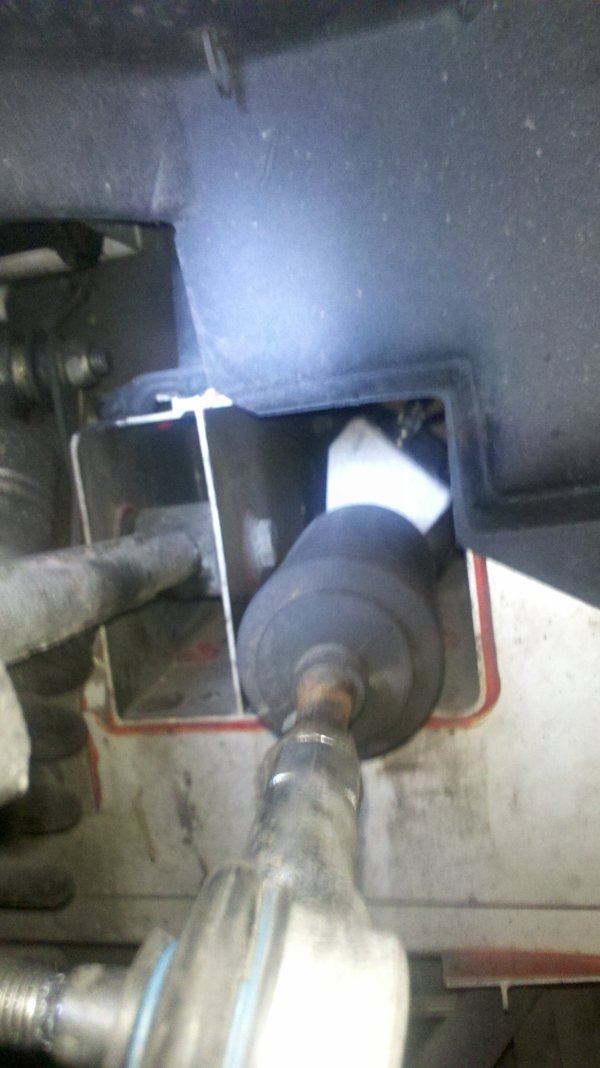
And then remove the bolts that secure the steering column.
The part should now come off the steering rack, freeing it up.
After removing the rubber, it should now be possible to move the steering column axle back (this can be very fiddly). Now it should be possible to remove the steering rack.
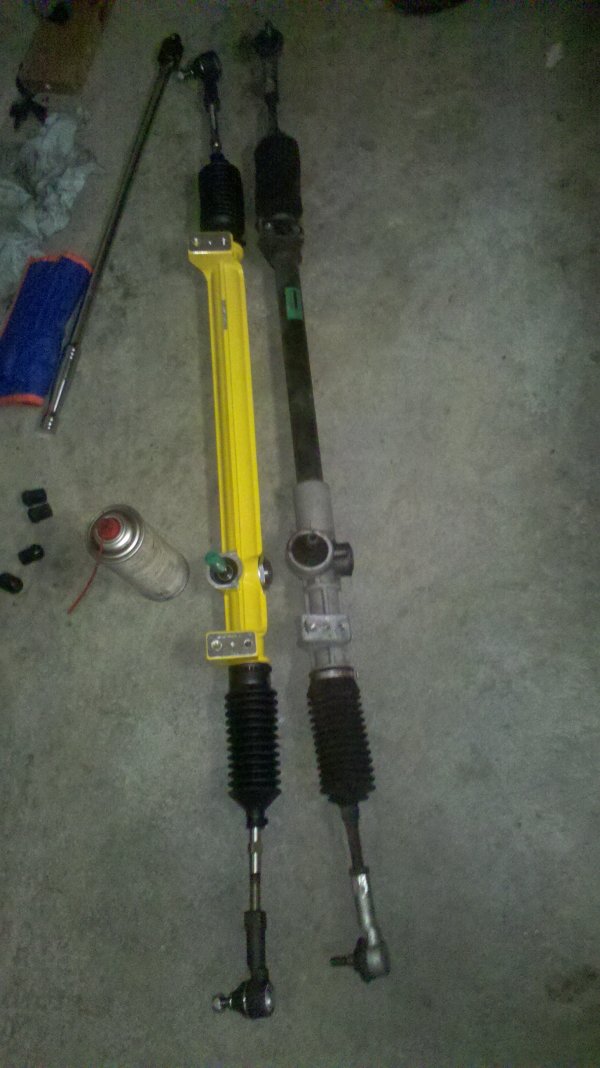
Mine had been replaced a long time ago under warranty. It seems like it was replace by the Lotus new style rack from Sona.
The design of the Sona rack is quite different then the ones from Titan.
The new one can now be put in the car.
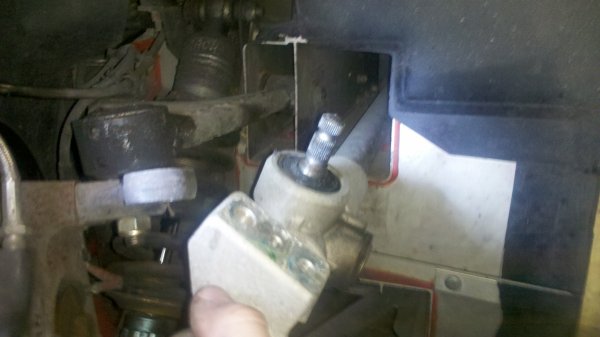
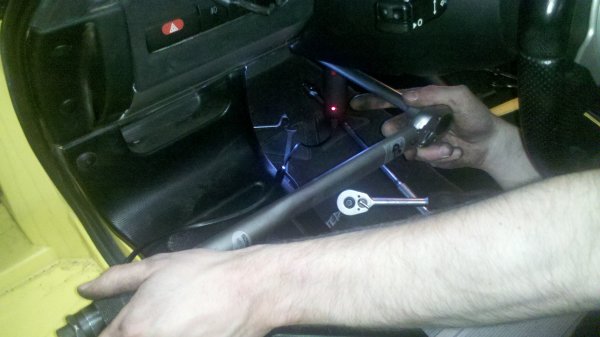
It is quite tricky getting the axle to connect the steering column to back through the hole. The simplest solution is to get a file and make the hole a little bit larger. As the rubber covers this later, it isn't a problem and saves huge amounts of time. The next fiddly part is to connect the steering column back to the steering rack and get the steering wheel to be centered when the steering rack is centered. It took a couple of tries, but in the end it was very close. You can also opt to remove the steering wheel of course. Next is to tighten everything back up, the bolts in the steering column and the bolts holding the steering rack in place.
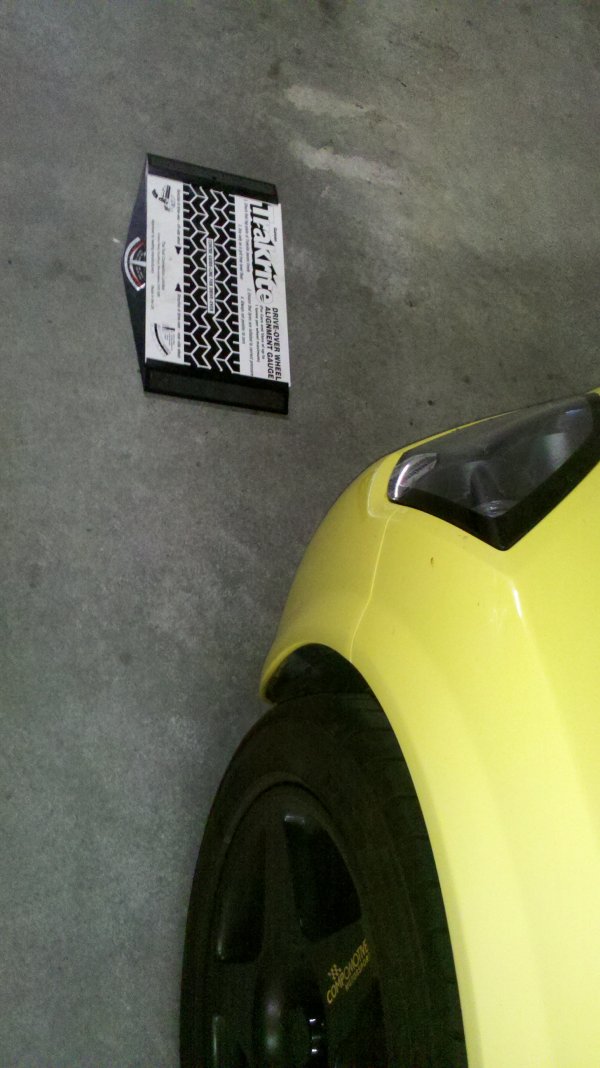
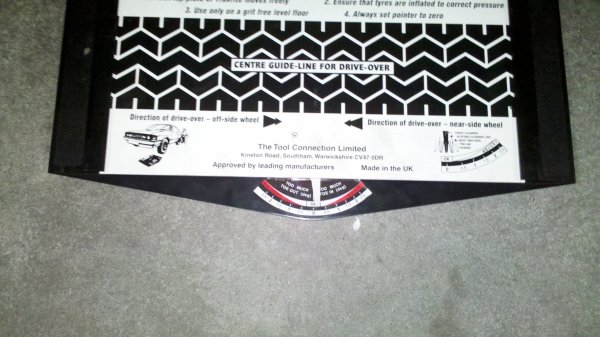
Reconnect the steering arms to the uprights and put the wheels back on. I would get the car aligned the next day. But to drive it to the shop, the wheels had to be a bit more straight to prevent burning the rubber. For that we used a Trakrite plate.
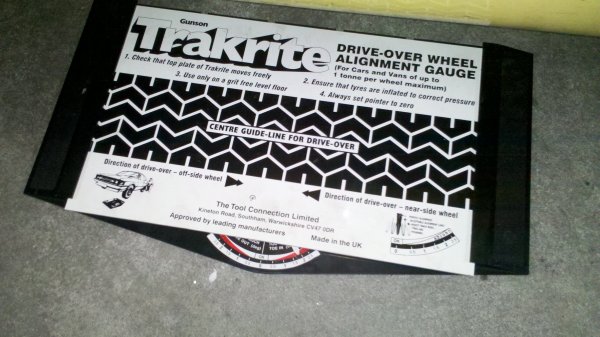
The idea is to drive the car over the plate. The center of the plate can slide sideways. It is connected to a gauge that will move depending on the amount of sideways deflection. Using this you can measure the combined tracking of the wheels. The initial measurement was under 2 degrees toe in.
The third time it was almost neutral. Good enough to drive it to Roline the next day.
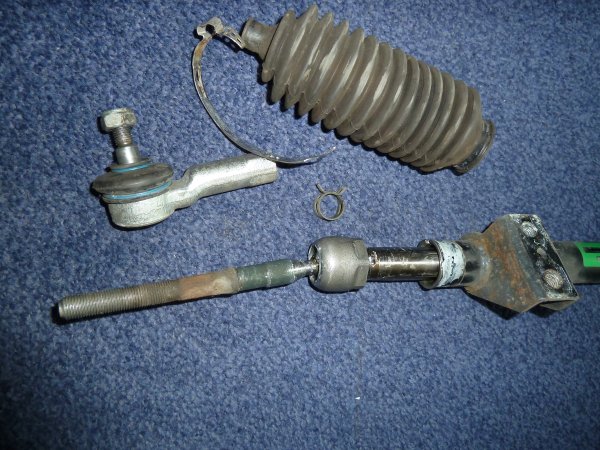
The alignment the next day was without problems. The steering wheel was not straight when driving in a straight line, but after the alignment it was ok. The car drives great now. It takes a bit of time getting used to the quick rack, but it feels much better. There is just a bit more steering angle you can get without letting go of the steering wheel. Very useful. I did some disassembly afterwards to see what the cups look like inside the joints that were worn out. First I removed some bits.
Then I got my hacksaw and cut the joint open to reveal the cup.
Simple part, but at least with the Sona steering rack it is not possible to replace it. |